An Easy DIY Envelope Pillow Cover
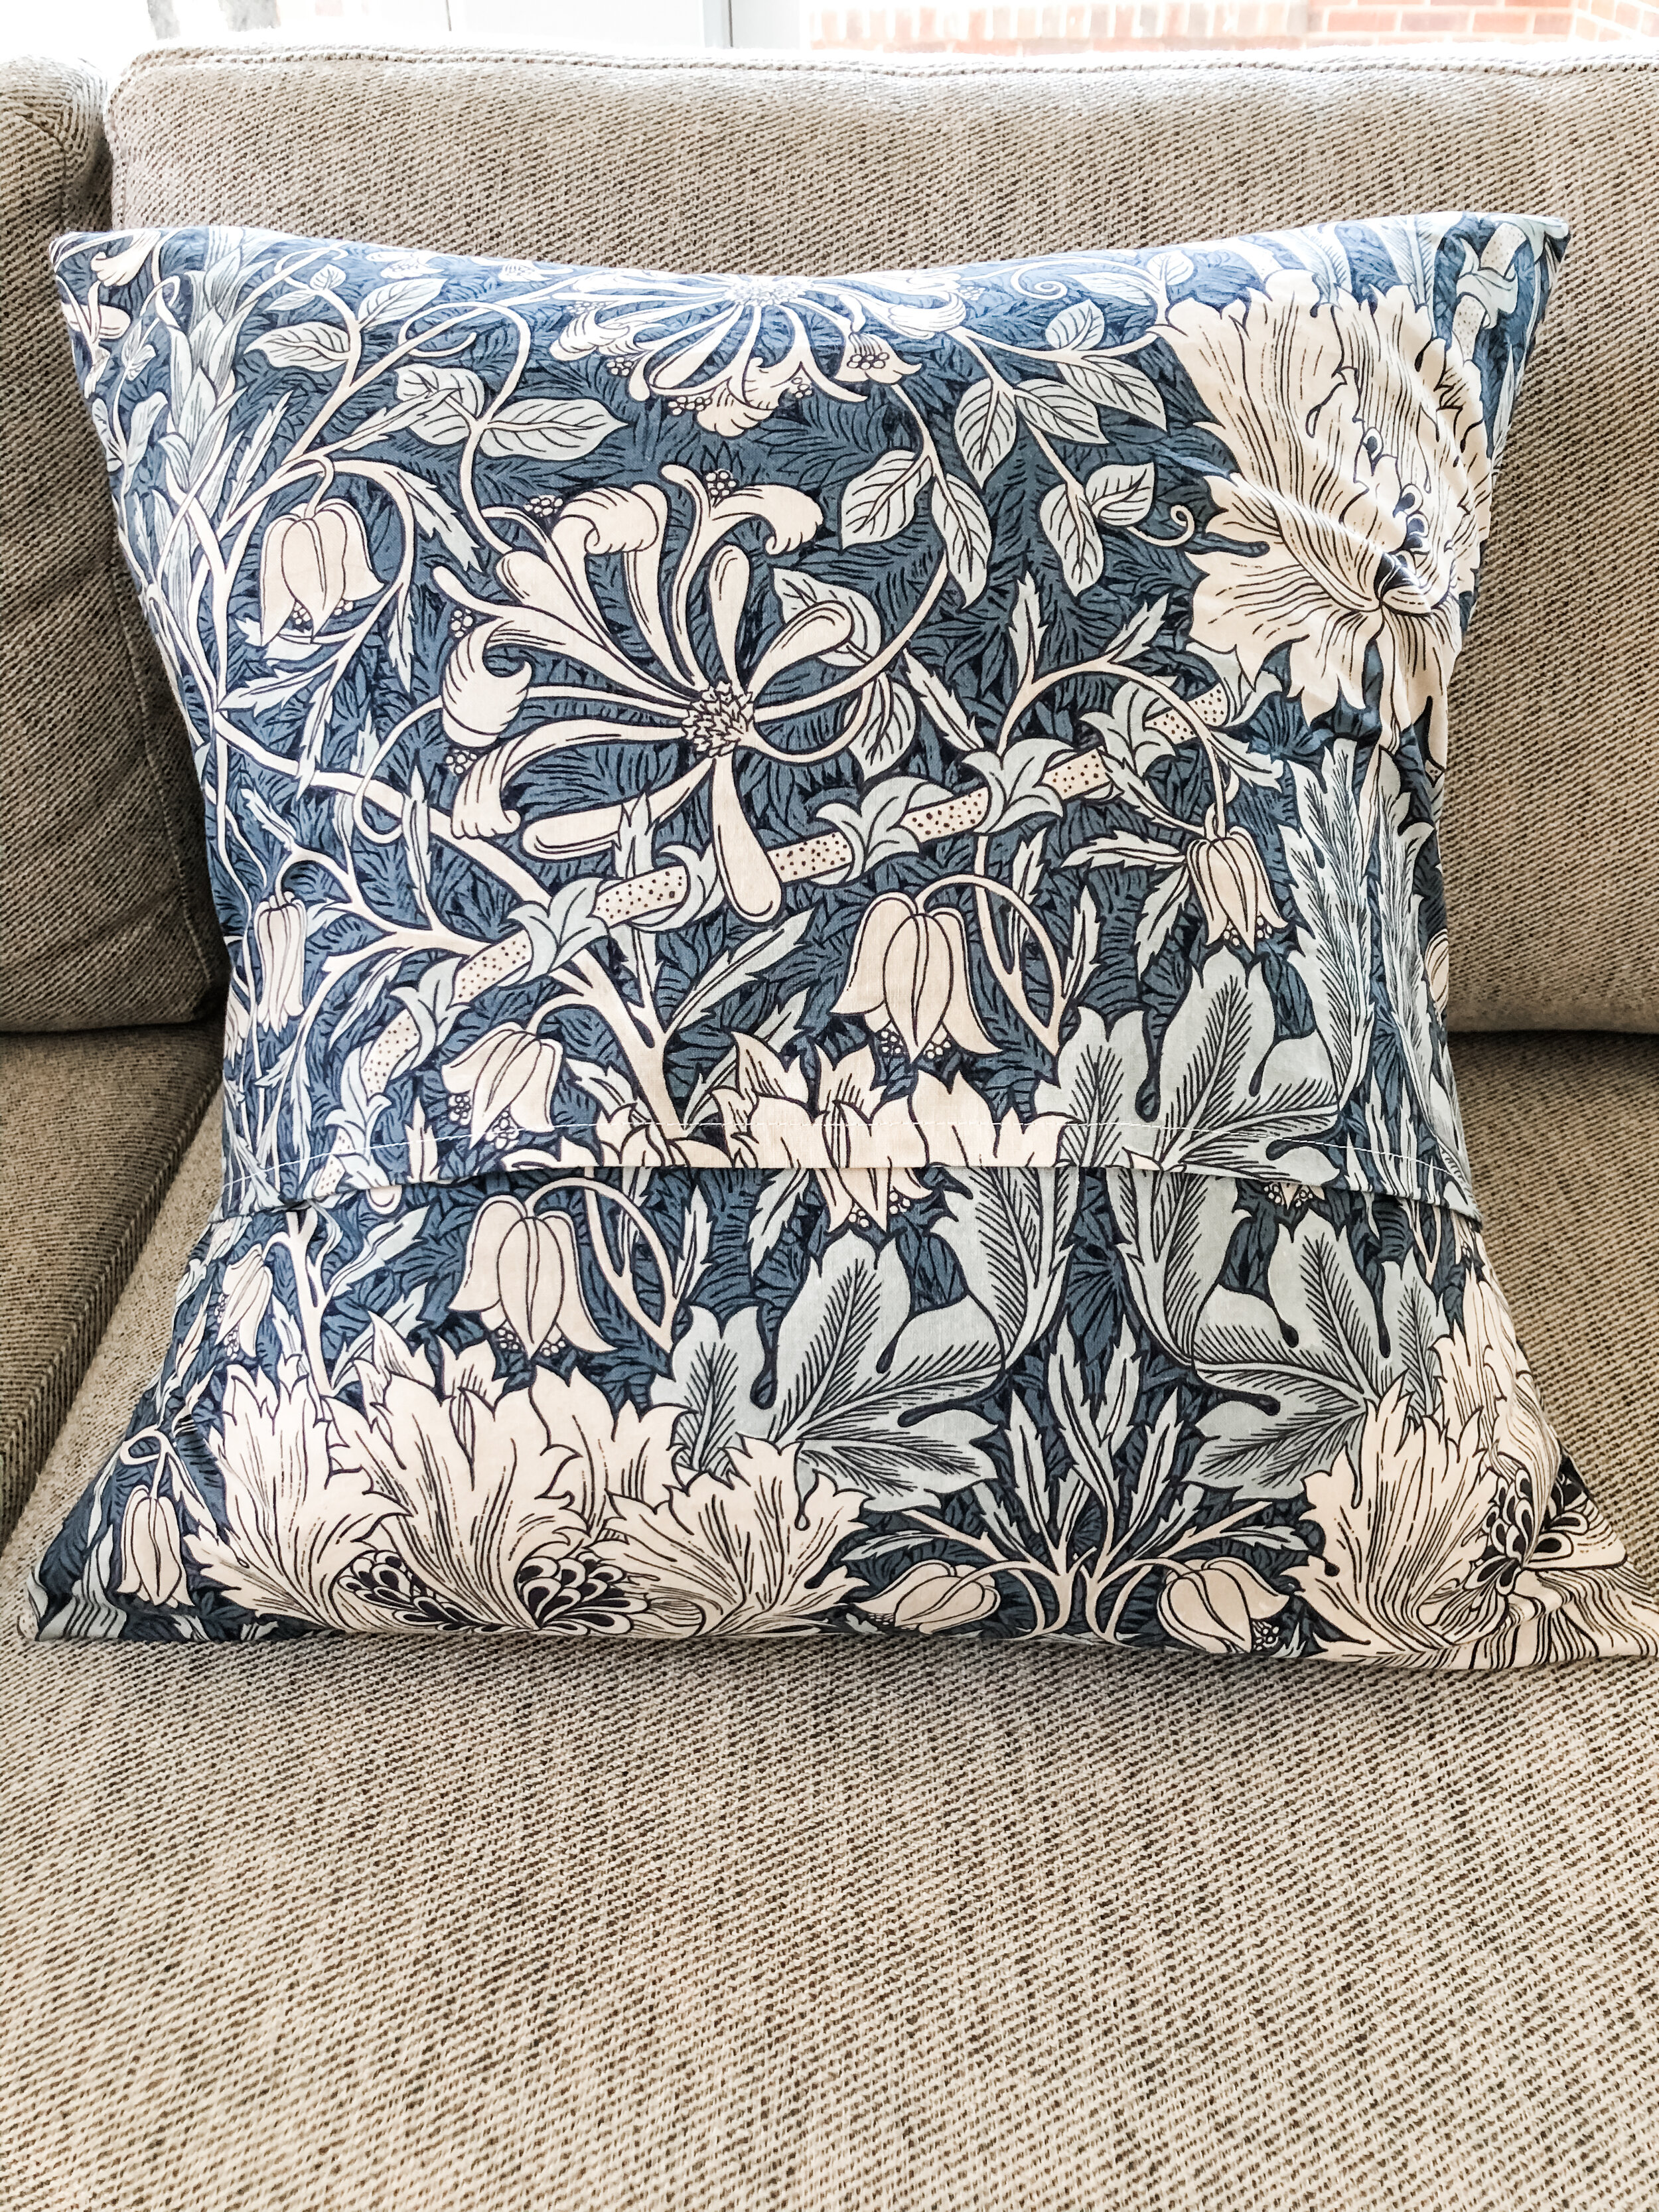
I saw this fabric and knew immediately what I would do with it. An envelope pillow cover is a super simple project and only straight sewing is needed!

I purchased my first sewing machine over a decade ago. I bought it for $99 to sew Andrew a Halloween costume and have been using it ever since for three things: pillow covers, hemming curtains and a baby quilt—which was actually out of my depth! I am a self-taught sewist, but luckily, I have friends and family that sew who I’ve been able to reach out to with questions. This pillow cover is a really simple project to ease into sewing!
Supplies
Fabric (I recommend a quilting cotton, linen or a linen cotton blend for throw pillows)
Pillow insert (I love down inserts because they fluff right back up into their shape)
Sewing machine and thread
I do have my eye on this sewing machine as an upgrade…
Cutting Mat and Ruler Guide—if you’re using a rotary blade

The Step-by-step
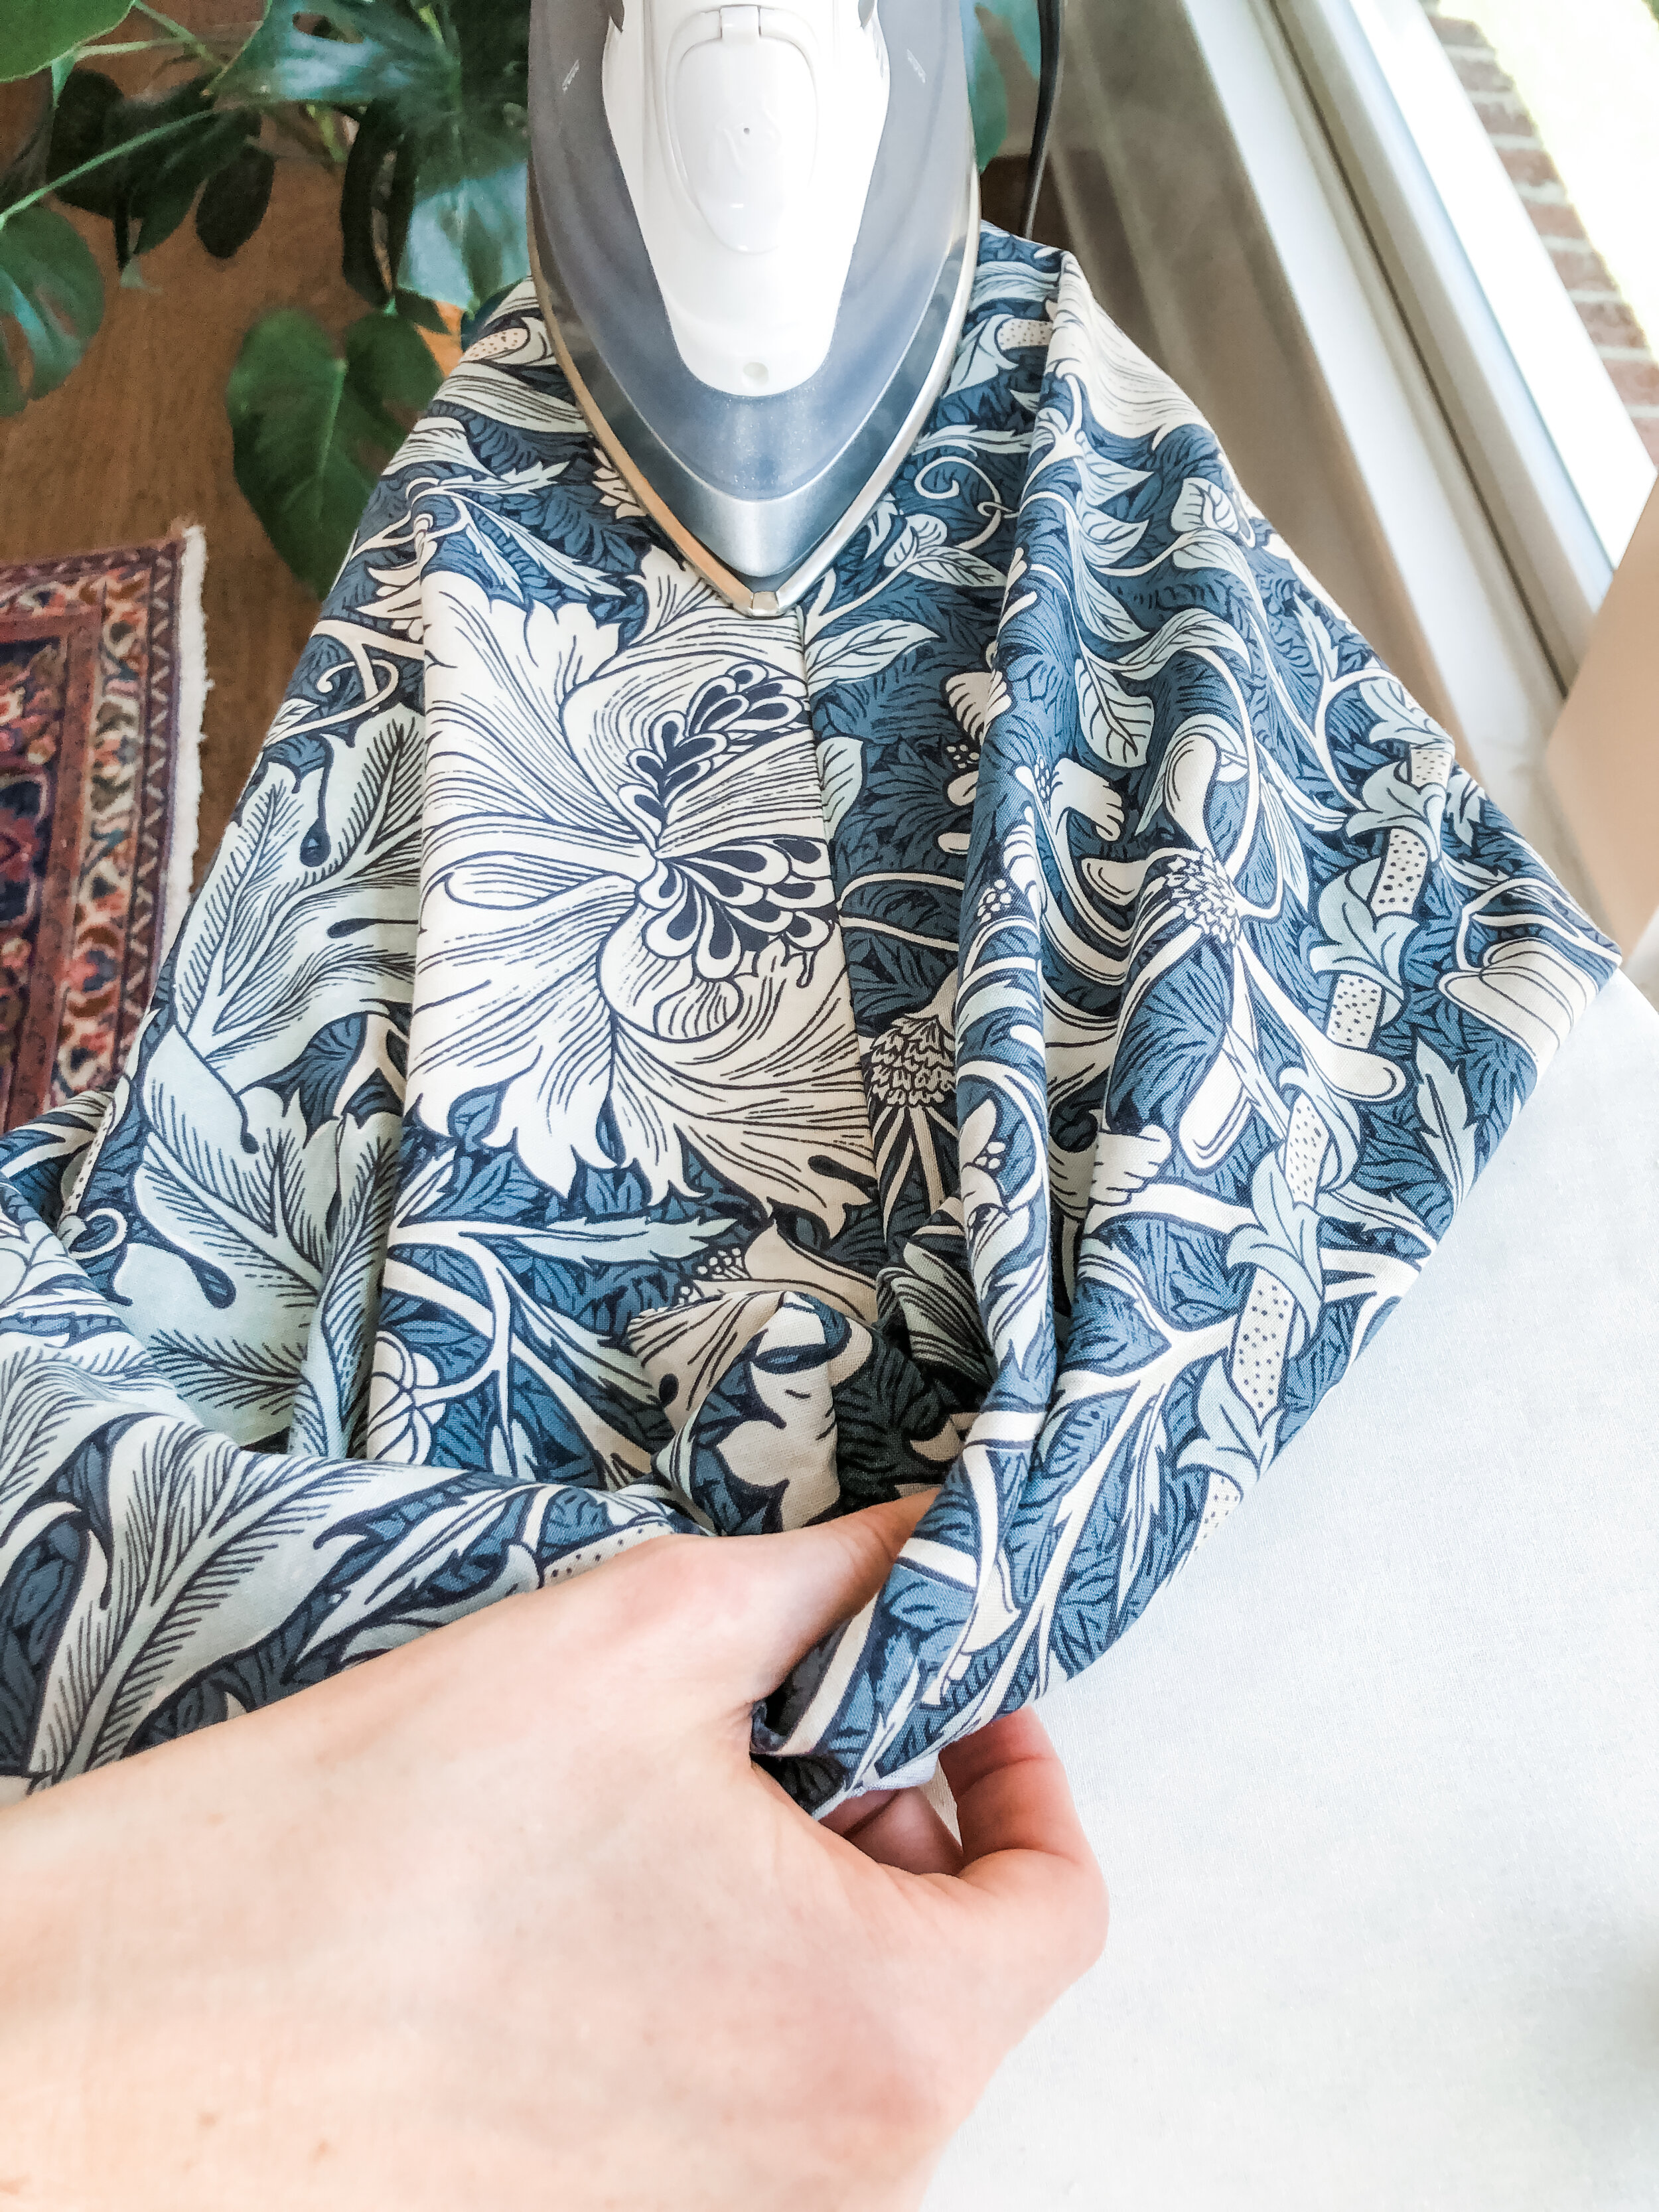
Wash, dry and iron the fabric (according to the fabric’s instructions)
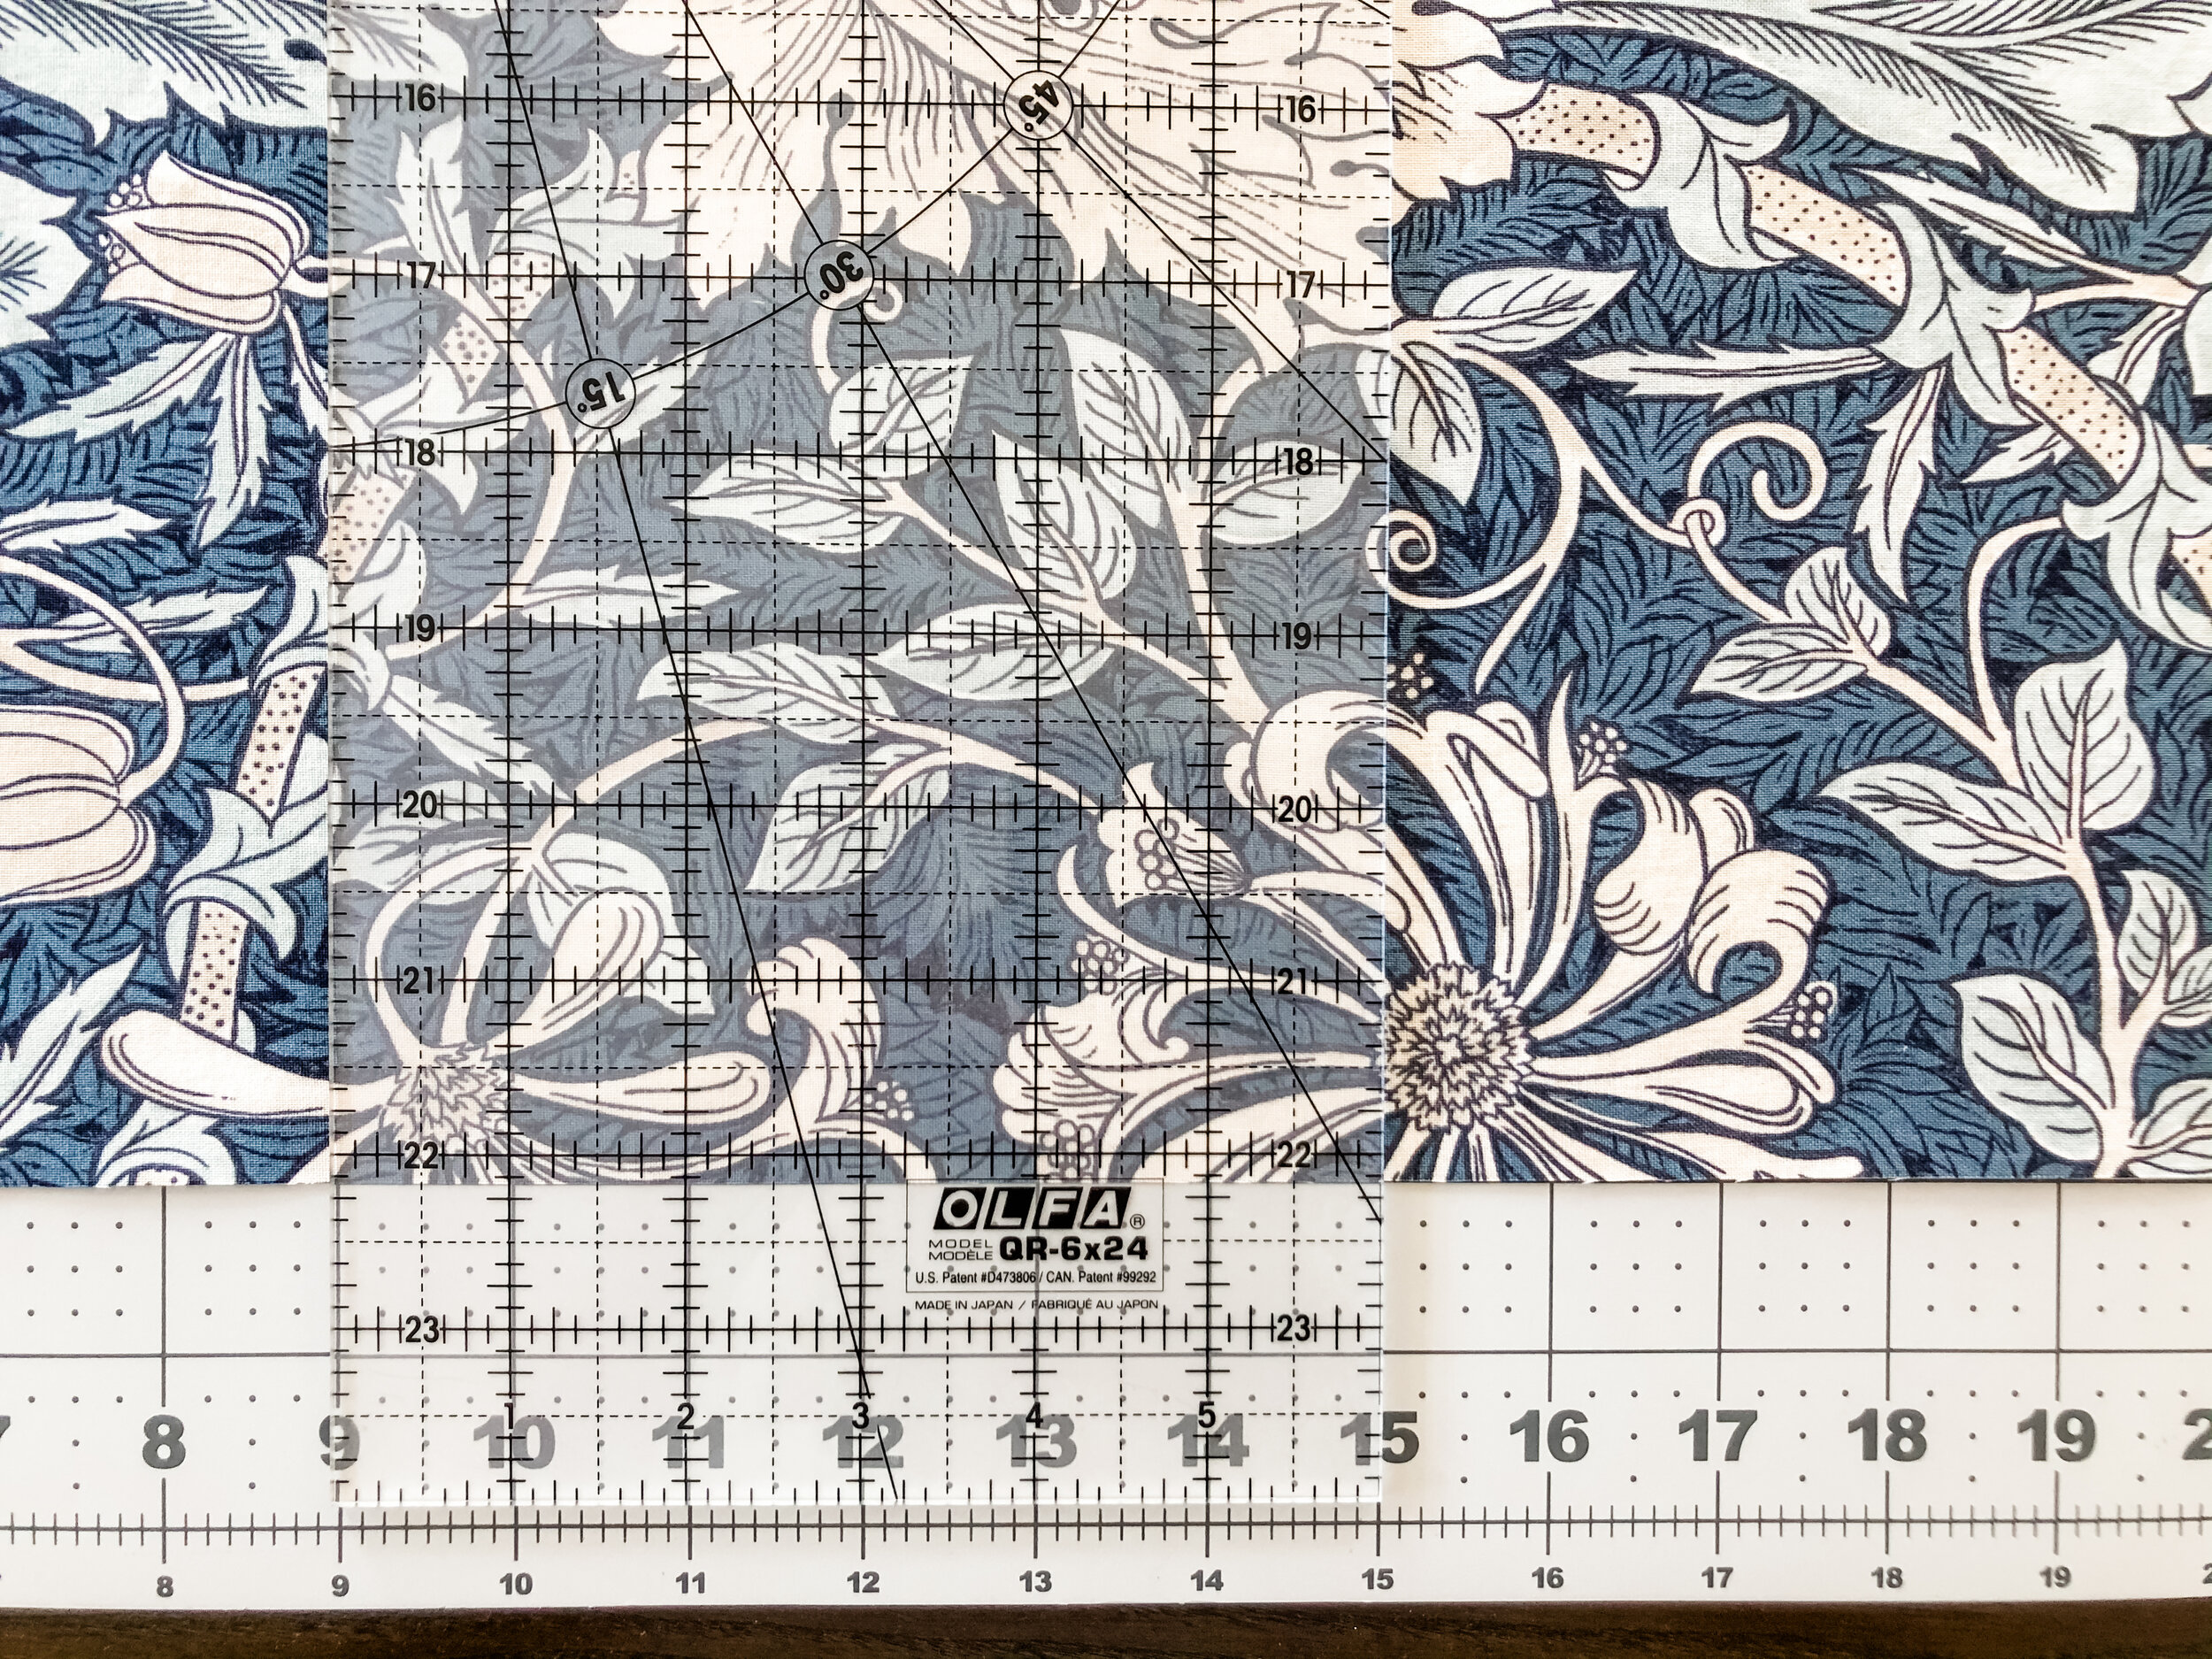
Cut a square of fabric for the front side of the pillow—the same size as the insert
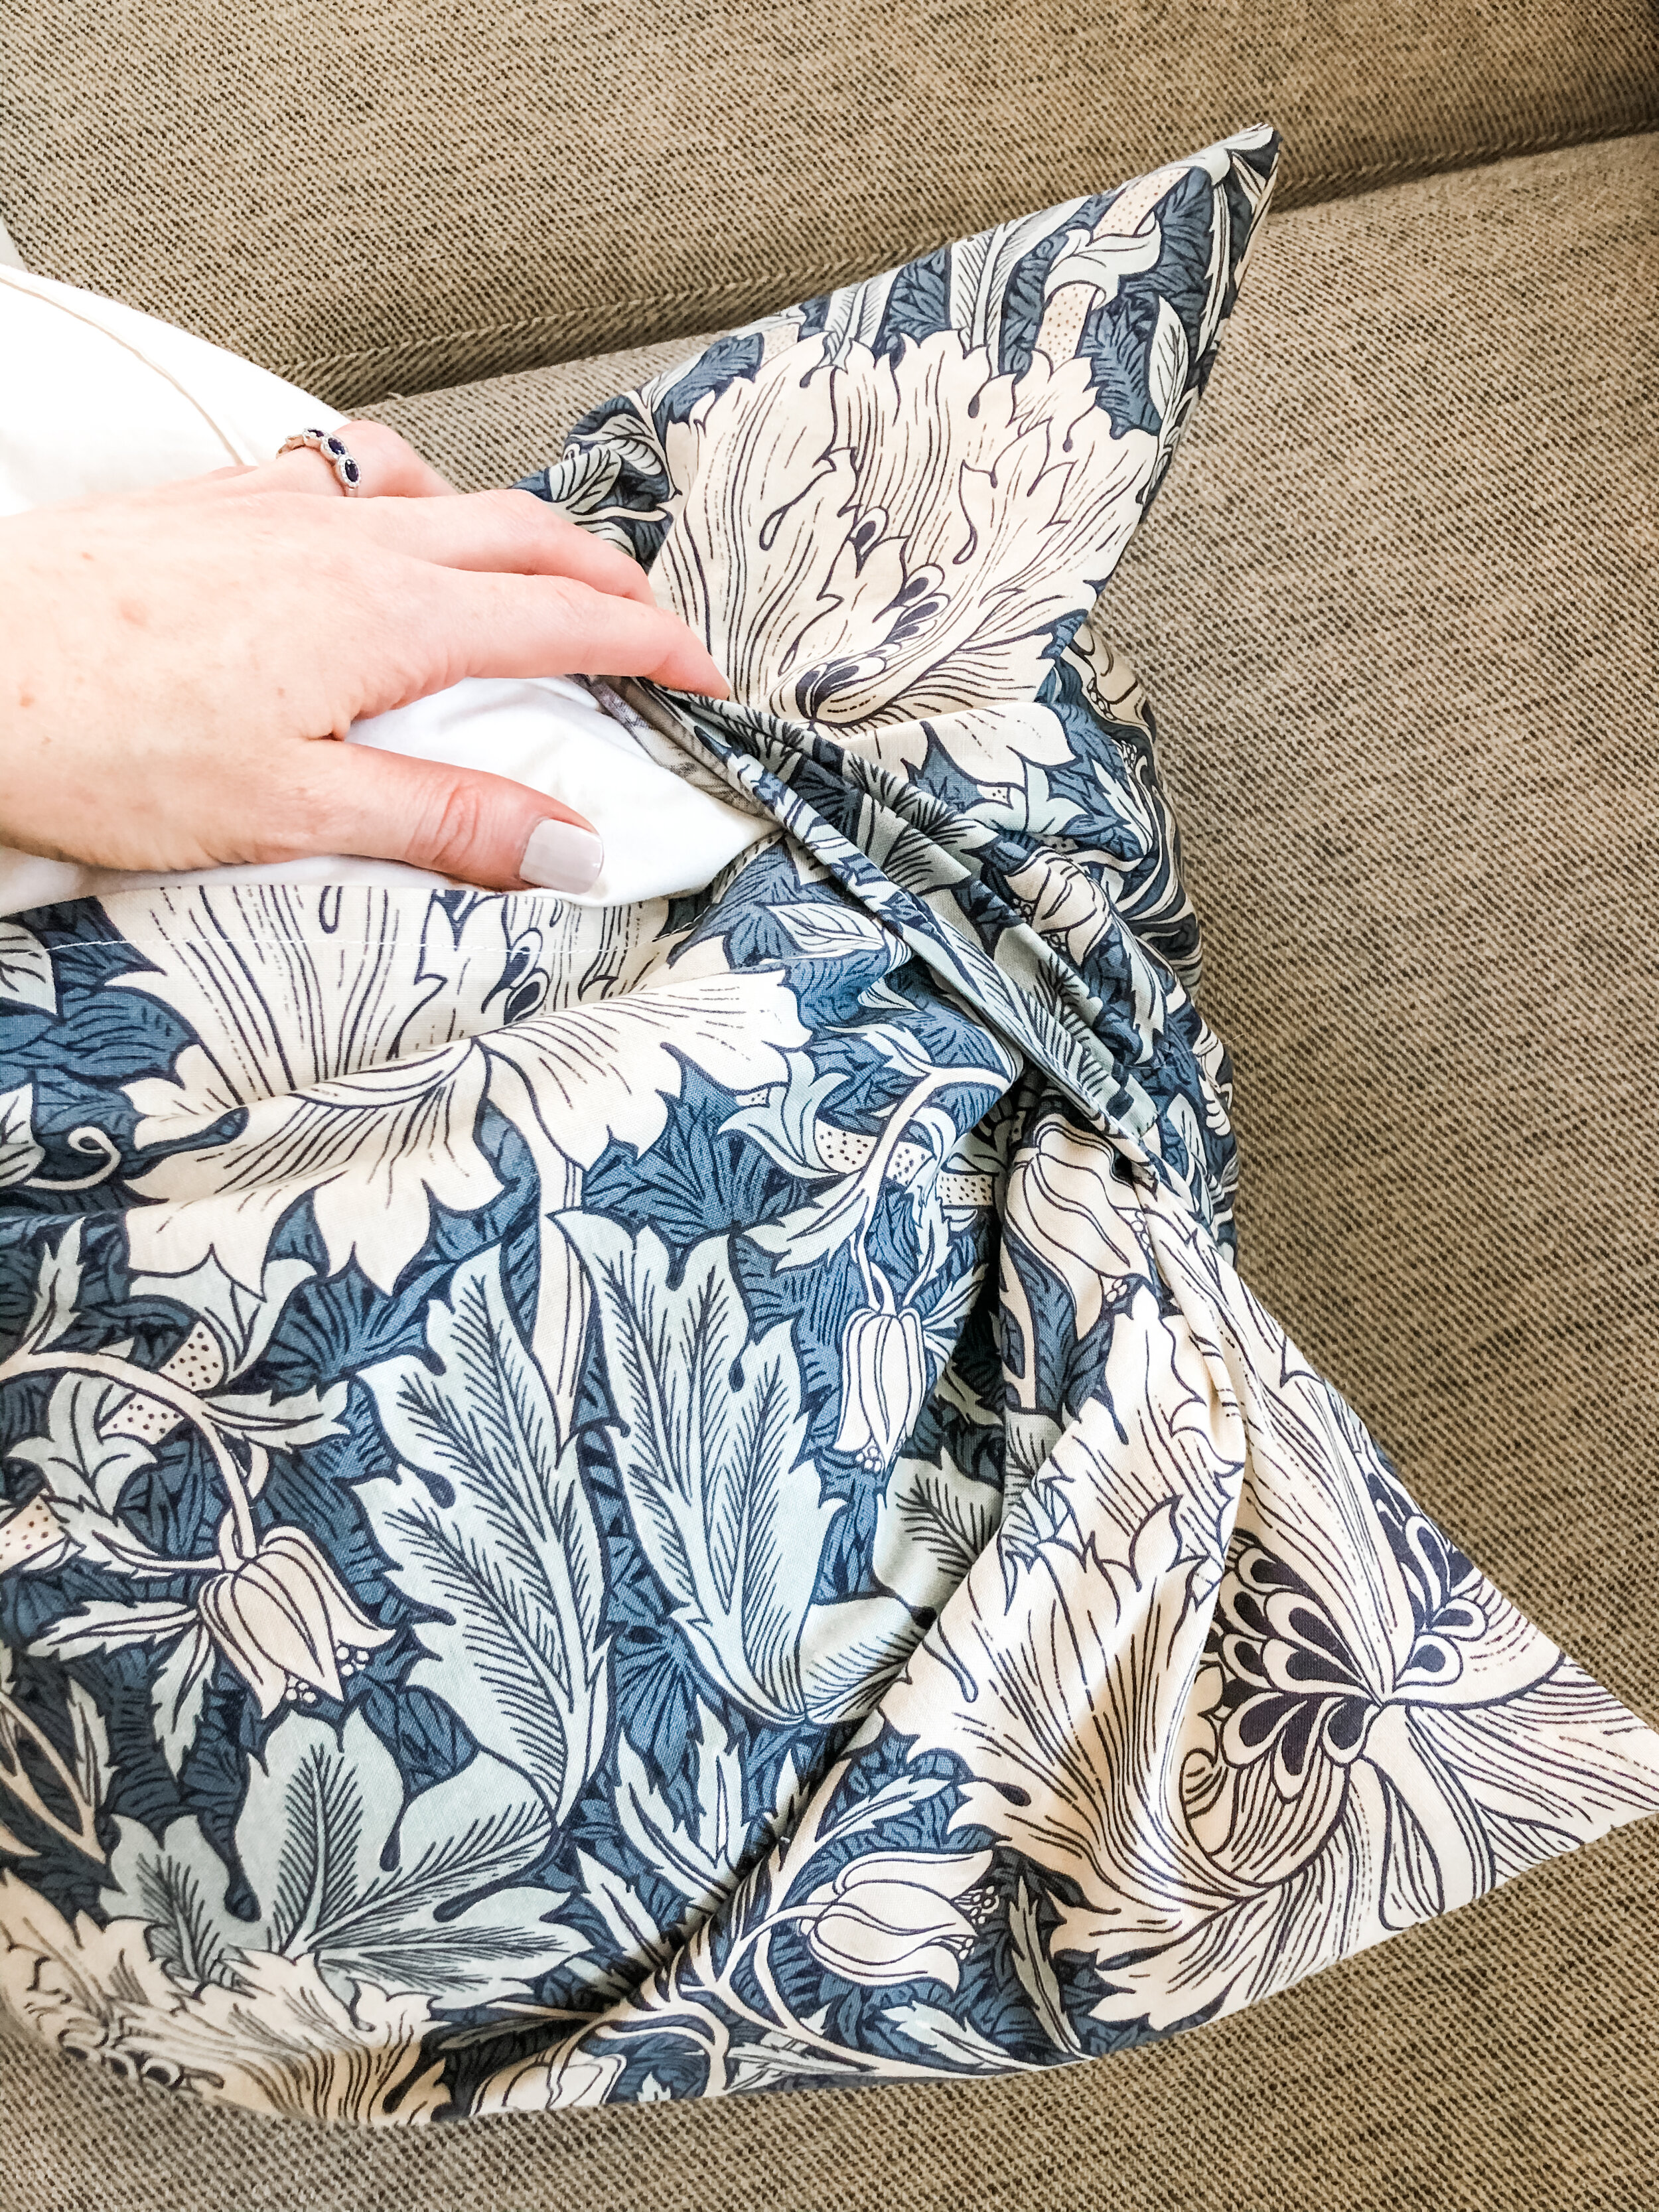
(for a 20-inch pillow, cut a 20 x 20-inch square of fabric)Cut two fabric pieces 20 x 15-inches—these two pieces will overlap to create an envelope on the back of the pillow cover
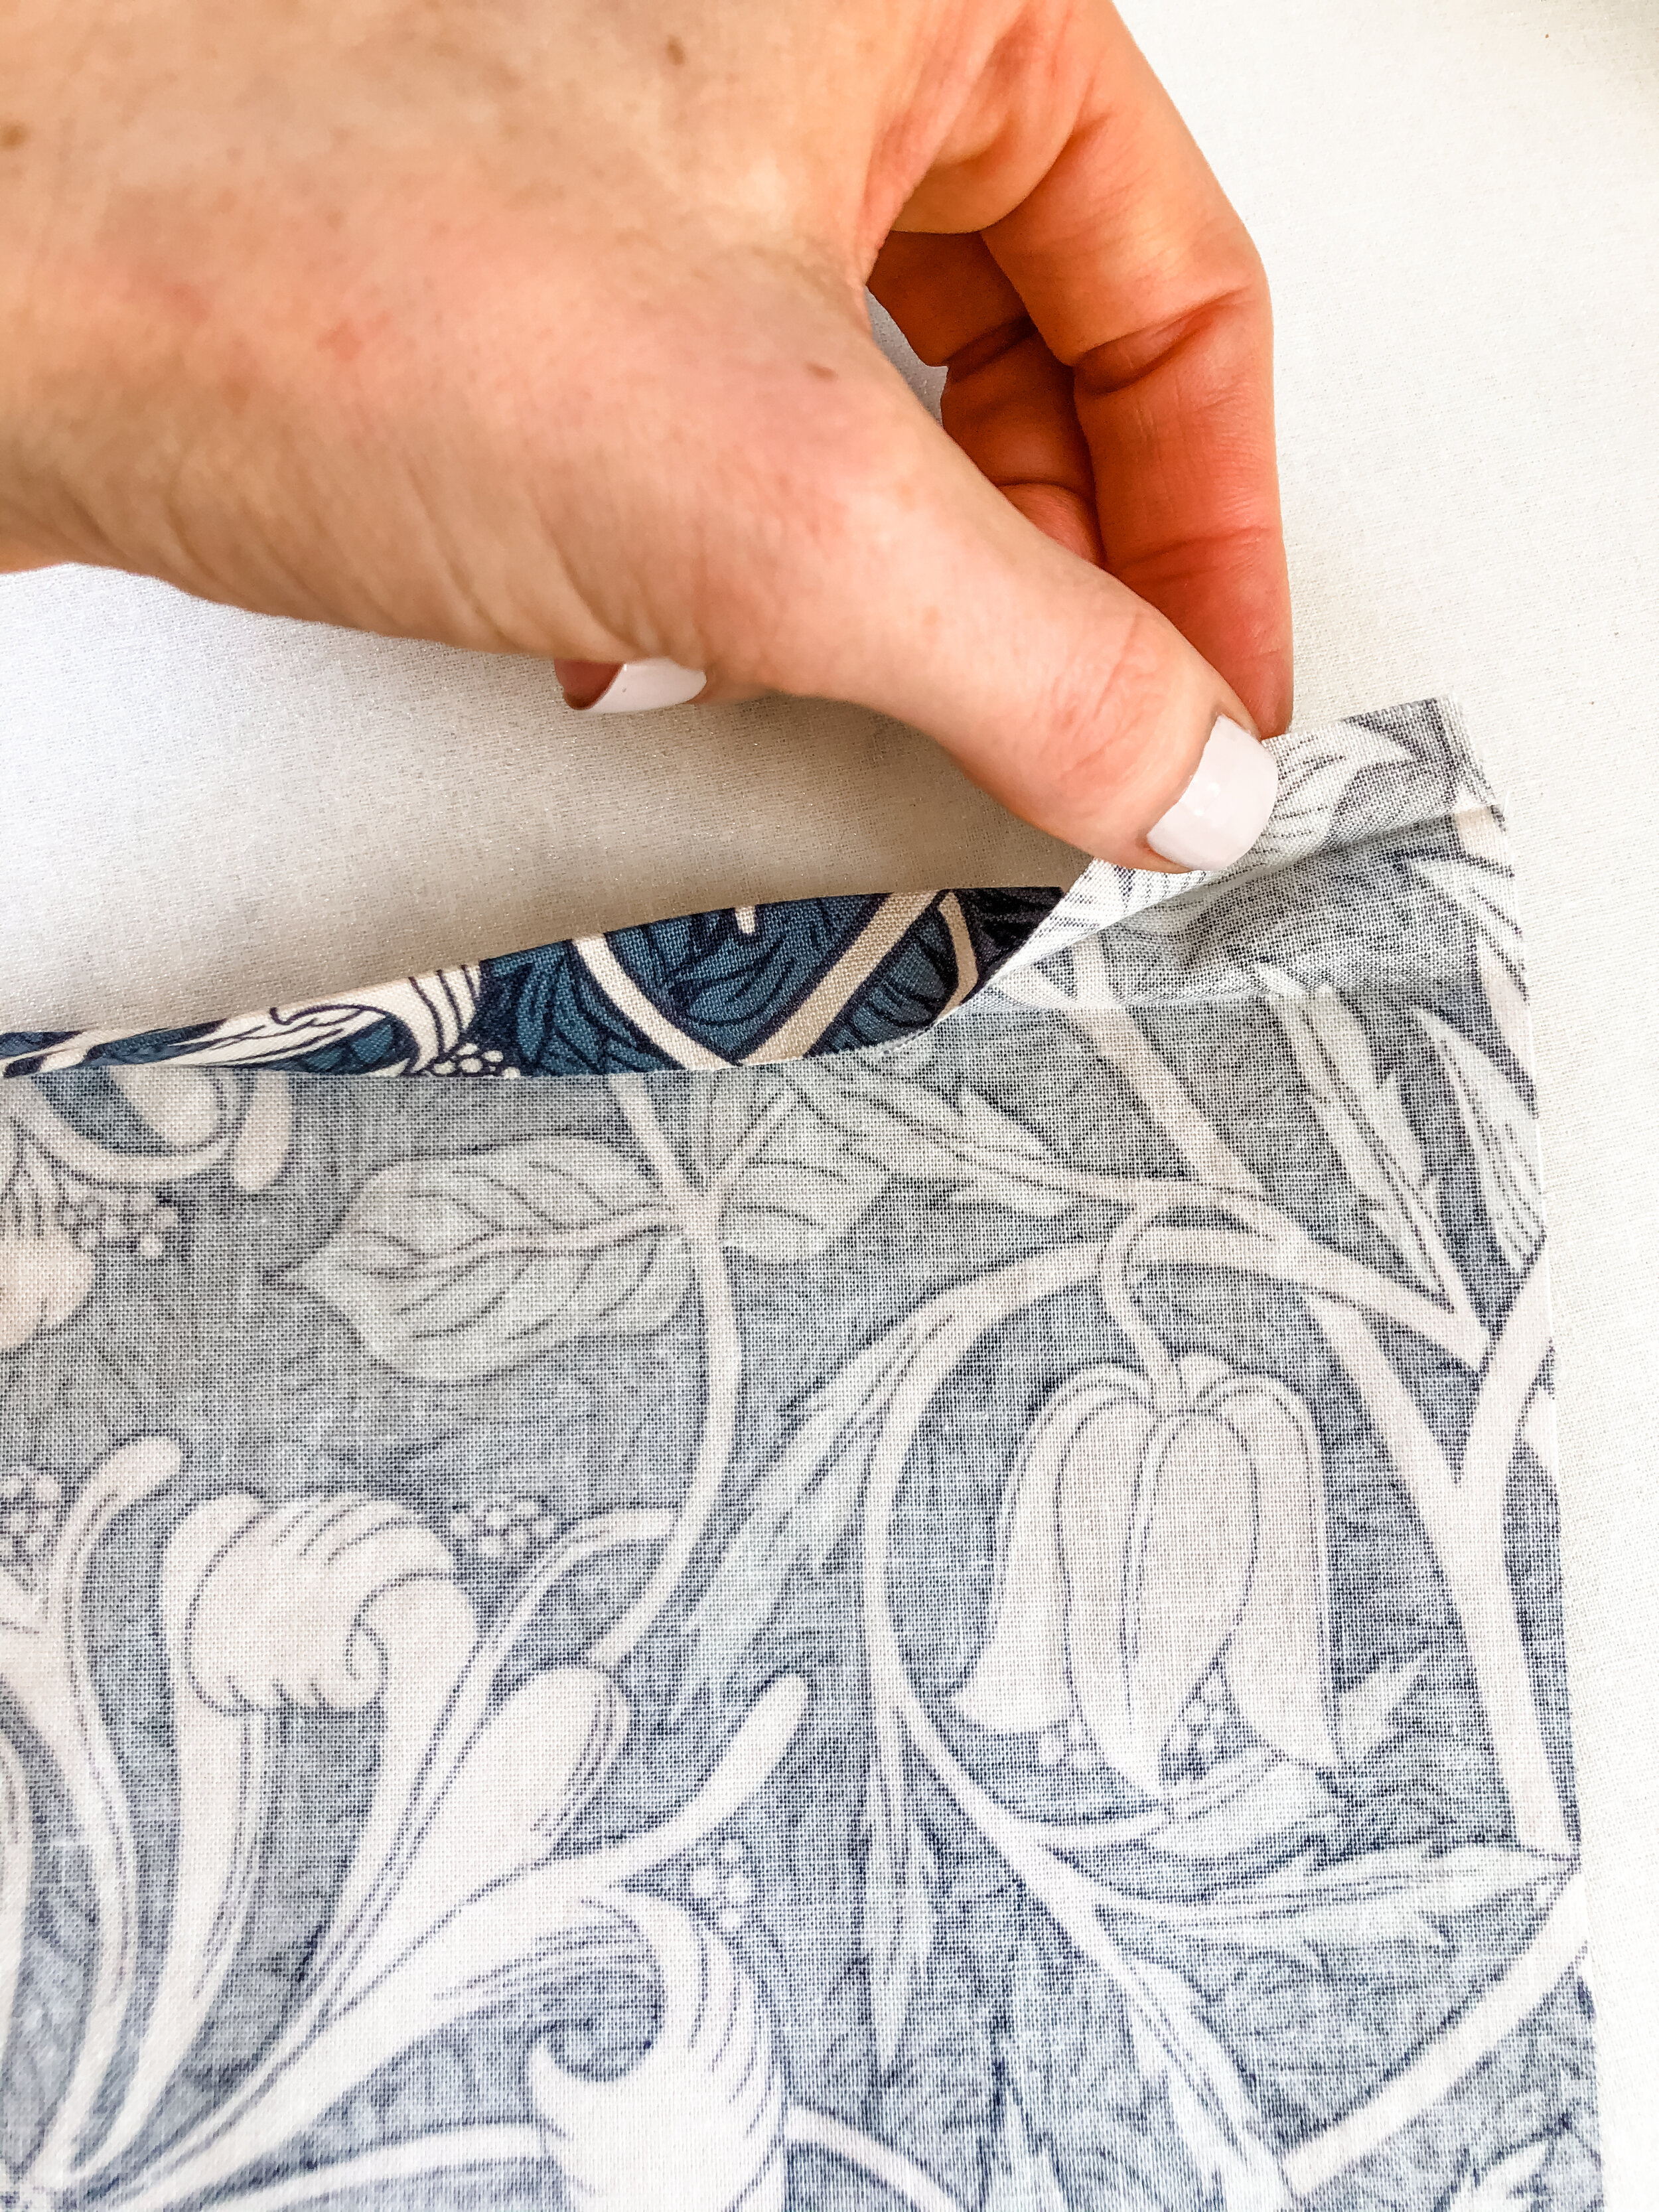
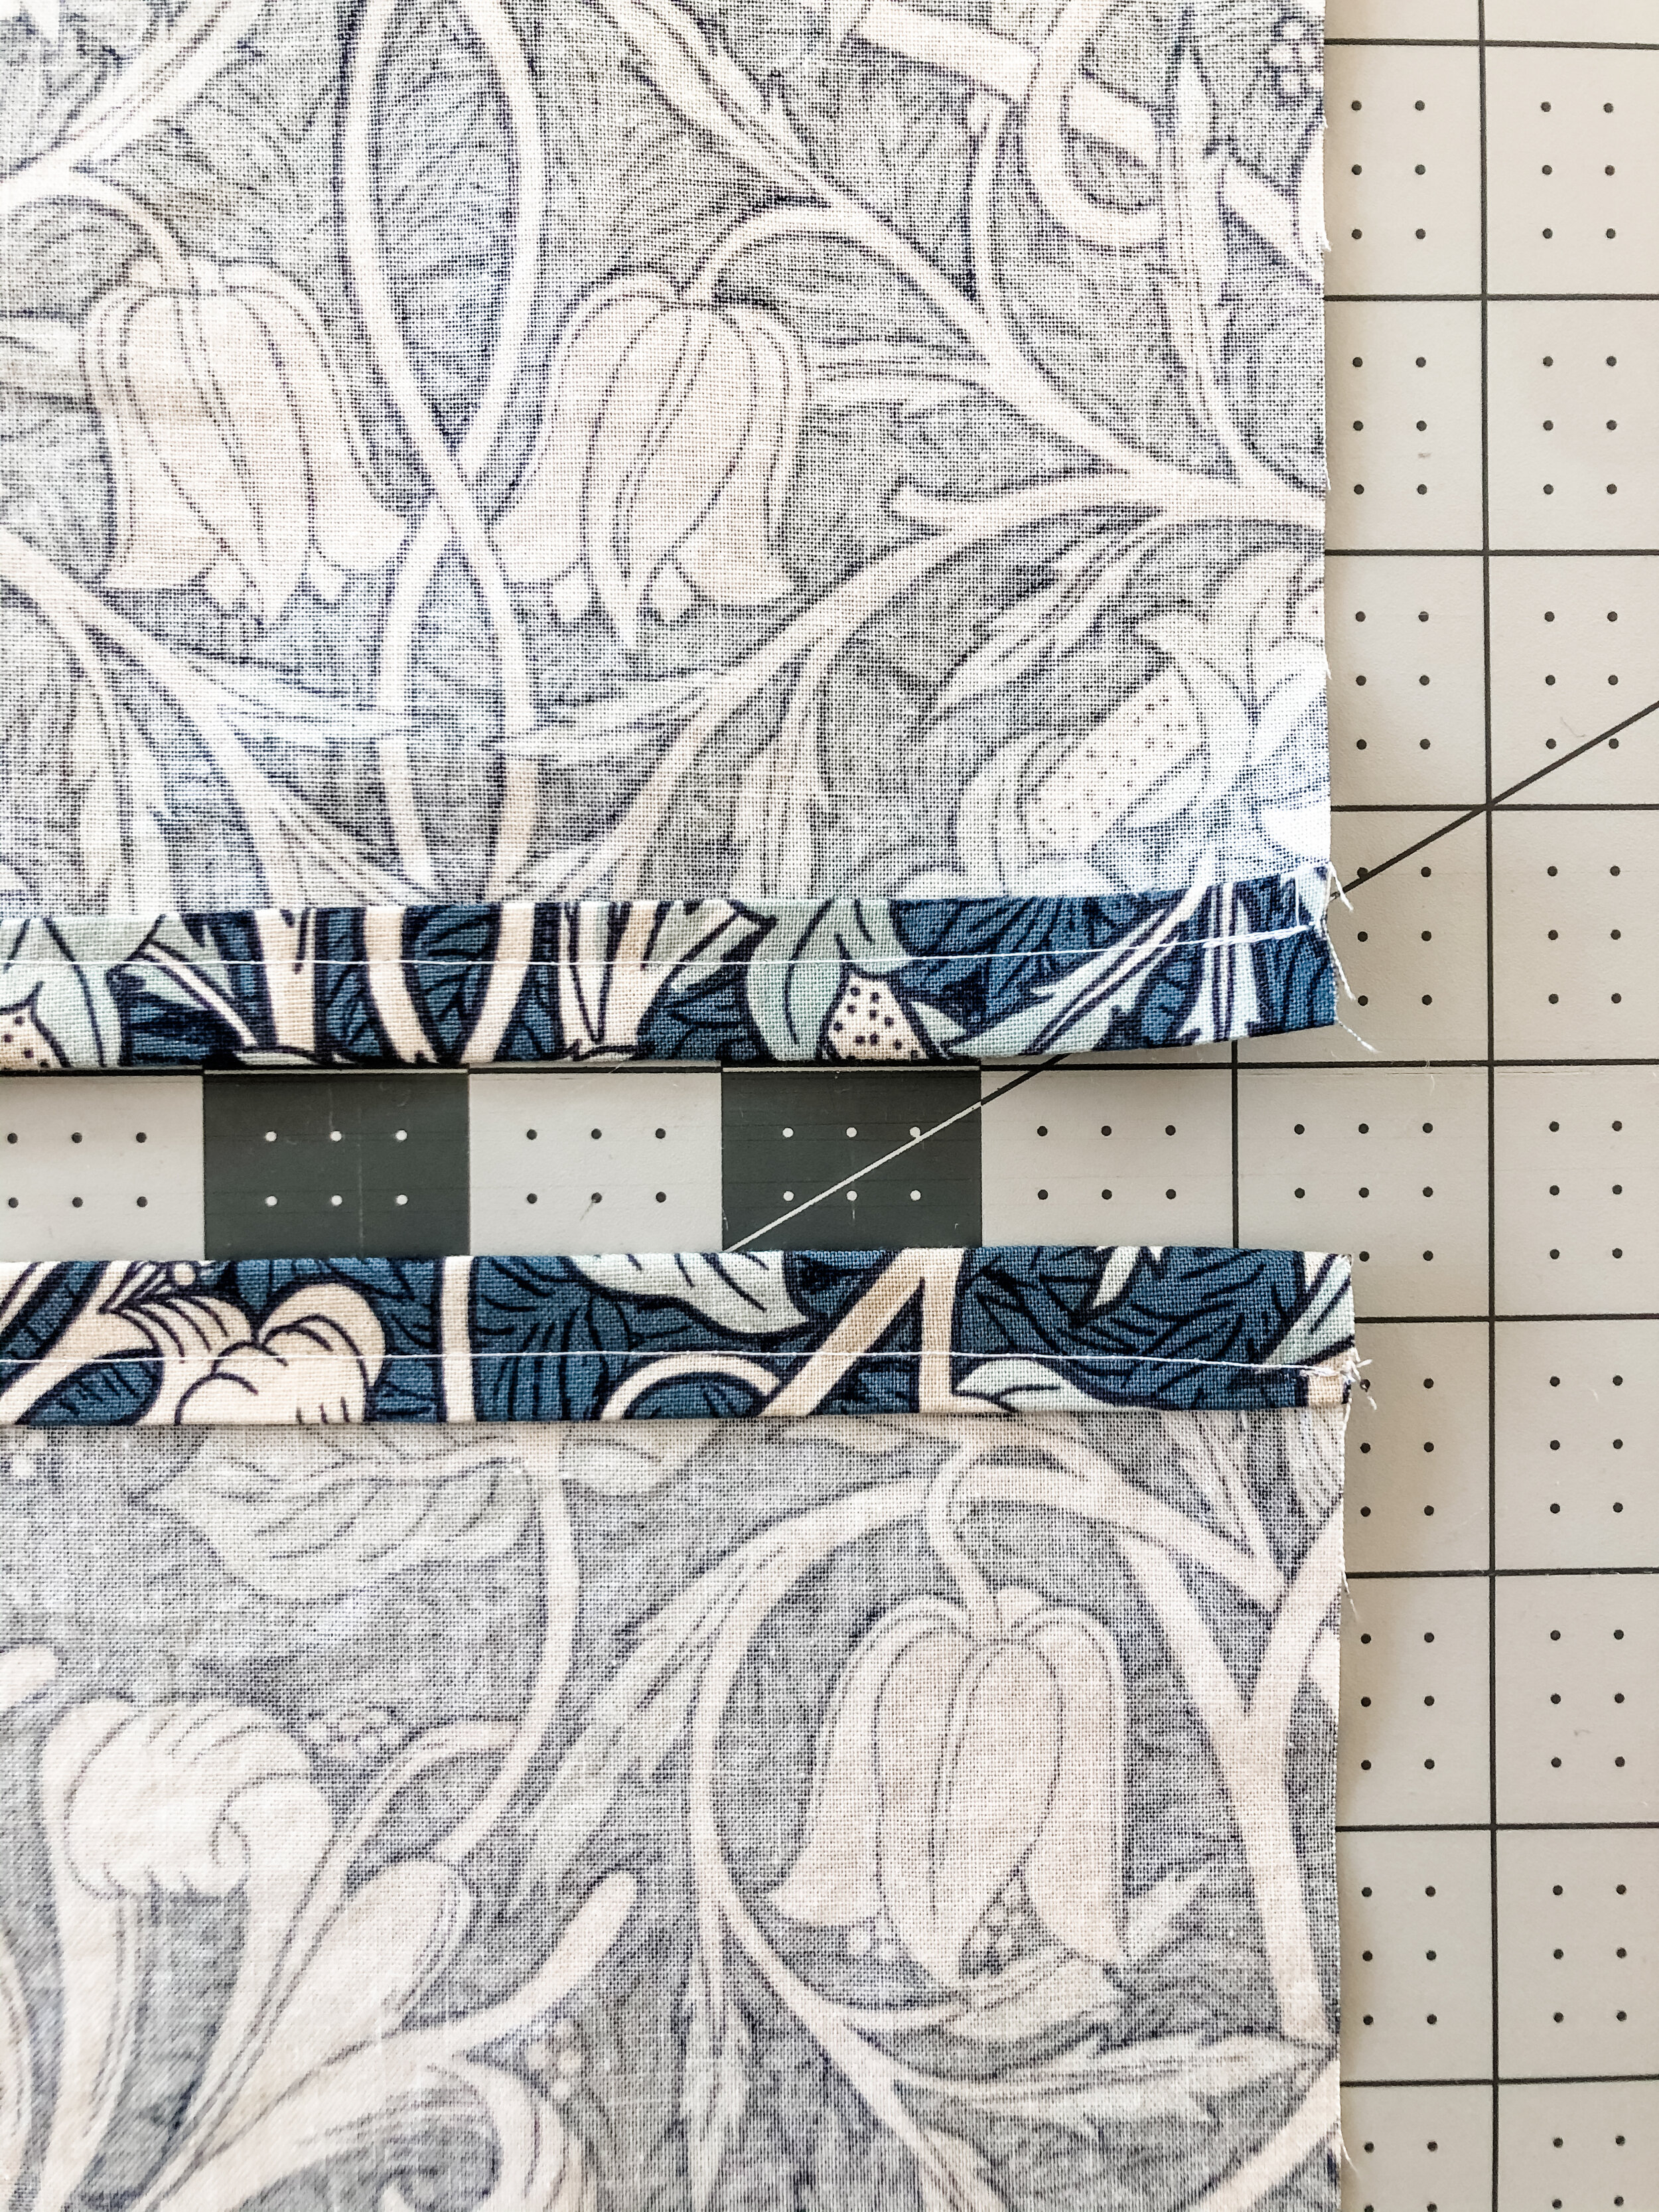
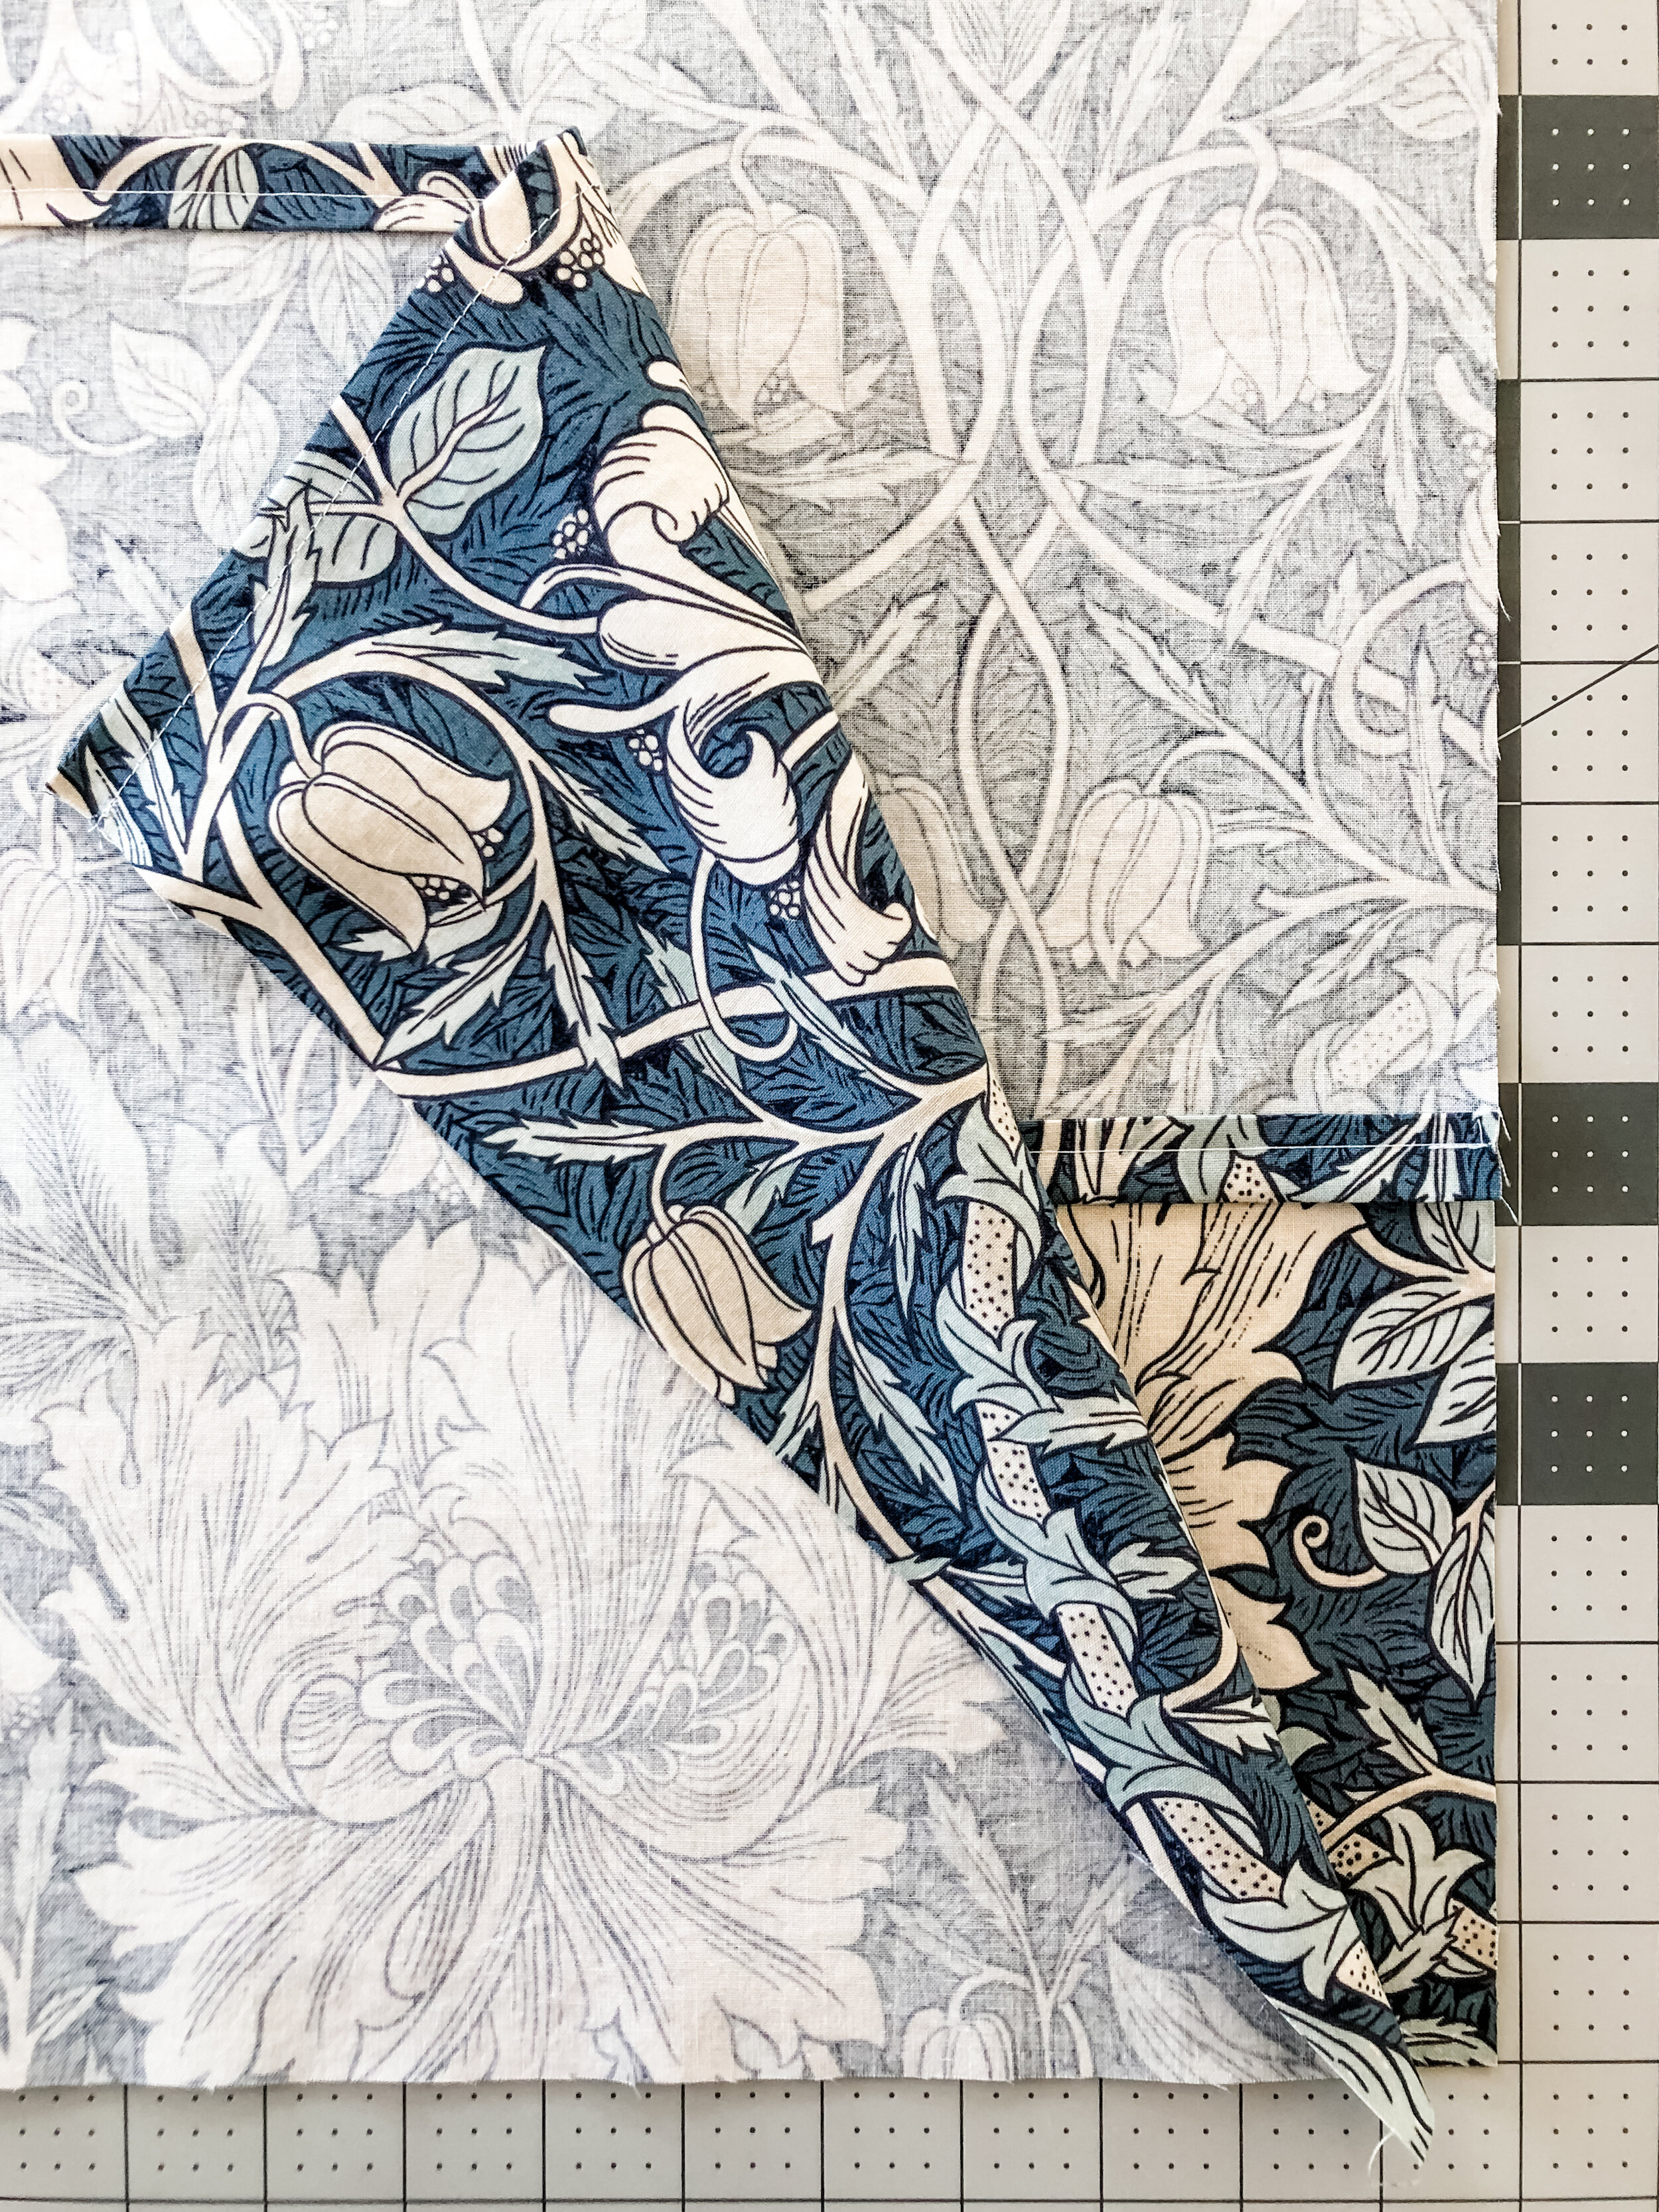
(for example, my pillow is 20 inches square, 20 divided by 2 equals 10 inches. 10 plus 5 inches for overlap = 15 inches)Fold and press each back piece (the long sides) over a half-inch and then again
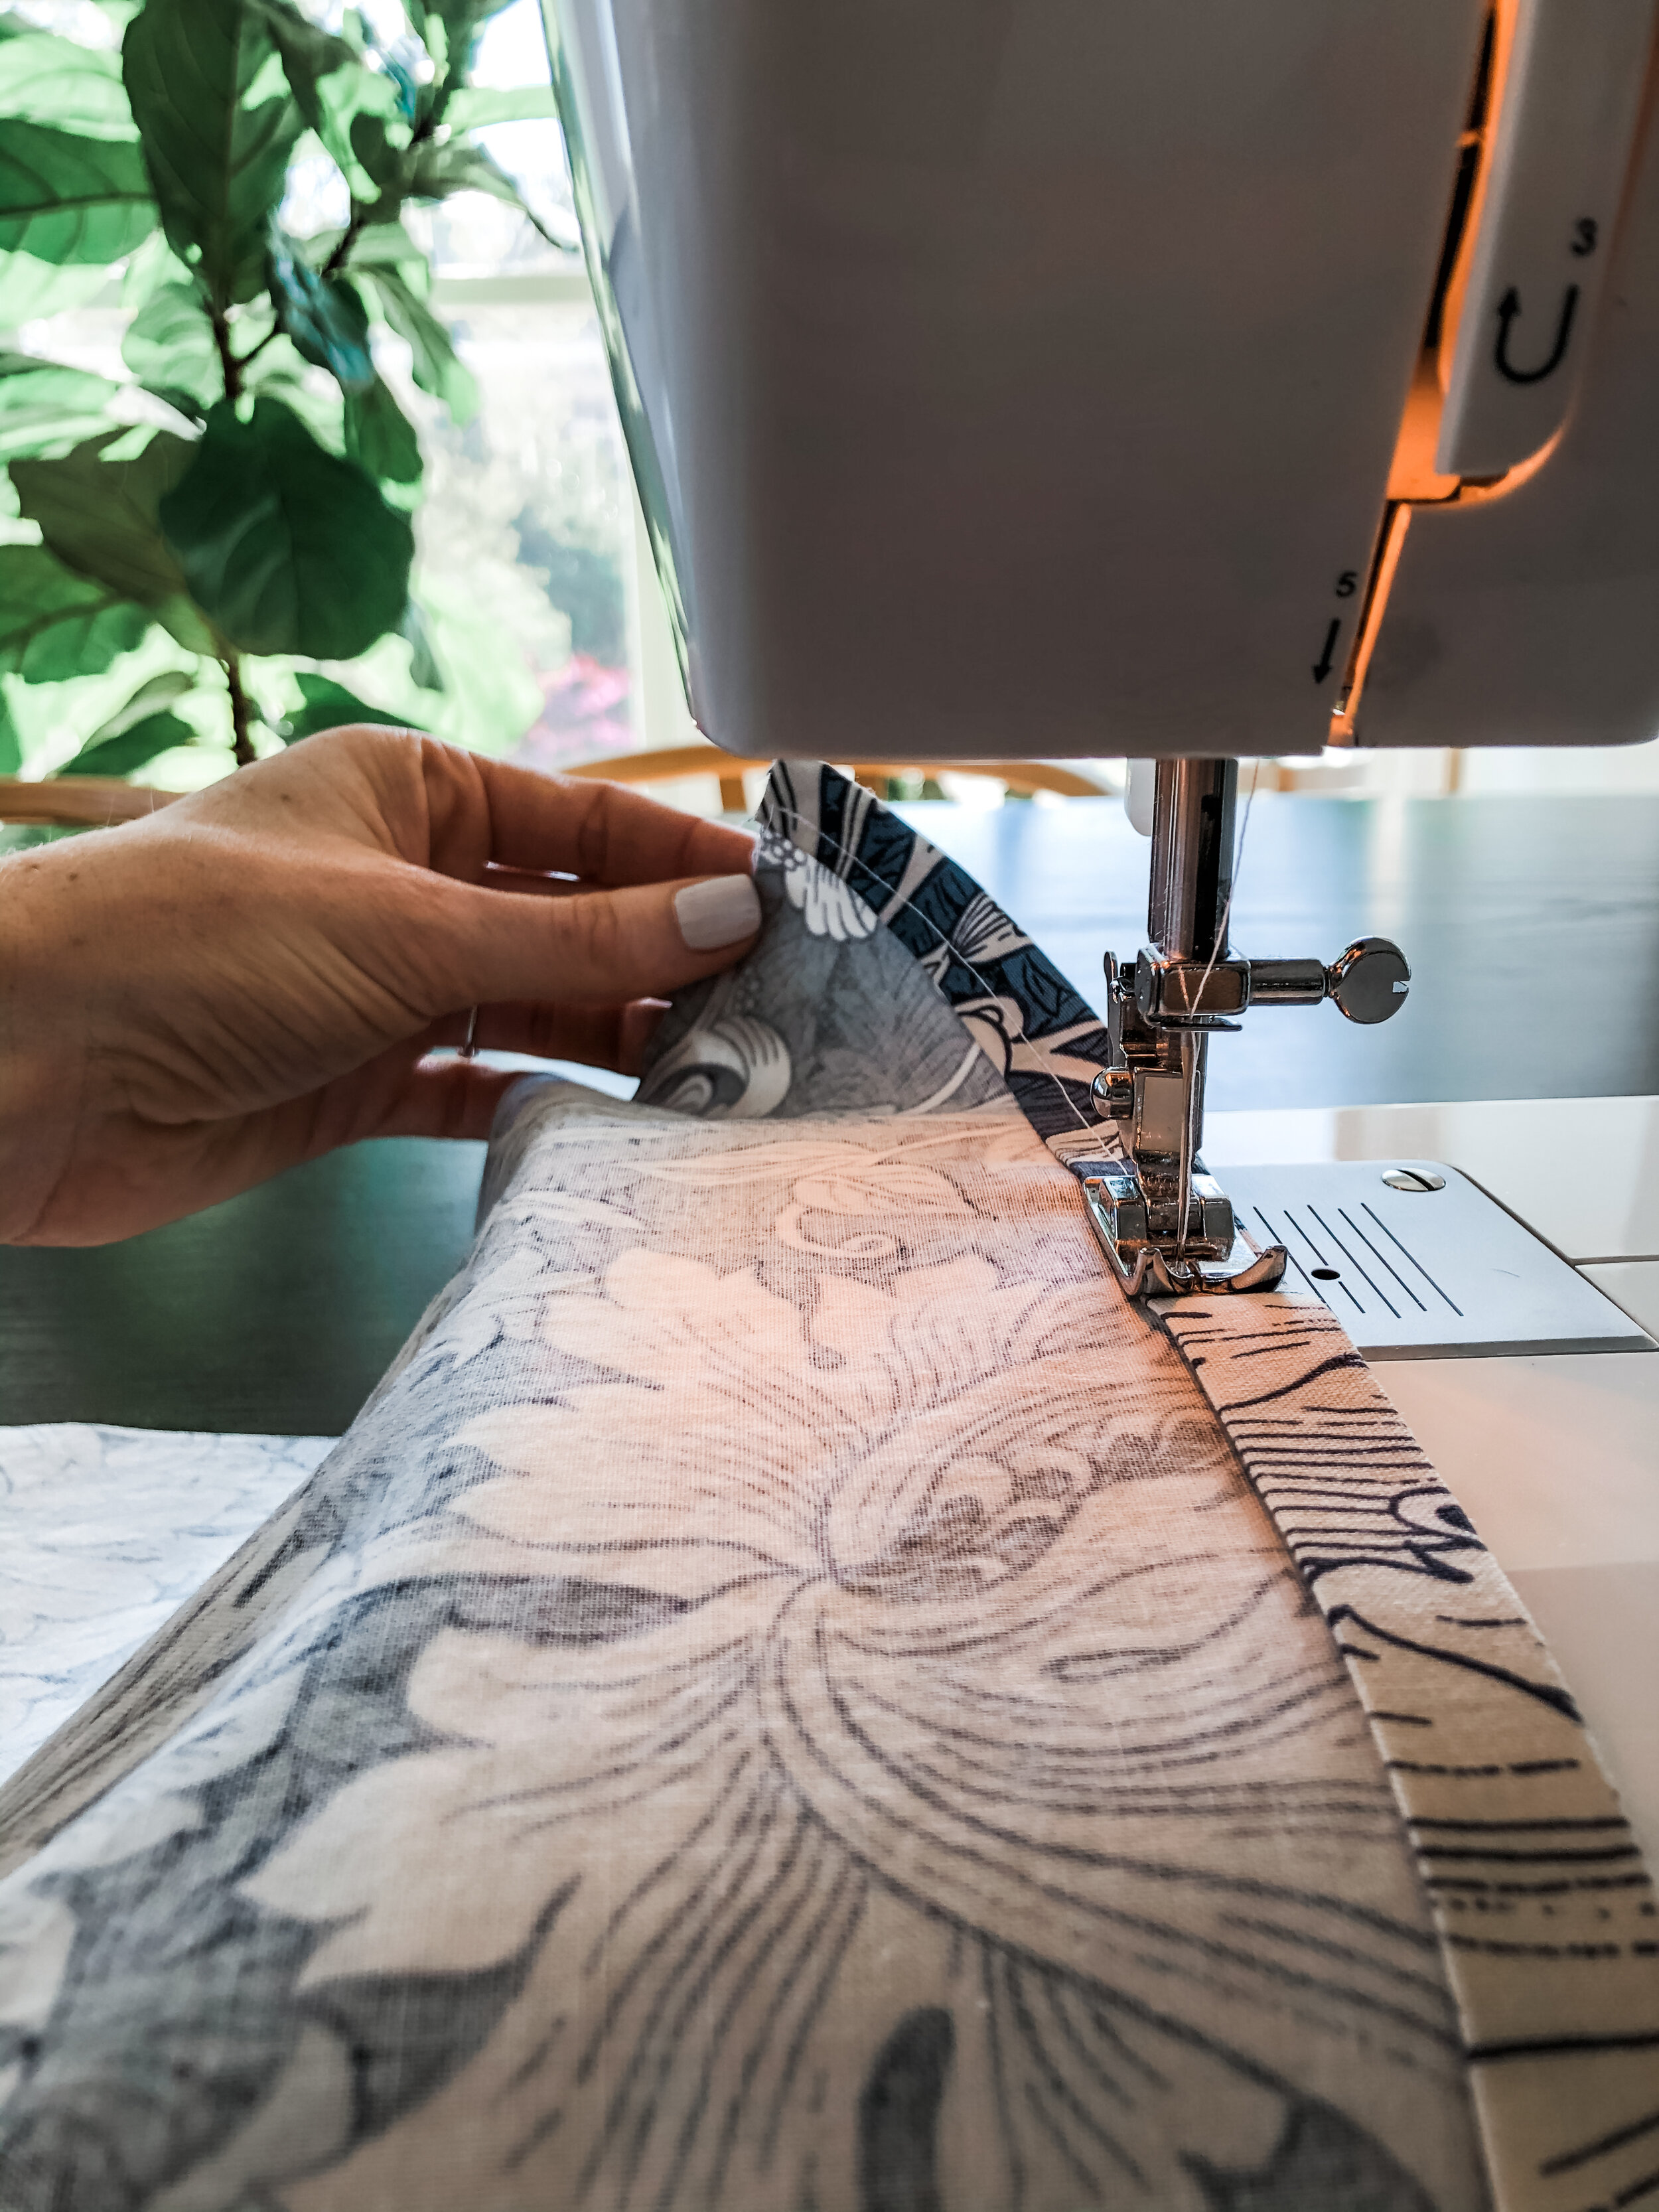
Sew along the fold with a quarter inch seam allowance to make a finished edge
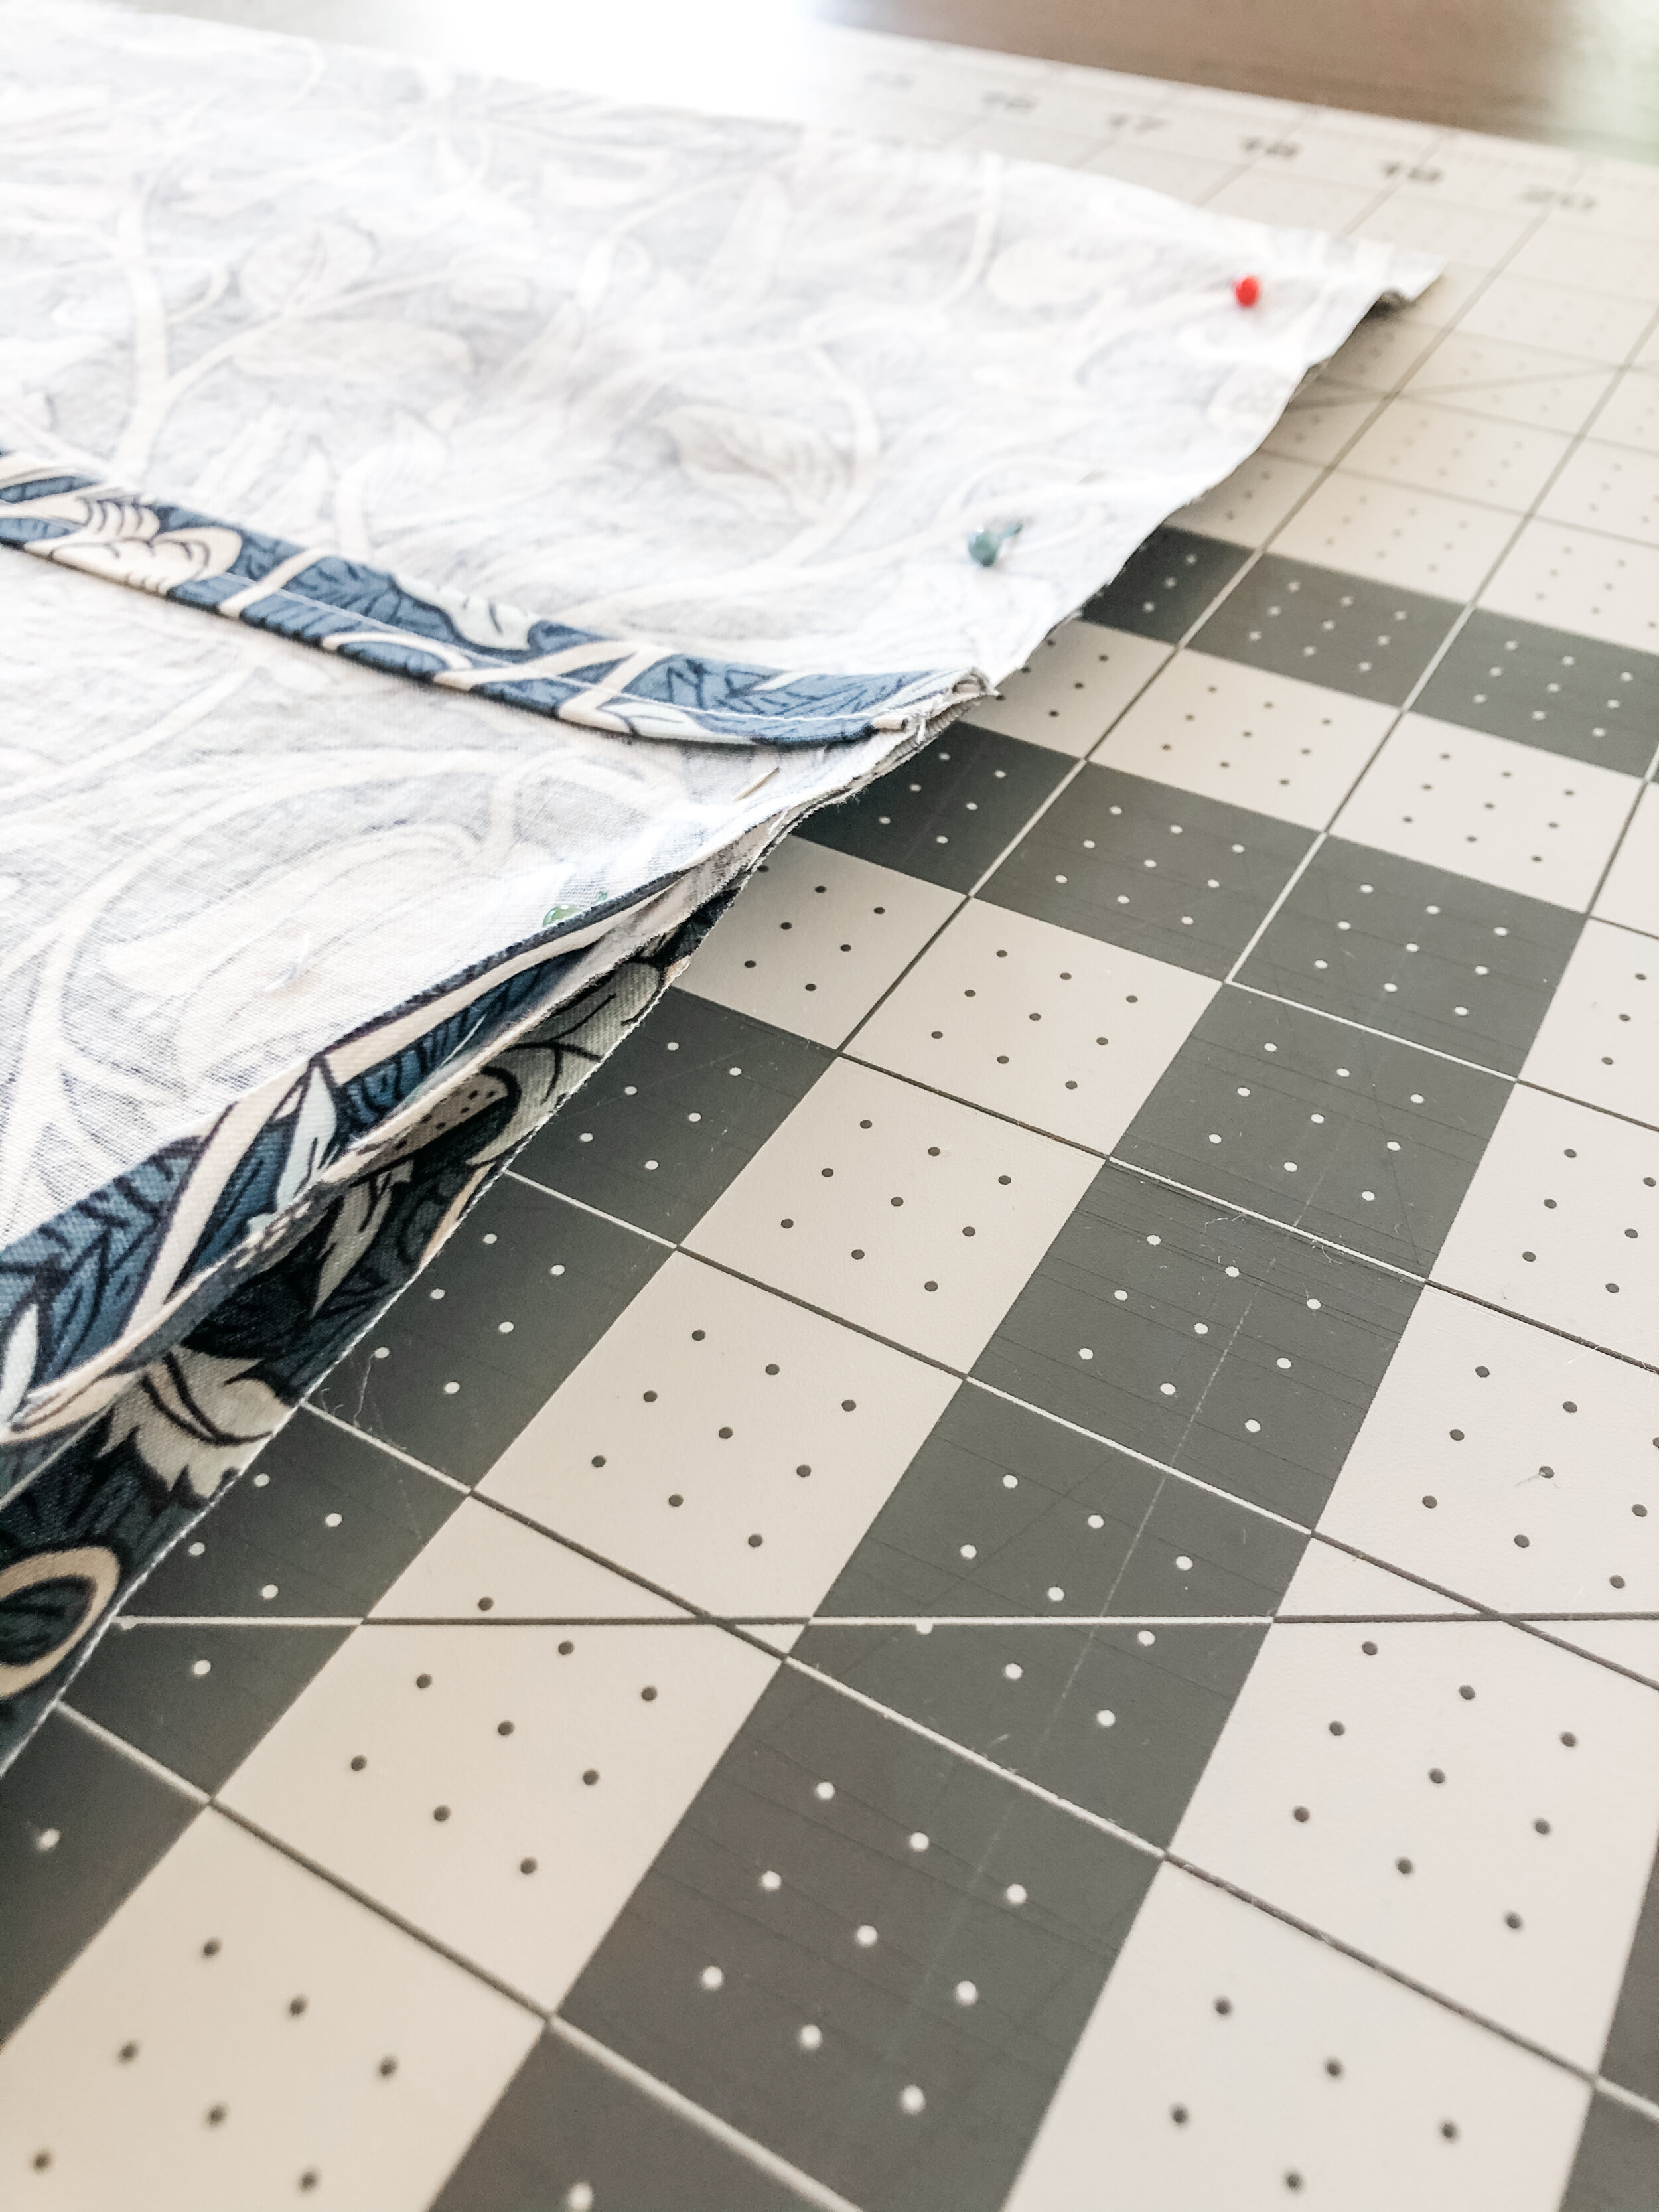
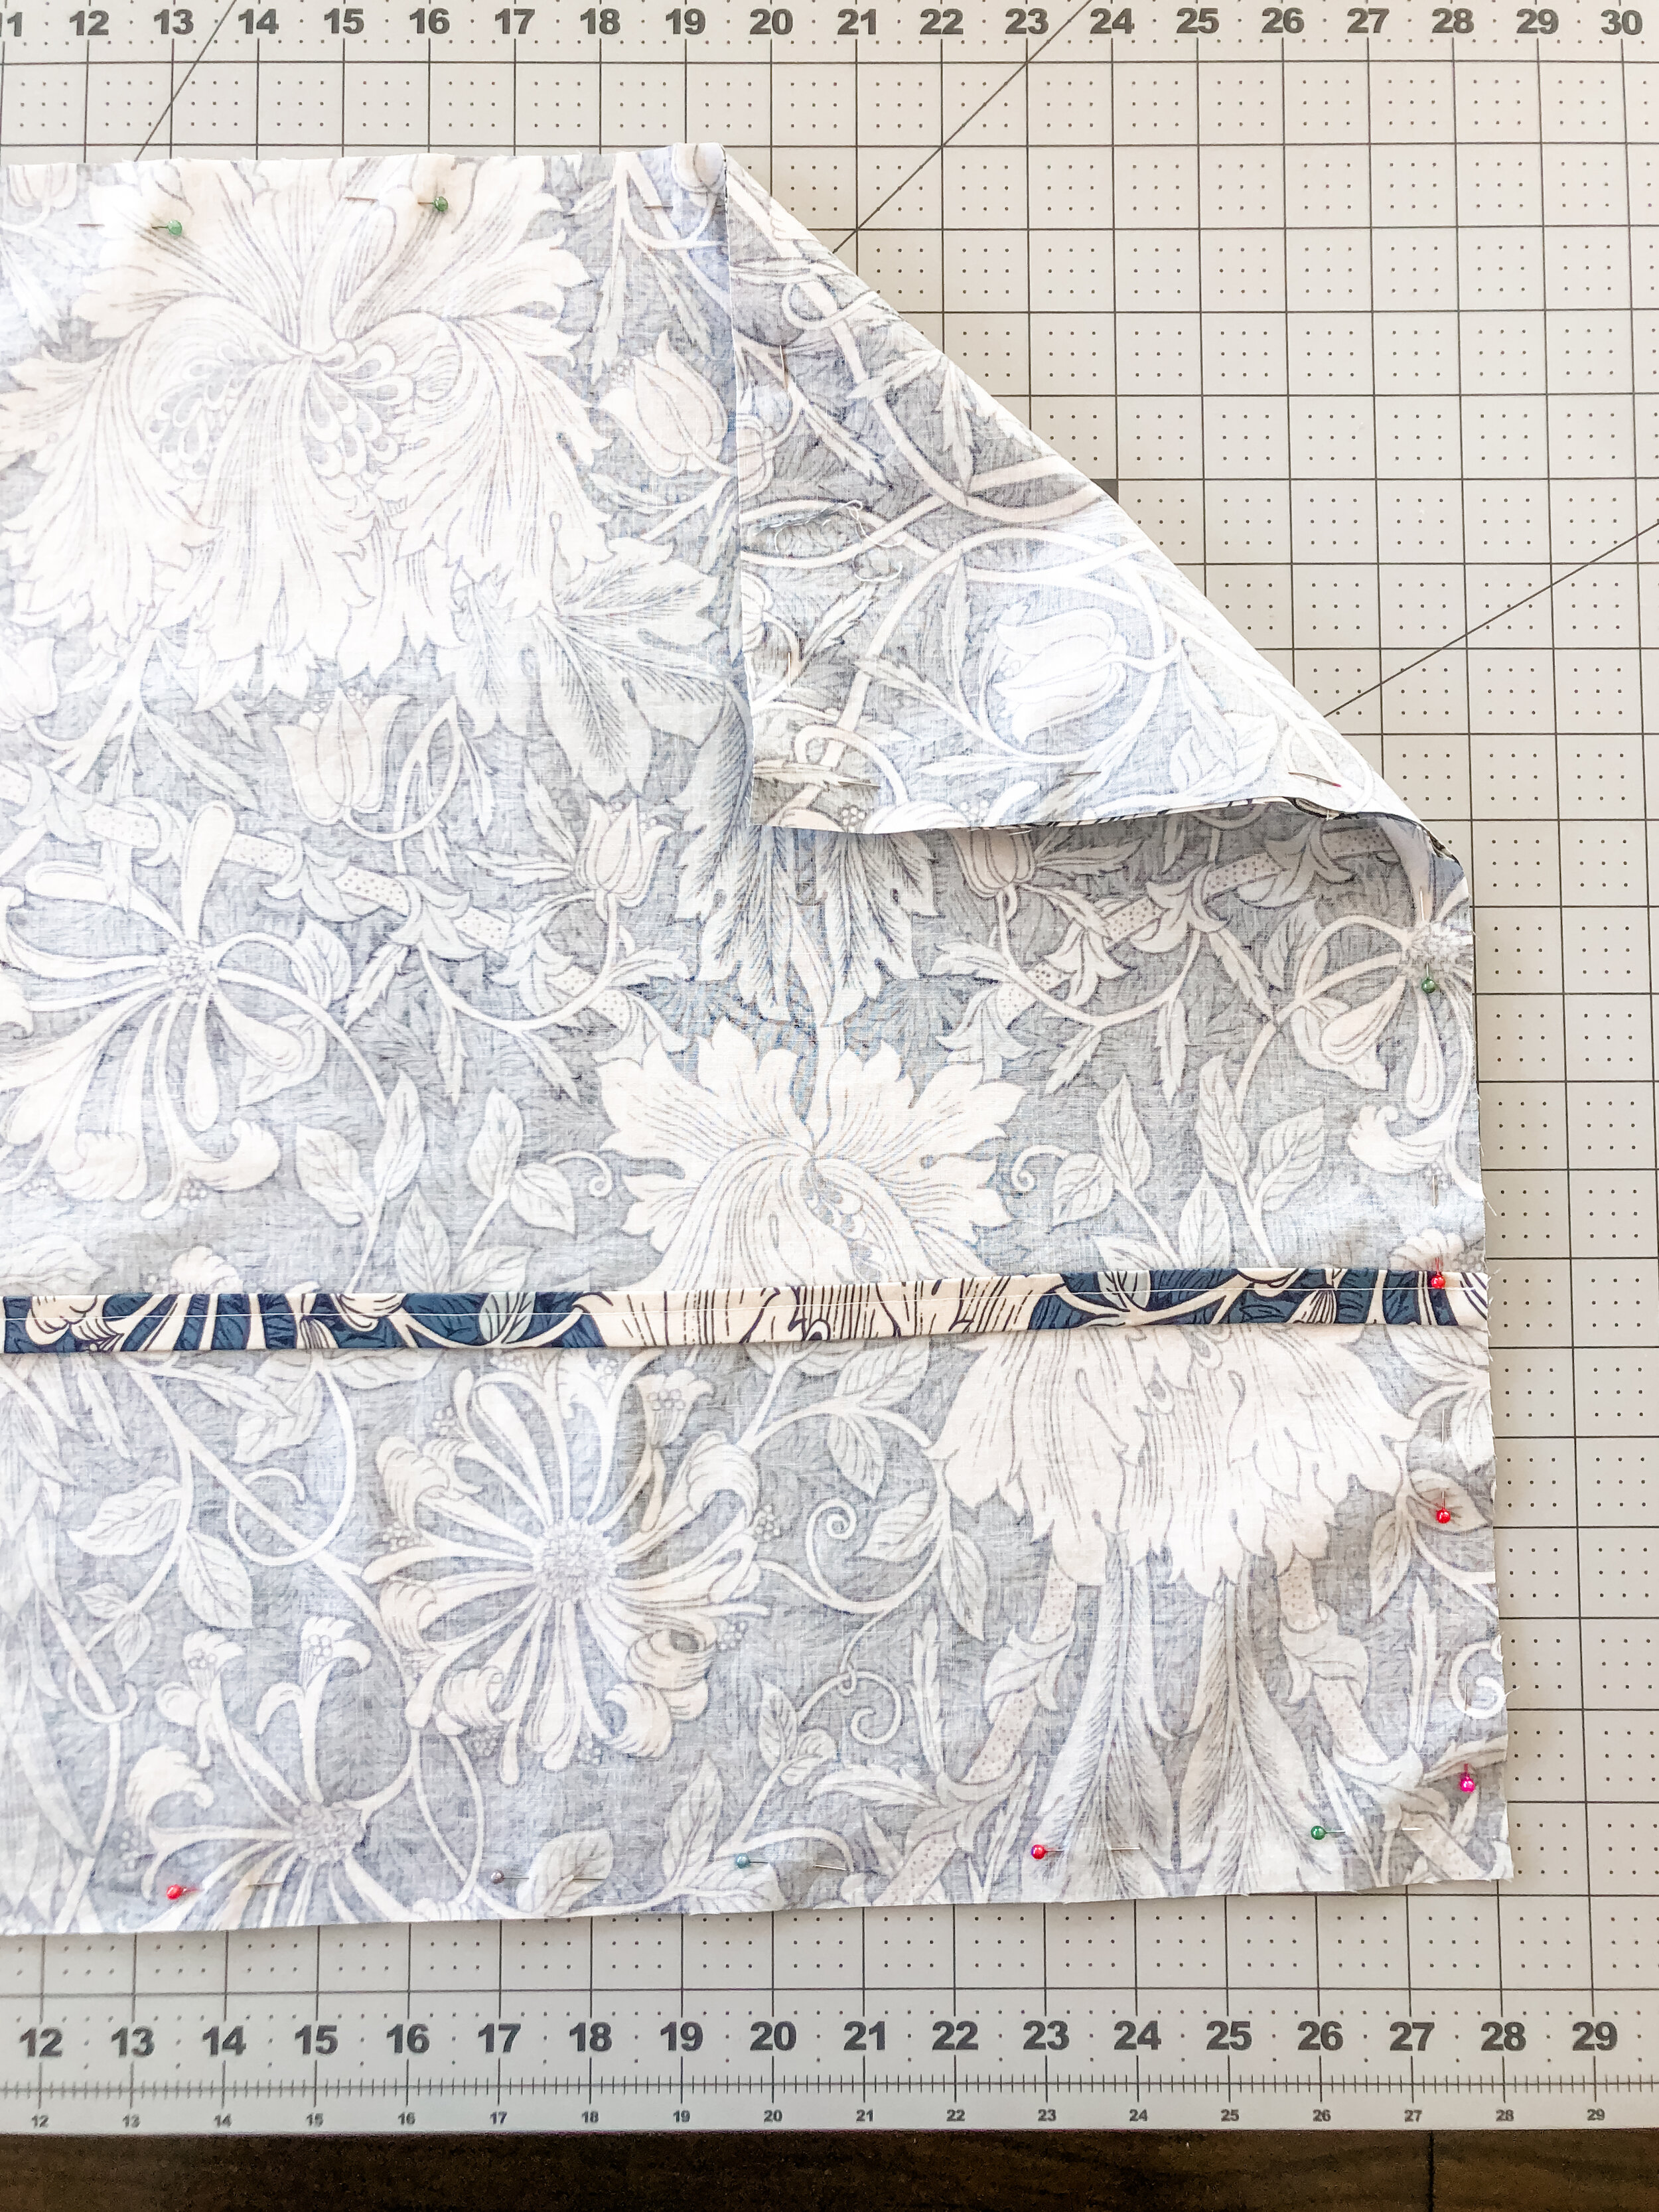
Layer the front piece right side up and the back pieces over one another right side down, lining the edges up with the front piece and pin all three layers of fabric together
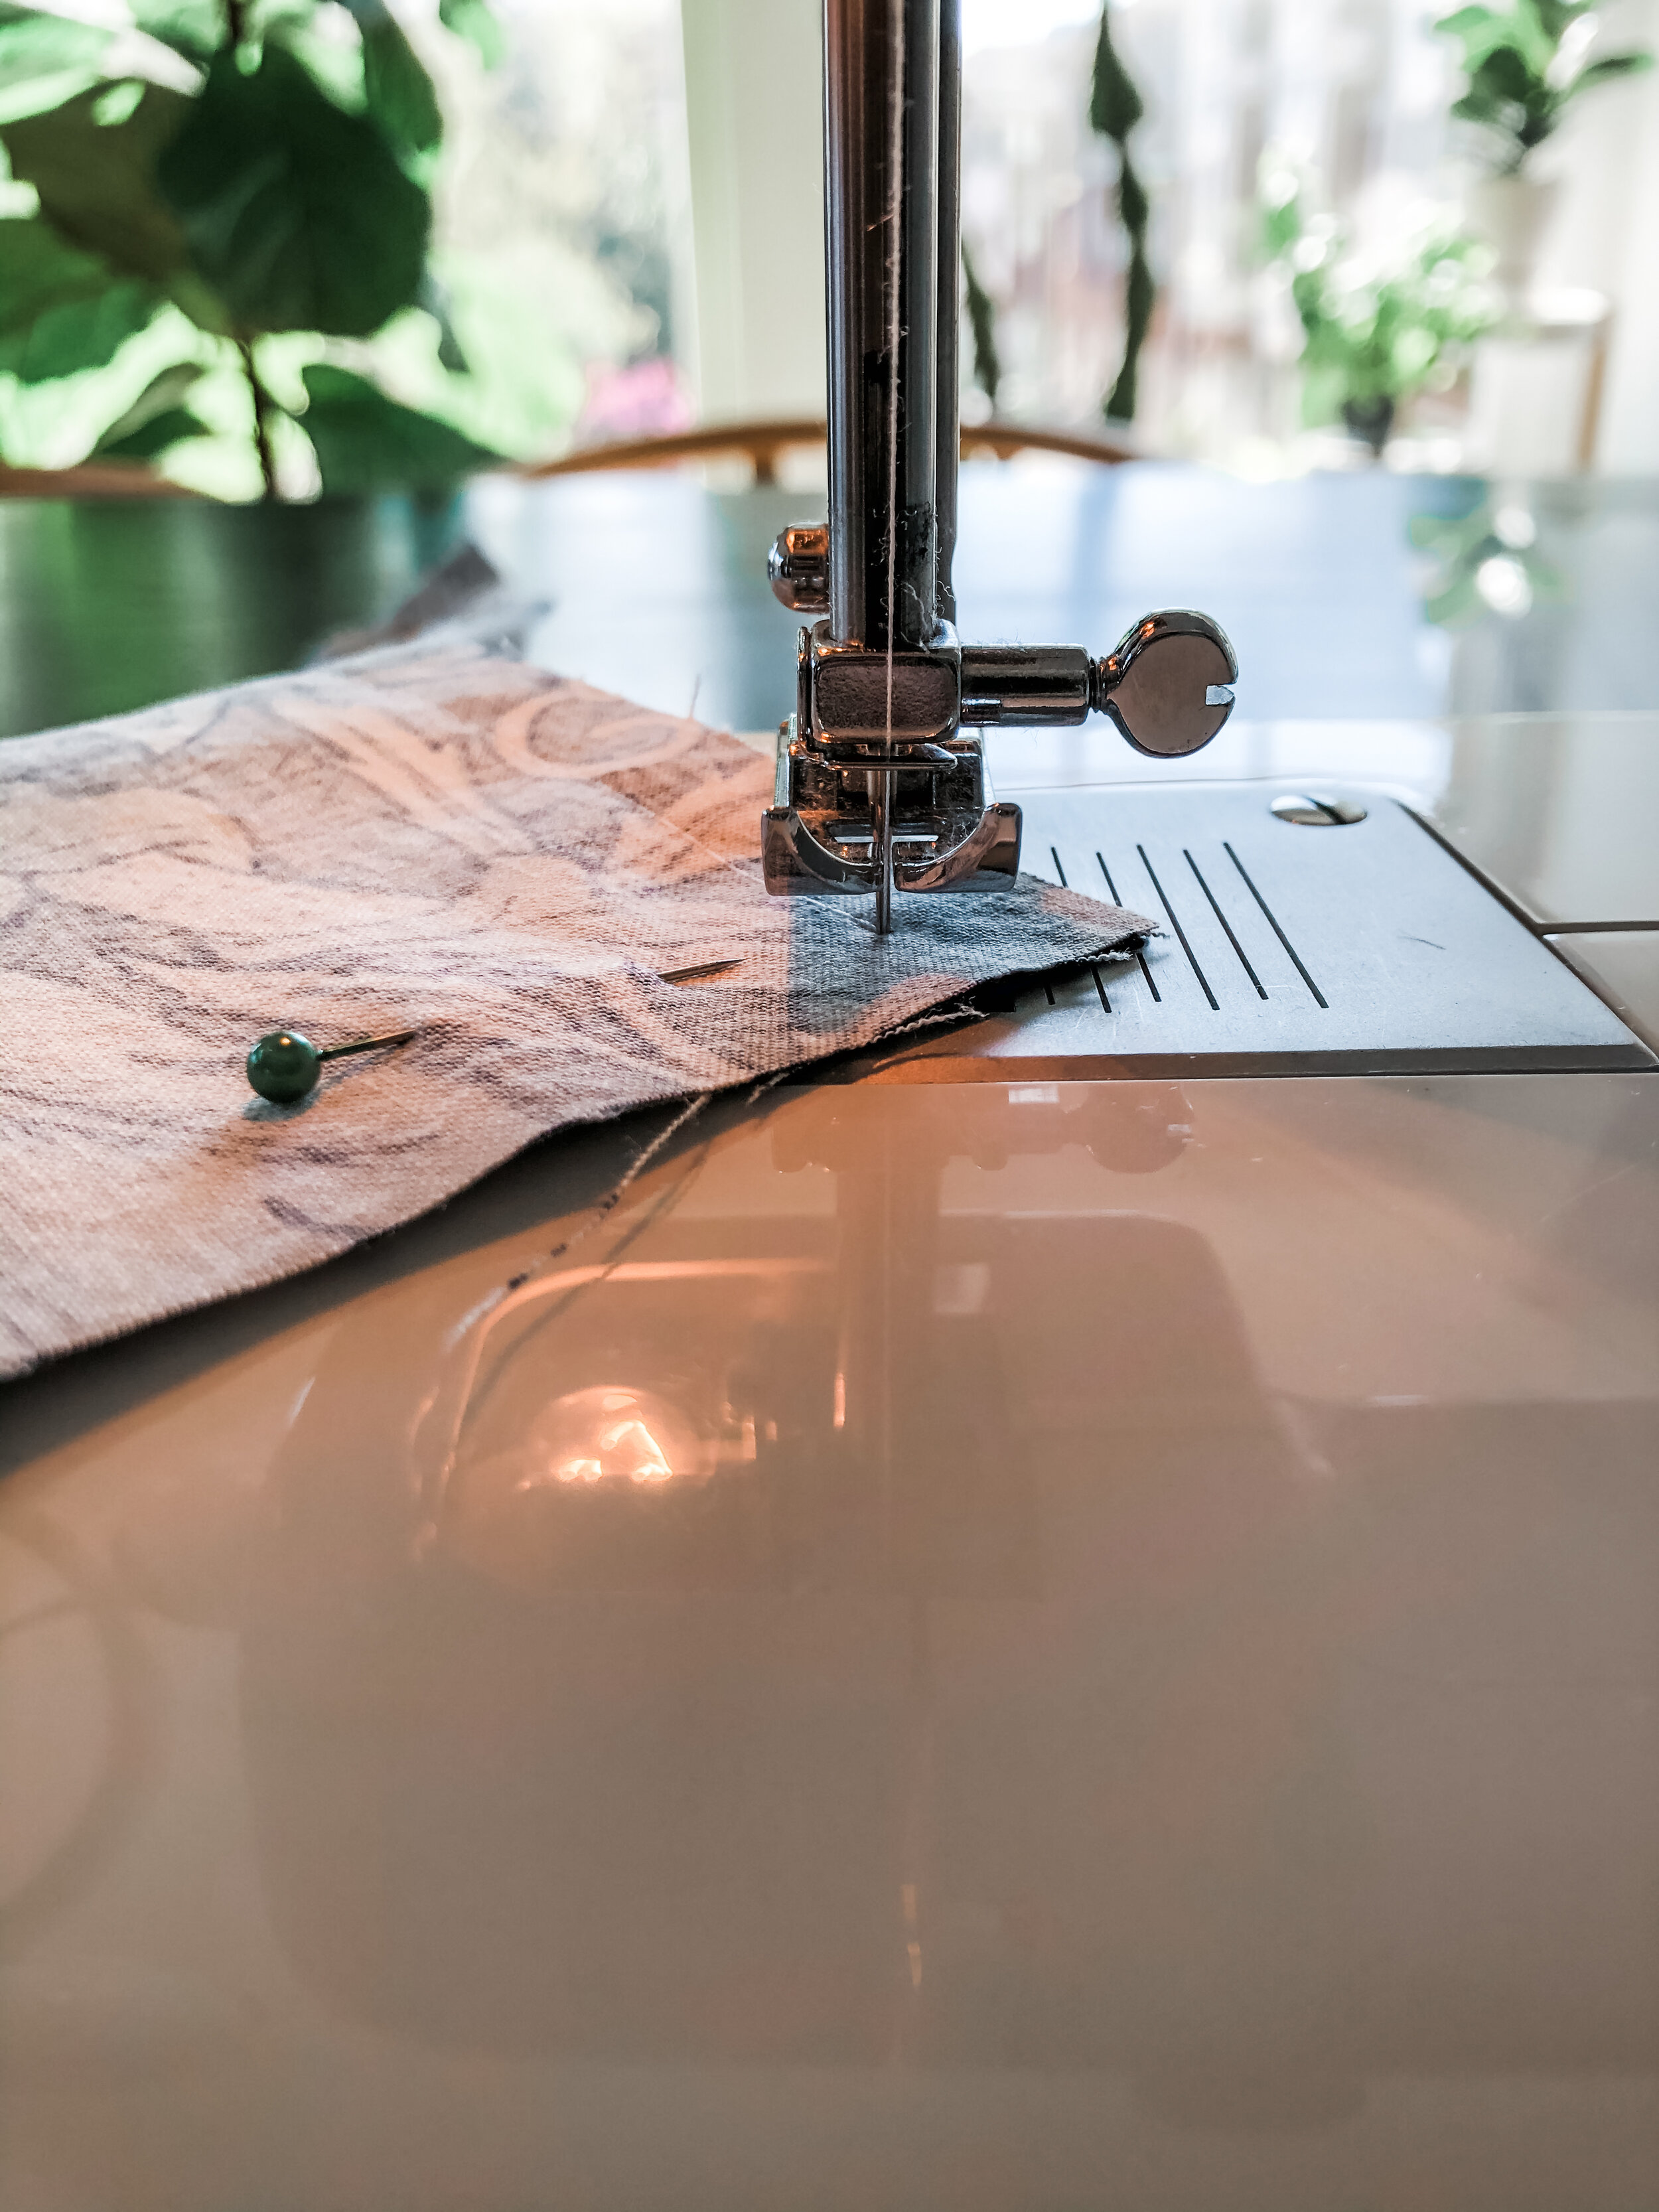
Sew all around the pillow with a half-inch seam allowance, stopping a half-inch before each corner leaving the needle through the fabric, lift the presser foot, rotate the fabric 90º, lower the presser foot and continue sewing
Don’t forget to backstitch at the beginning and end of the seam
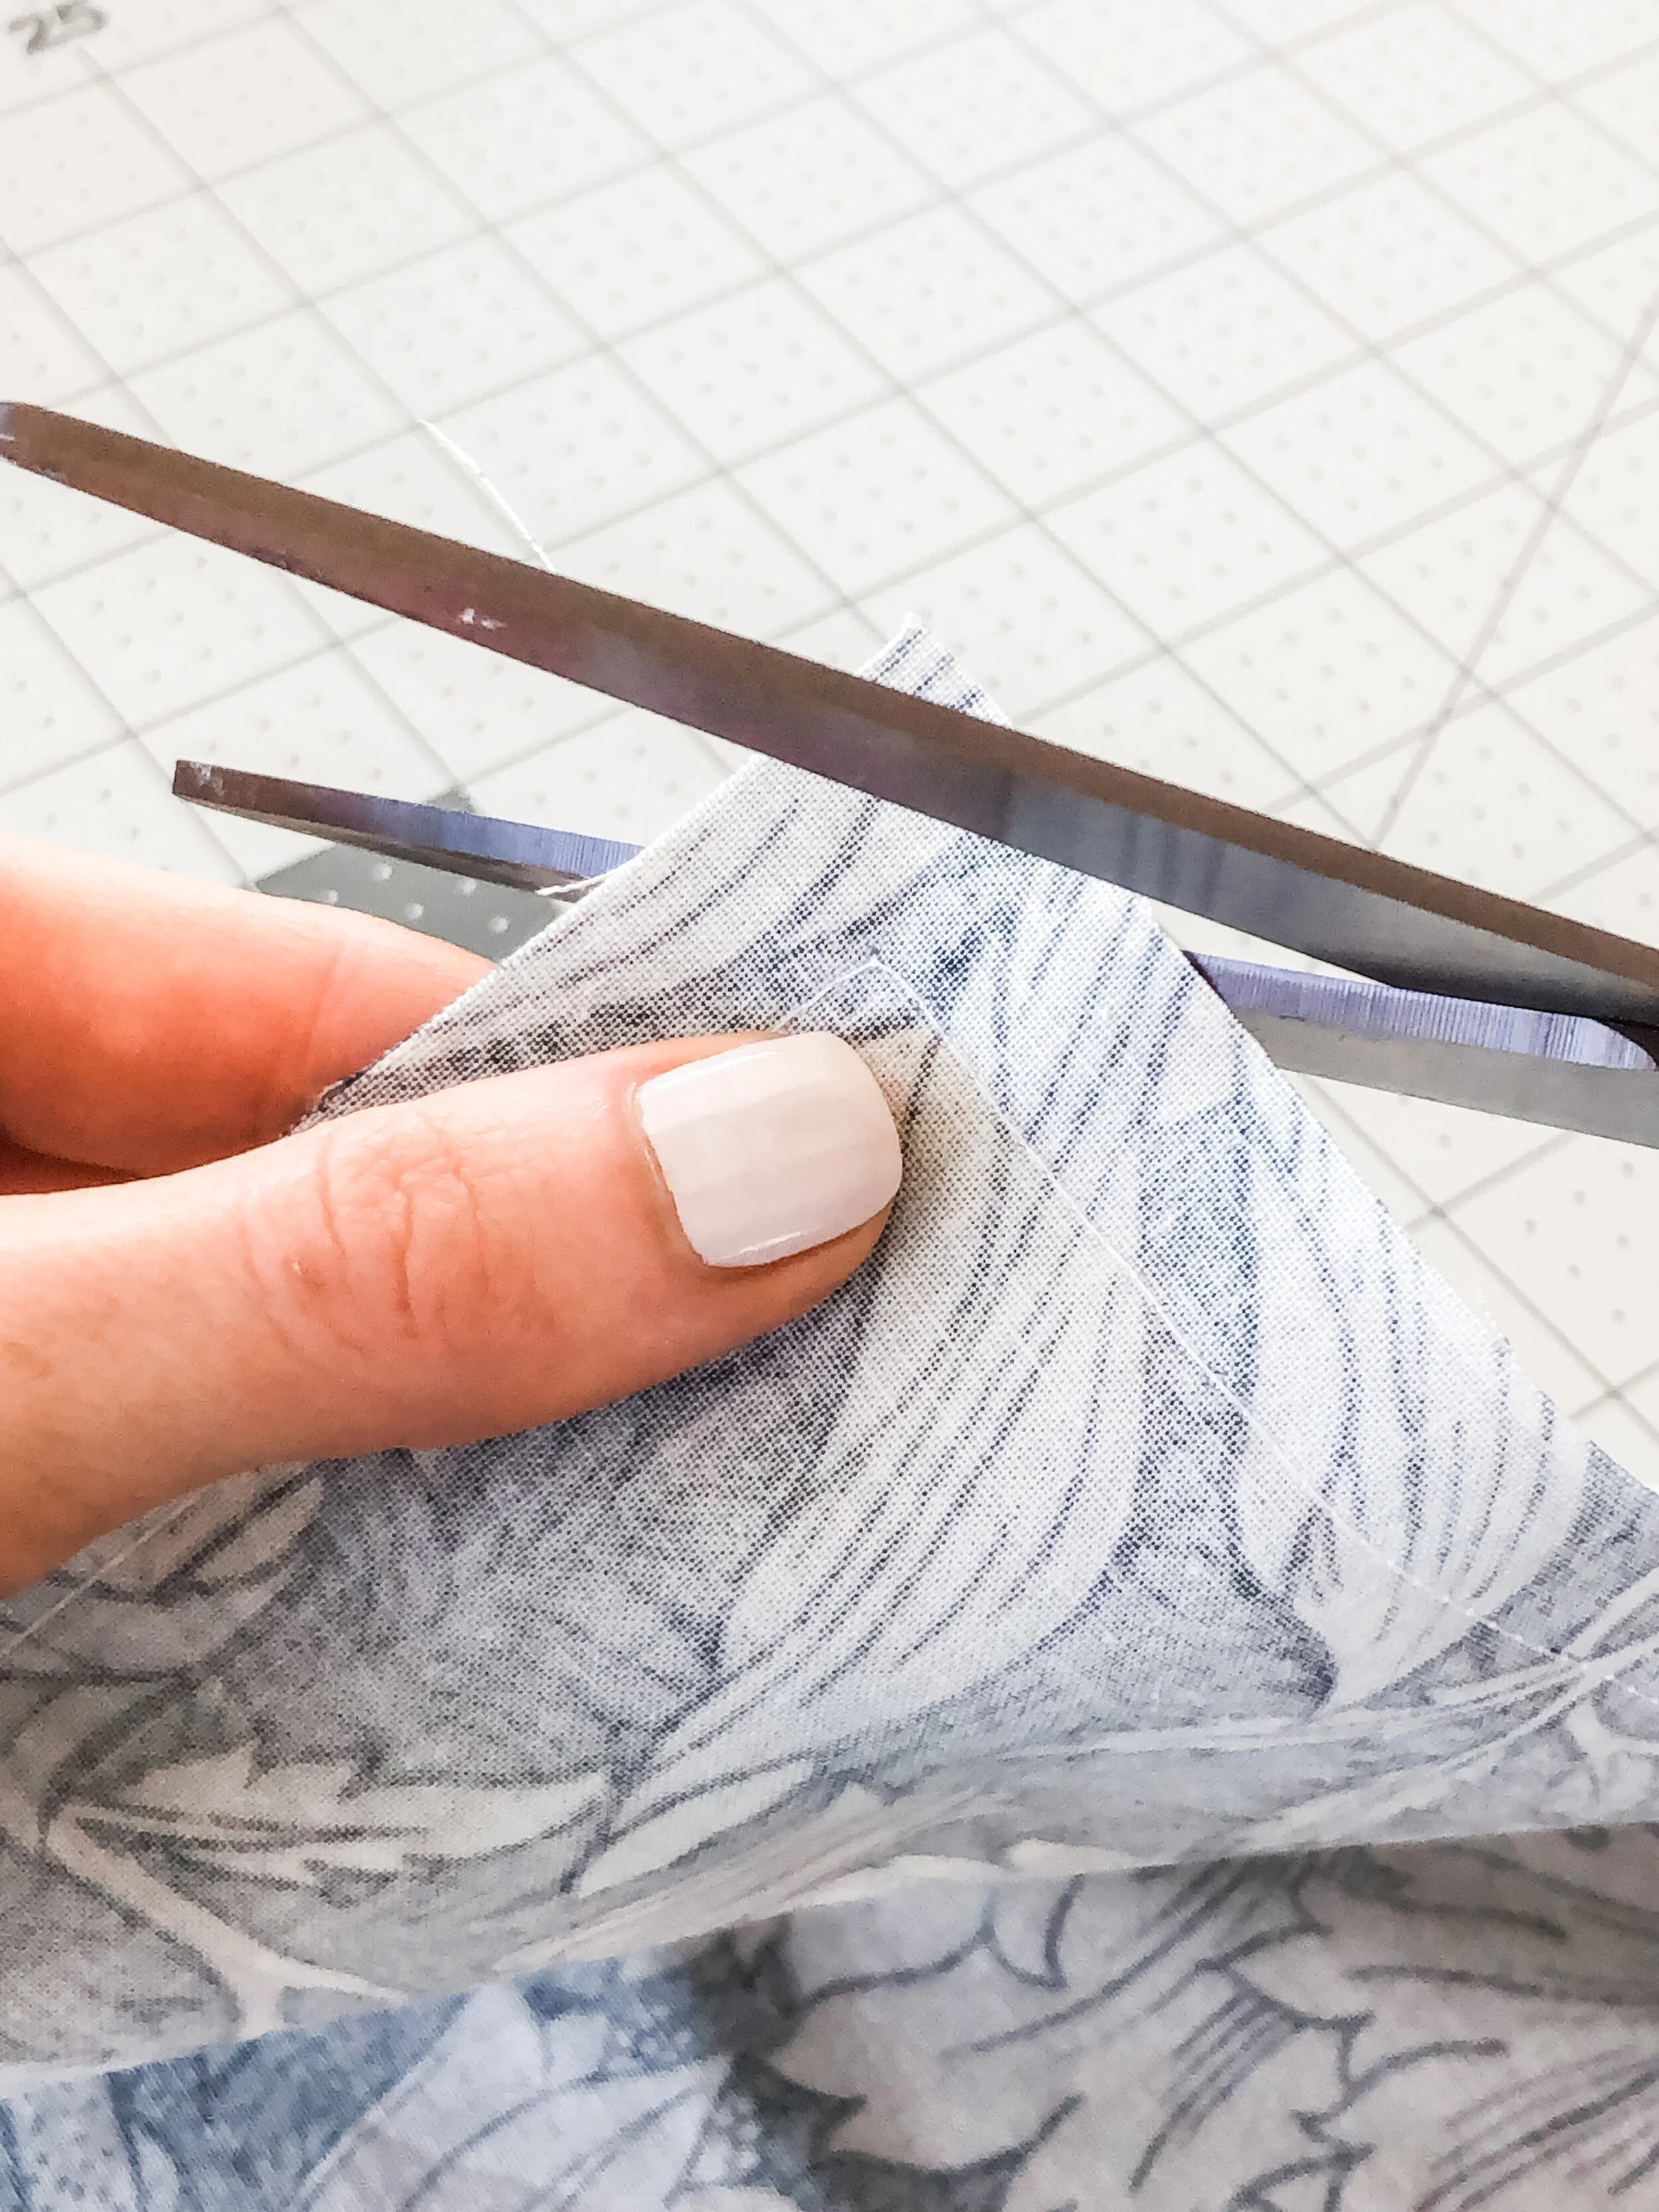
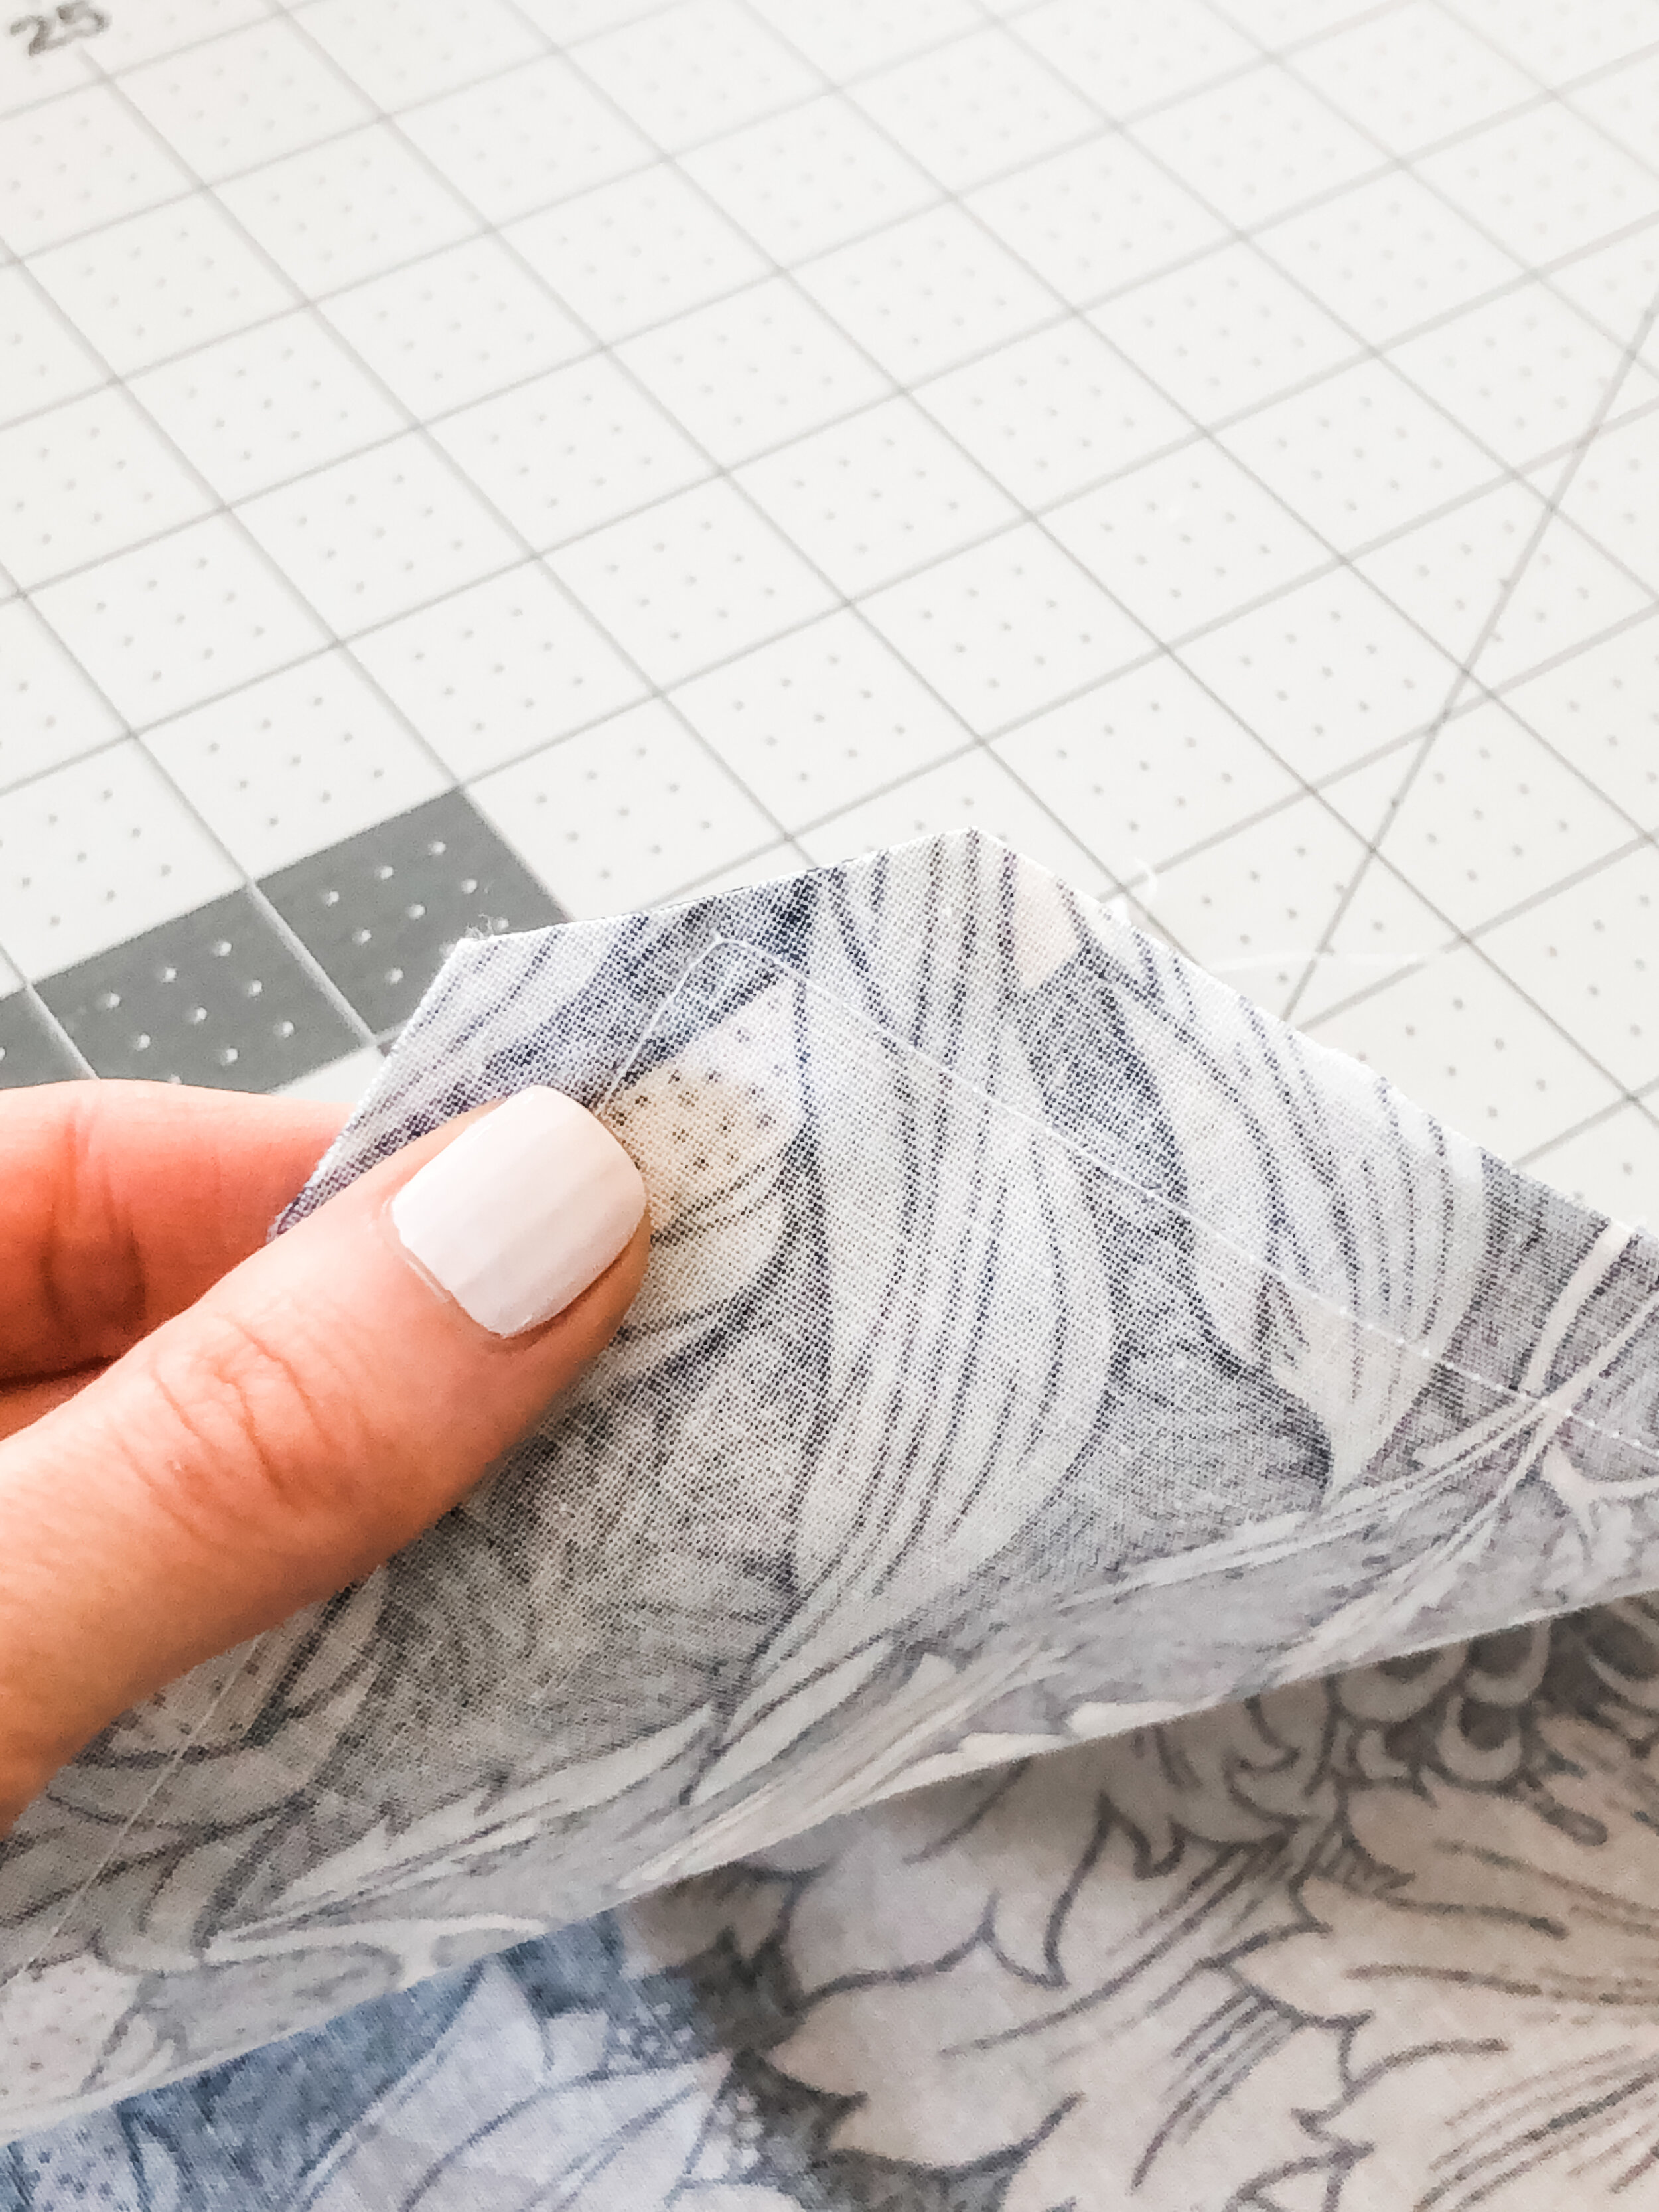
Snip each corner off (this helps minimize fabric bulk and makes a really sharp corner!)
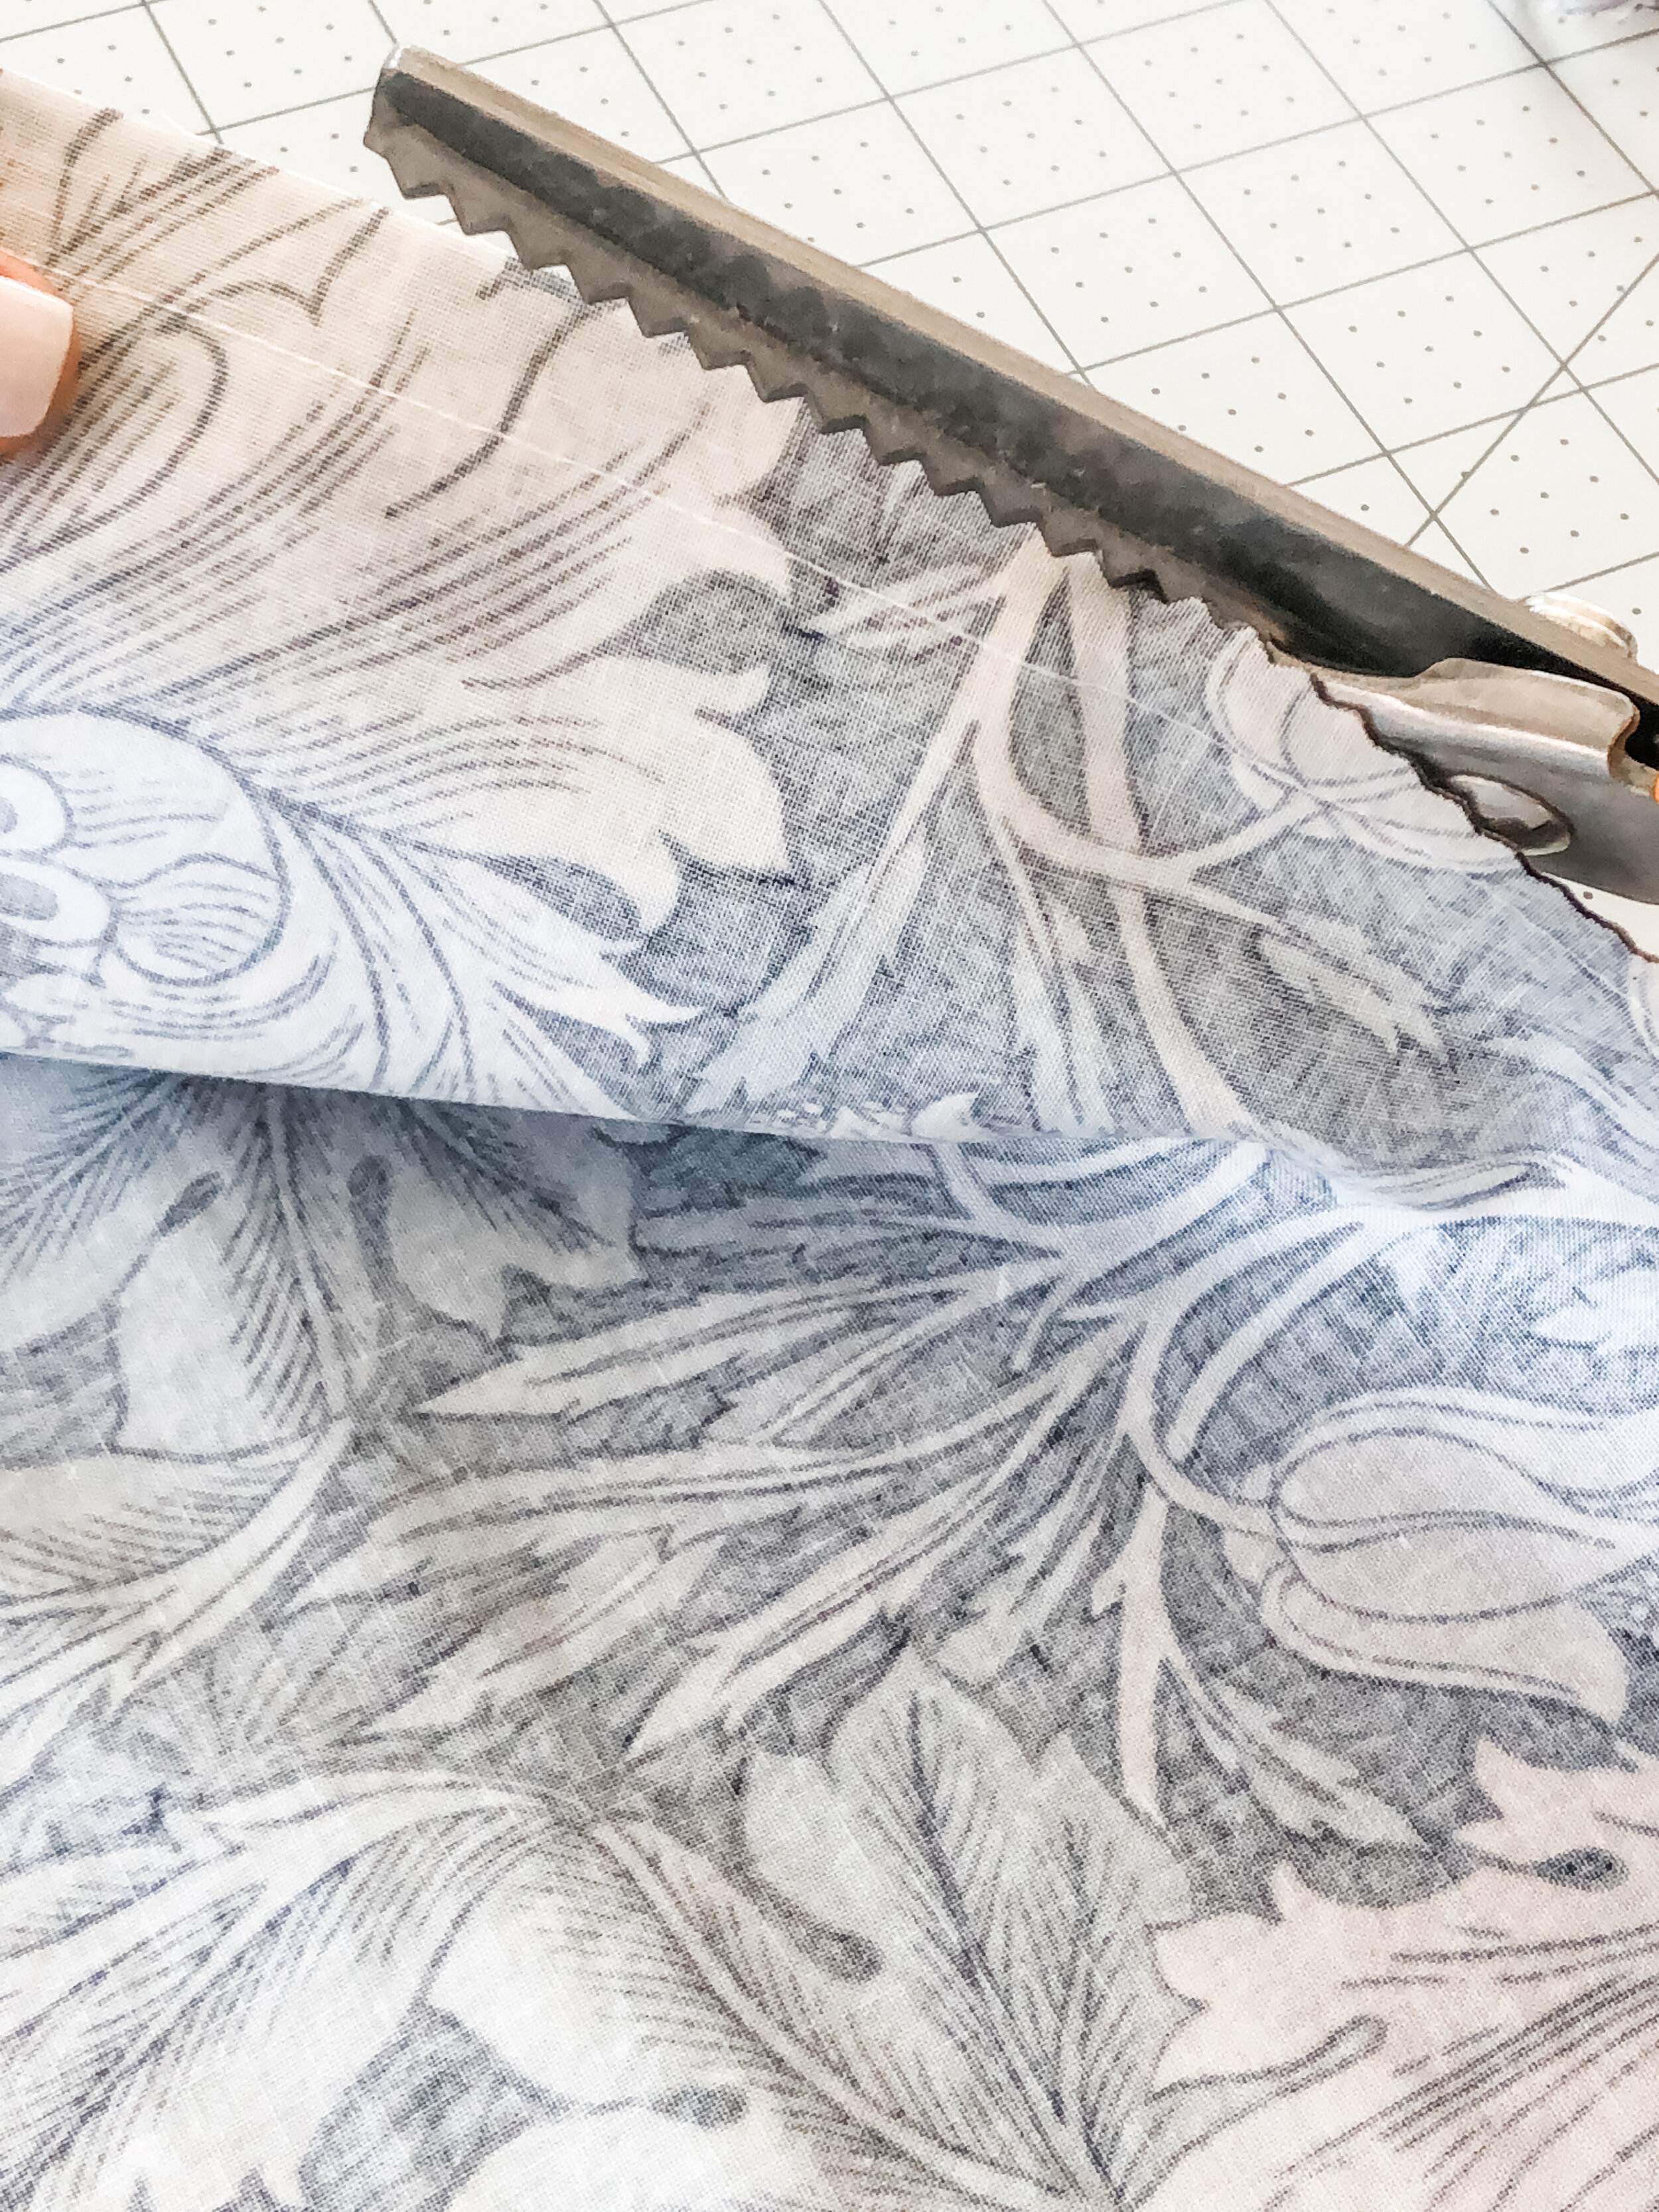
I use pinking shears to cut along the edges, which helps to prevent the fabric from fraying, but I have definitely skipped this step in the past…
Turn the cover right side out and use a chopstick (or capped pen) to get the corners really square
Press open the seams
Add a down insert for maximum fluff-ability and enjoy!!
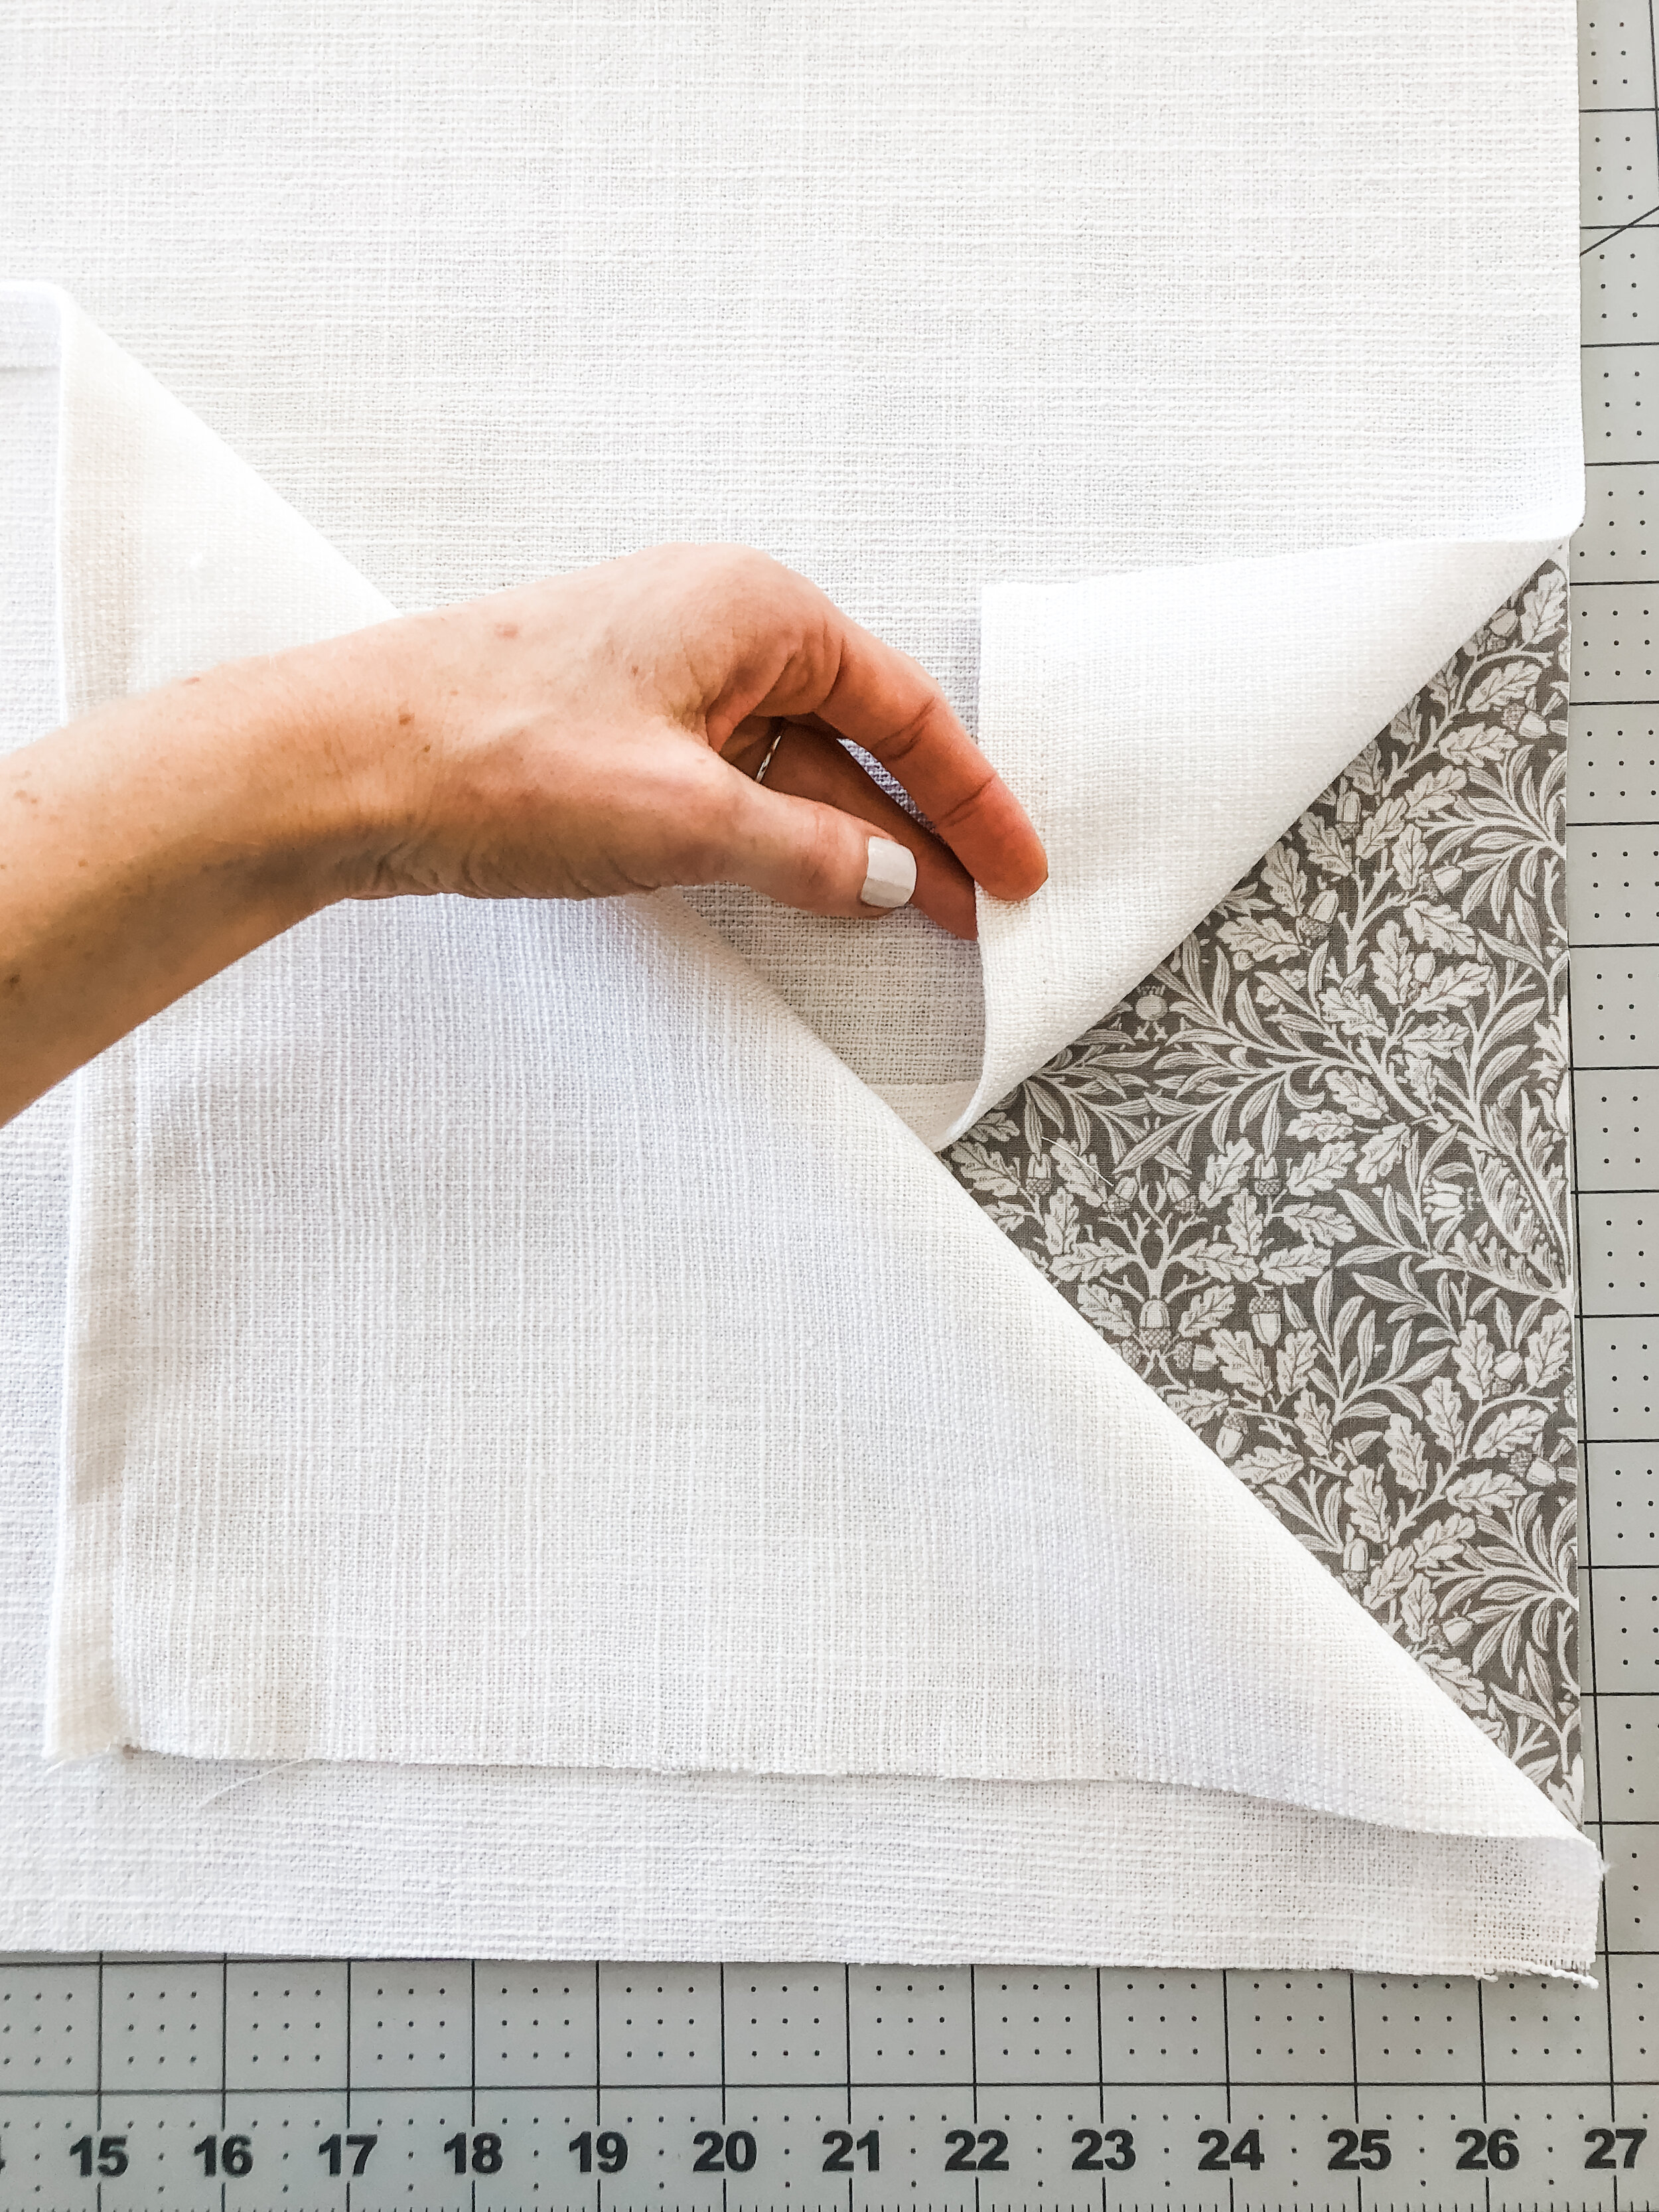
Alternate Backing
Typically, I use a plain fabric for the backs of pillows I make, but only had enough white fabric for one pillow. Soooo… this sweet little gray acorn-print fabric got the white back!
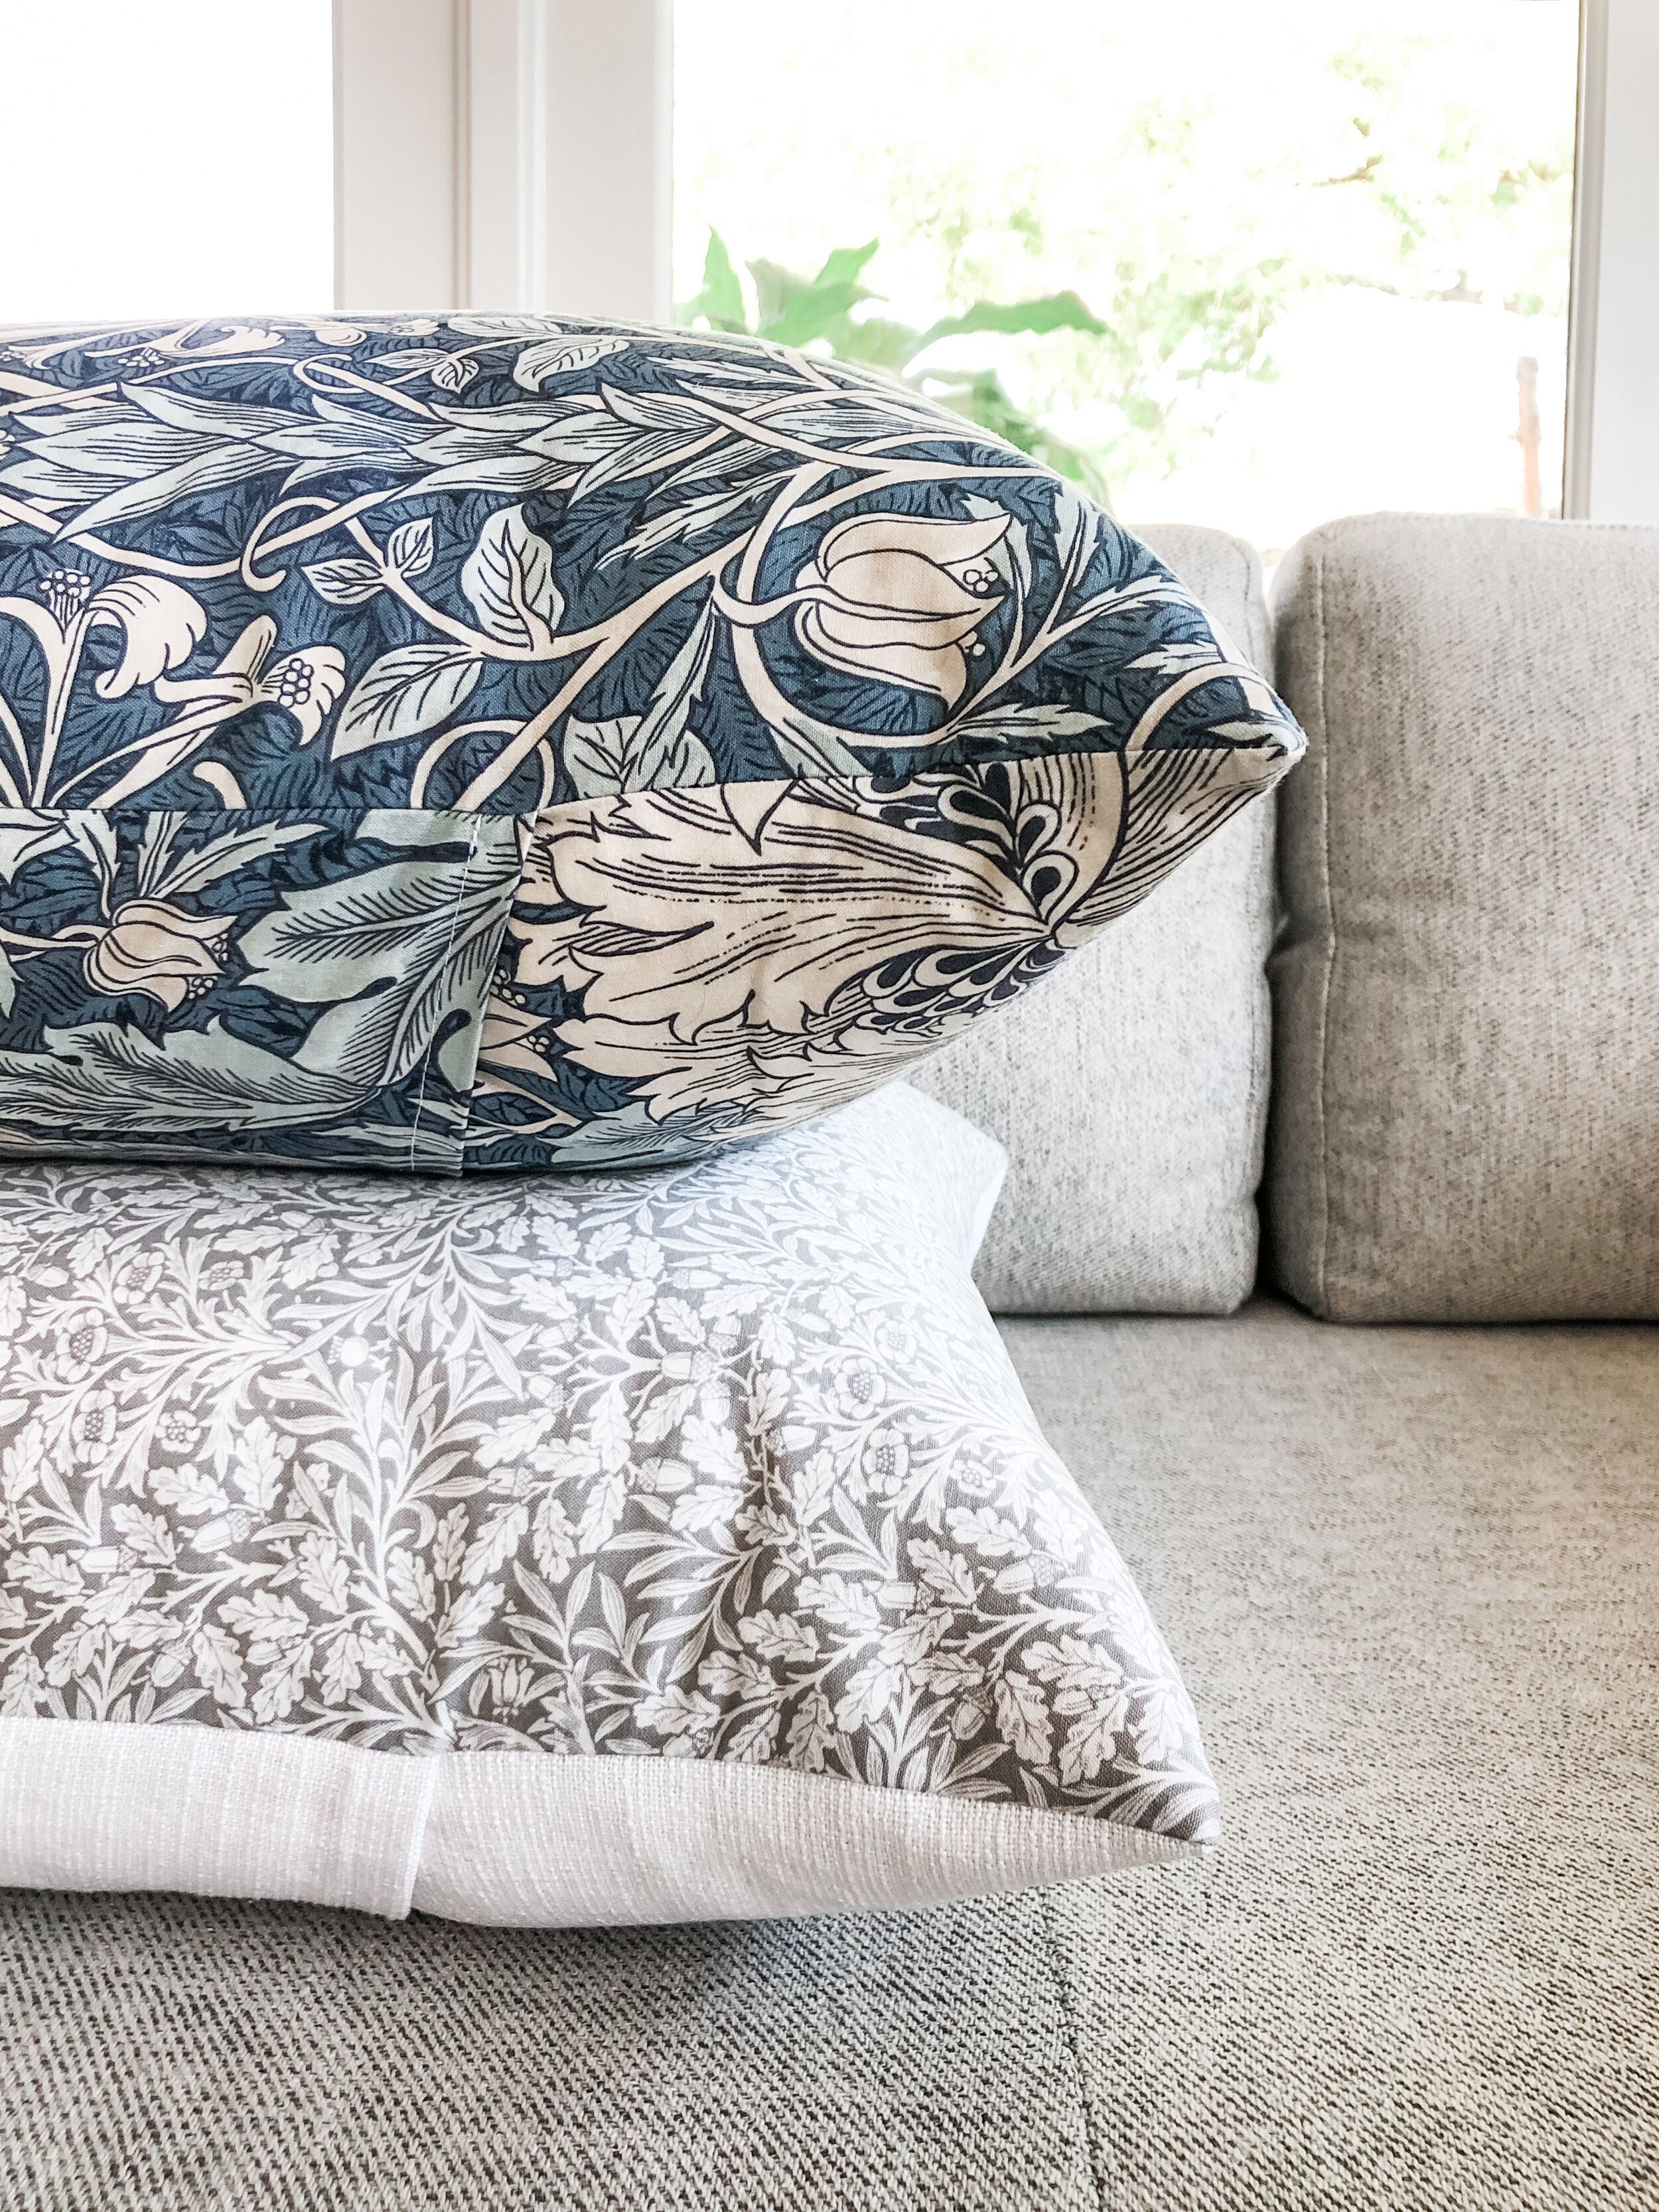
sources: blue floral fabric; gray acorn fabric; mudcloth pillow cover: old, similar (custom sizes!); charcoal pillows: handmade, similar; sectional; throw blanket: old, similar; my favorite down pillow inserts: 16 x 26, 20 x 20, 22 x 22, 24 x 24