Decorative Wall Boxes & The Frame TV
Houston, we’ve got a focal wall! This board and batten project has made a huge difference in our living room and we are so excited to share the process!
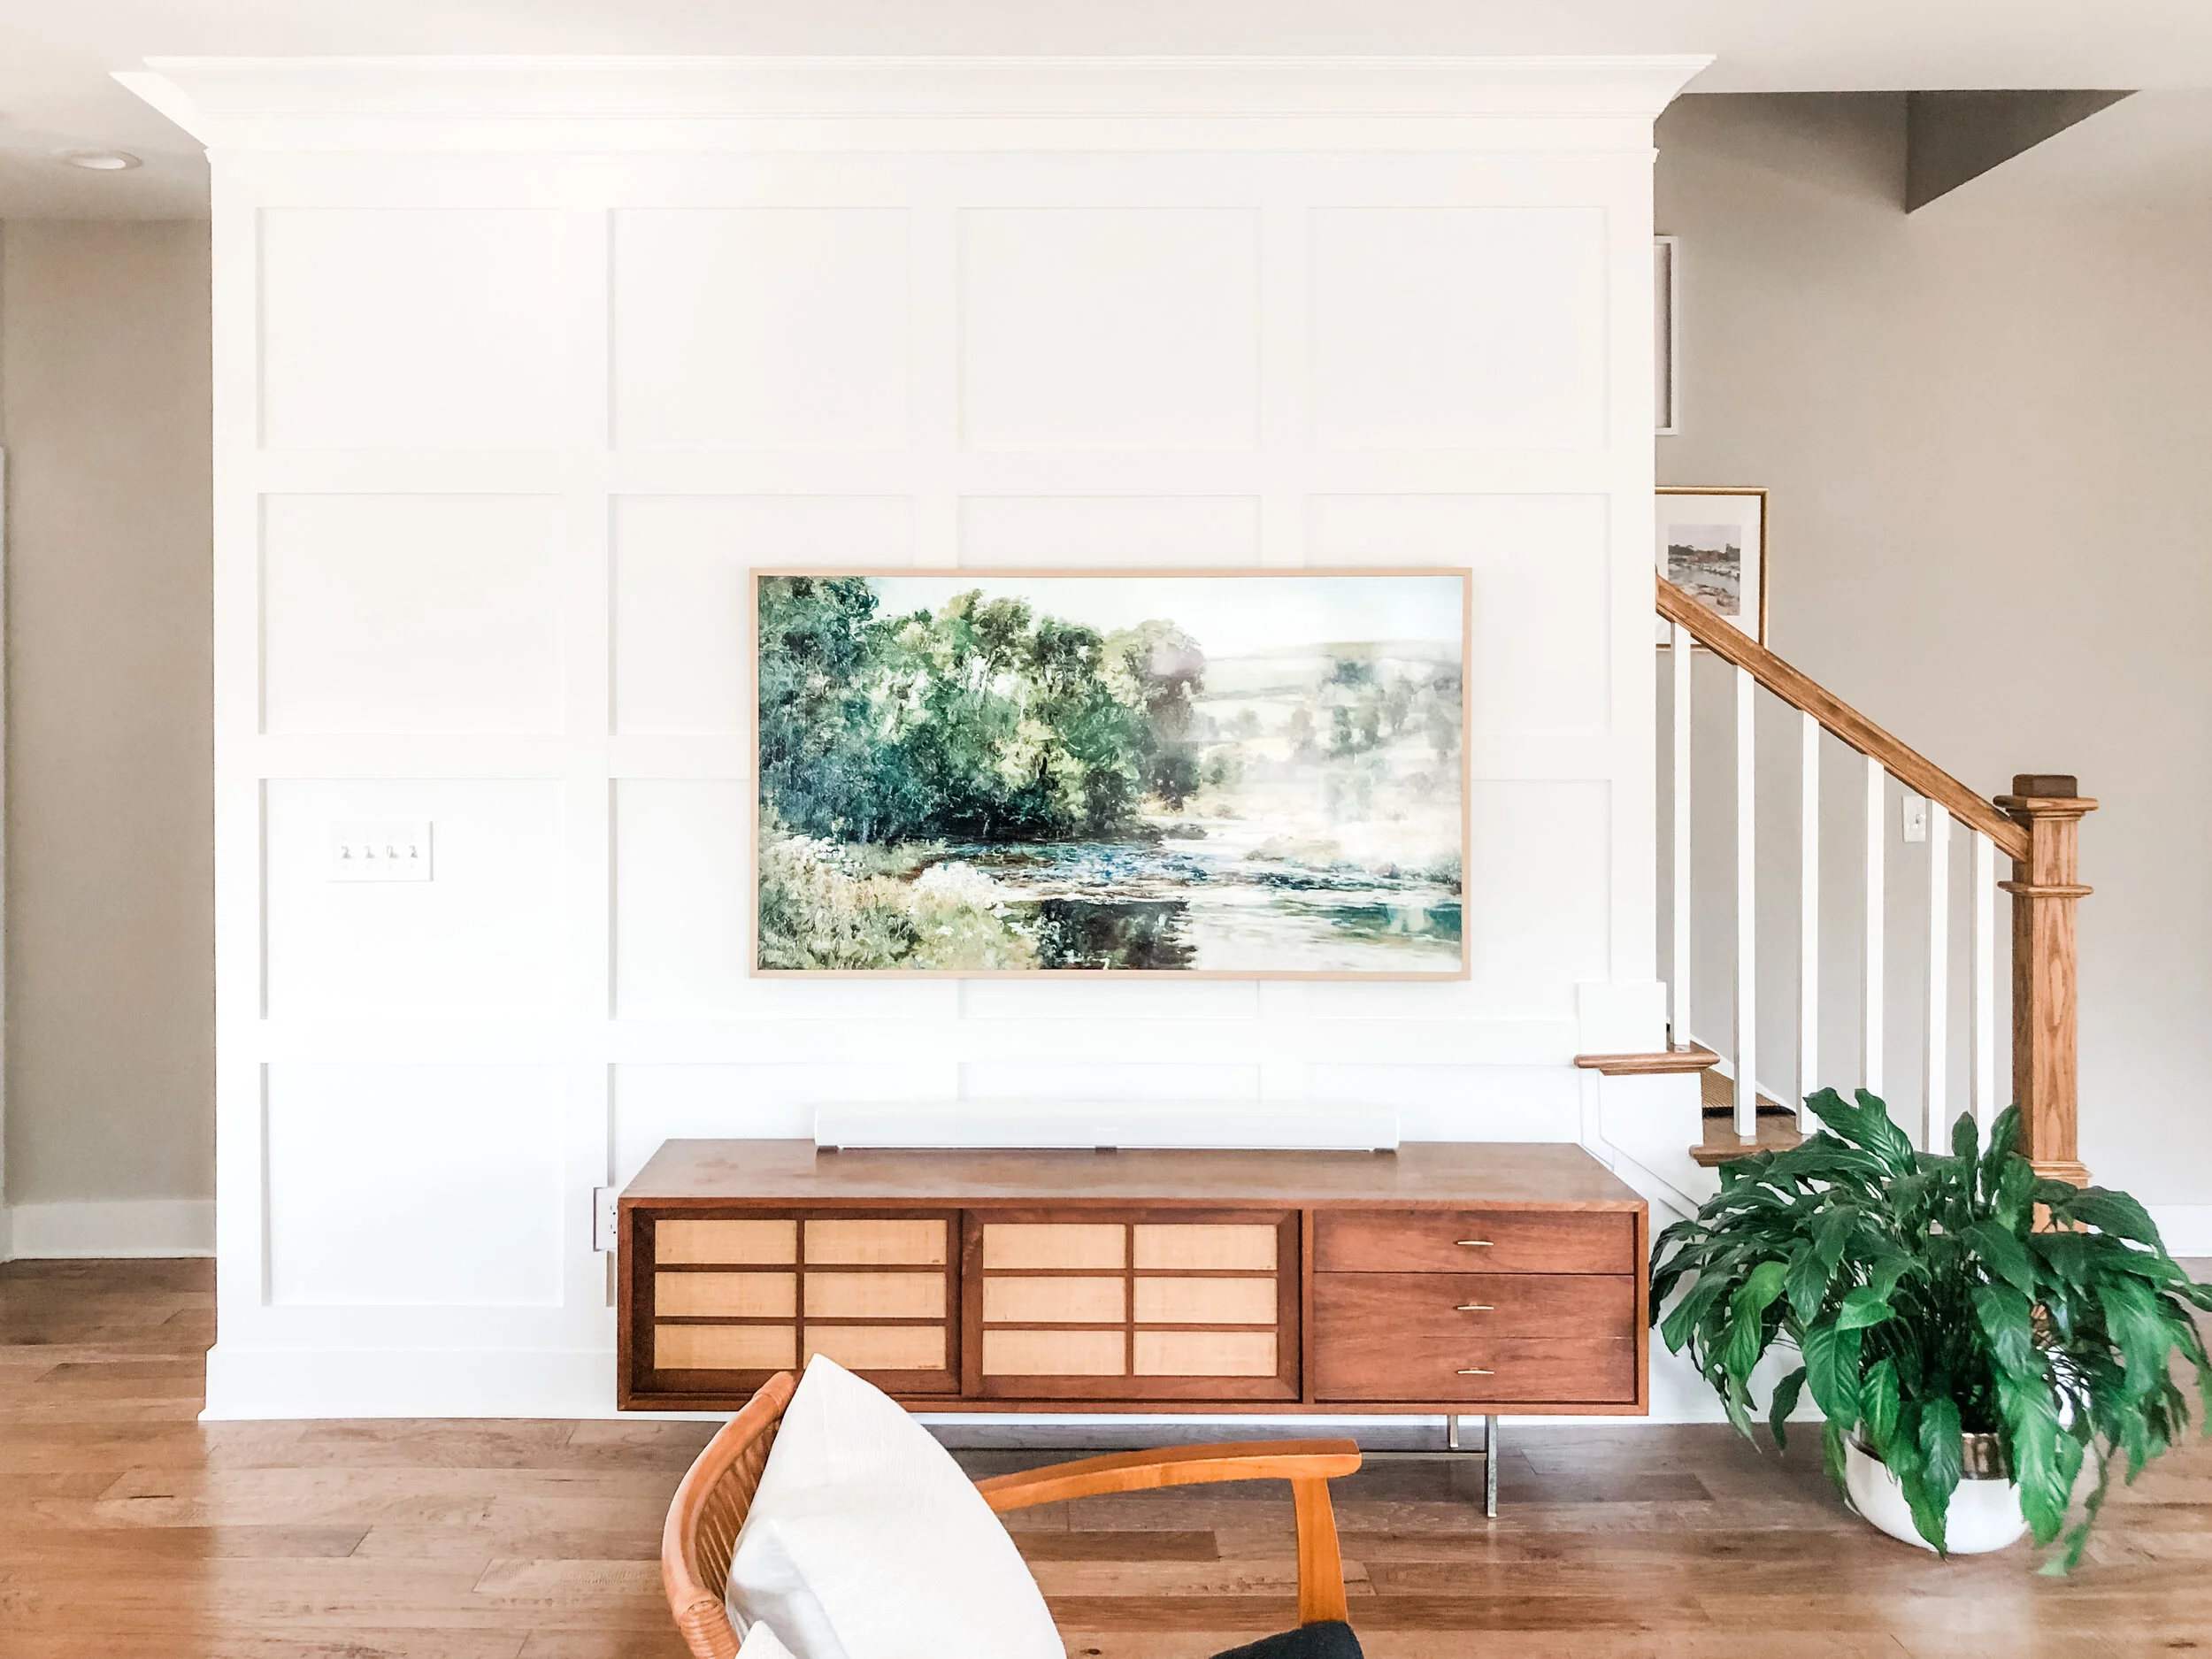
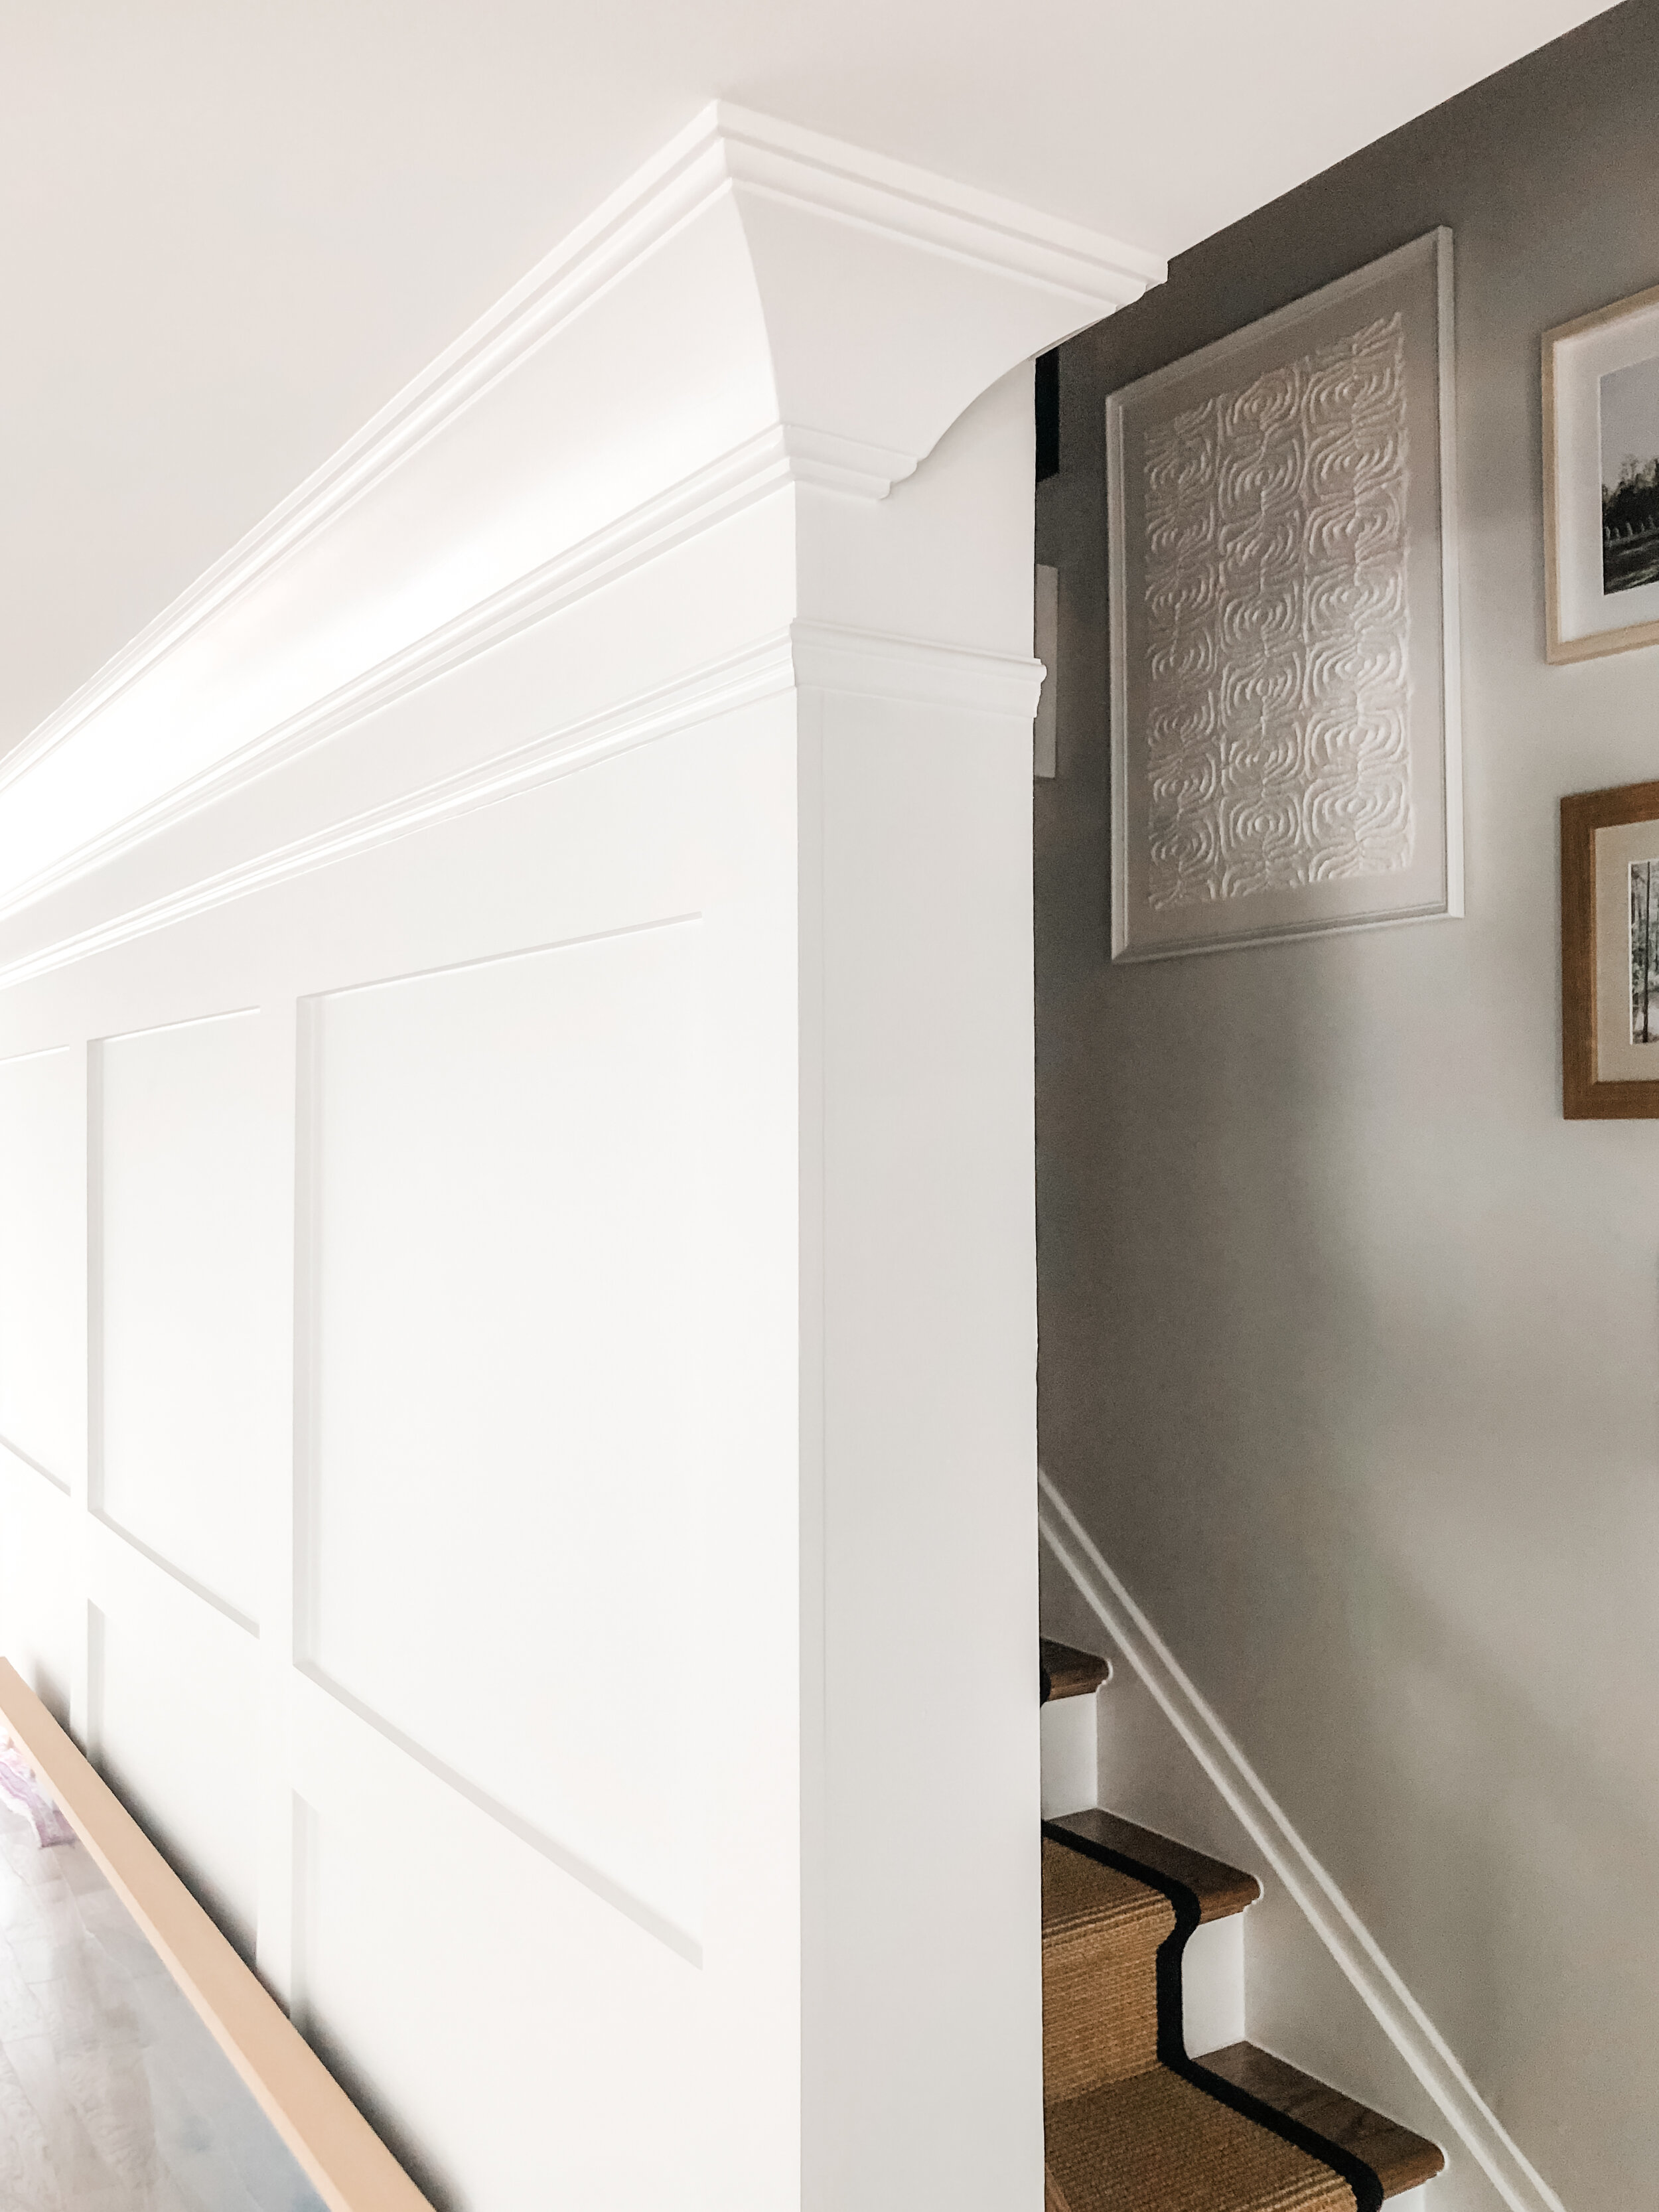
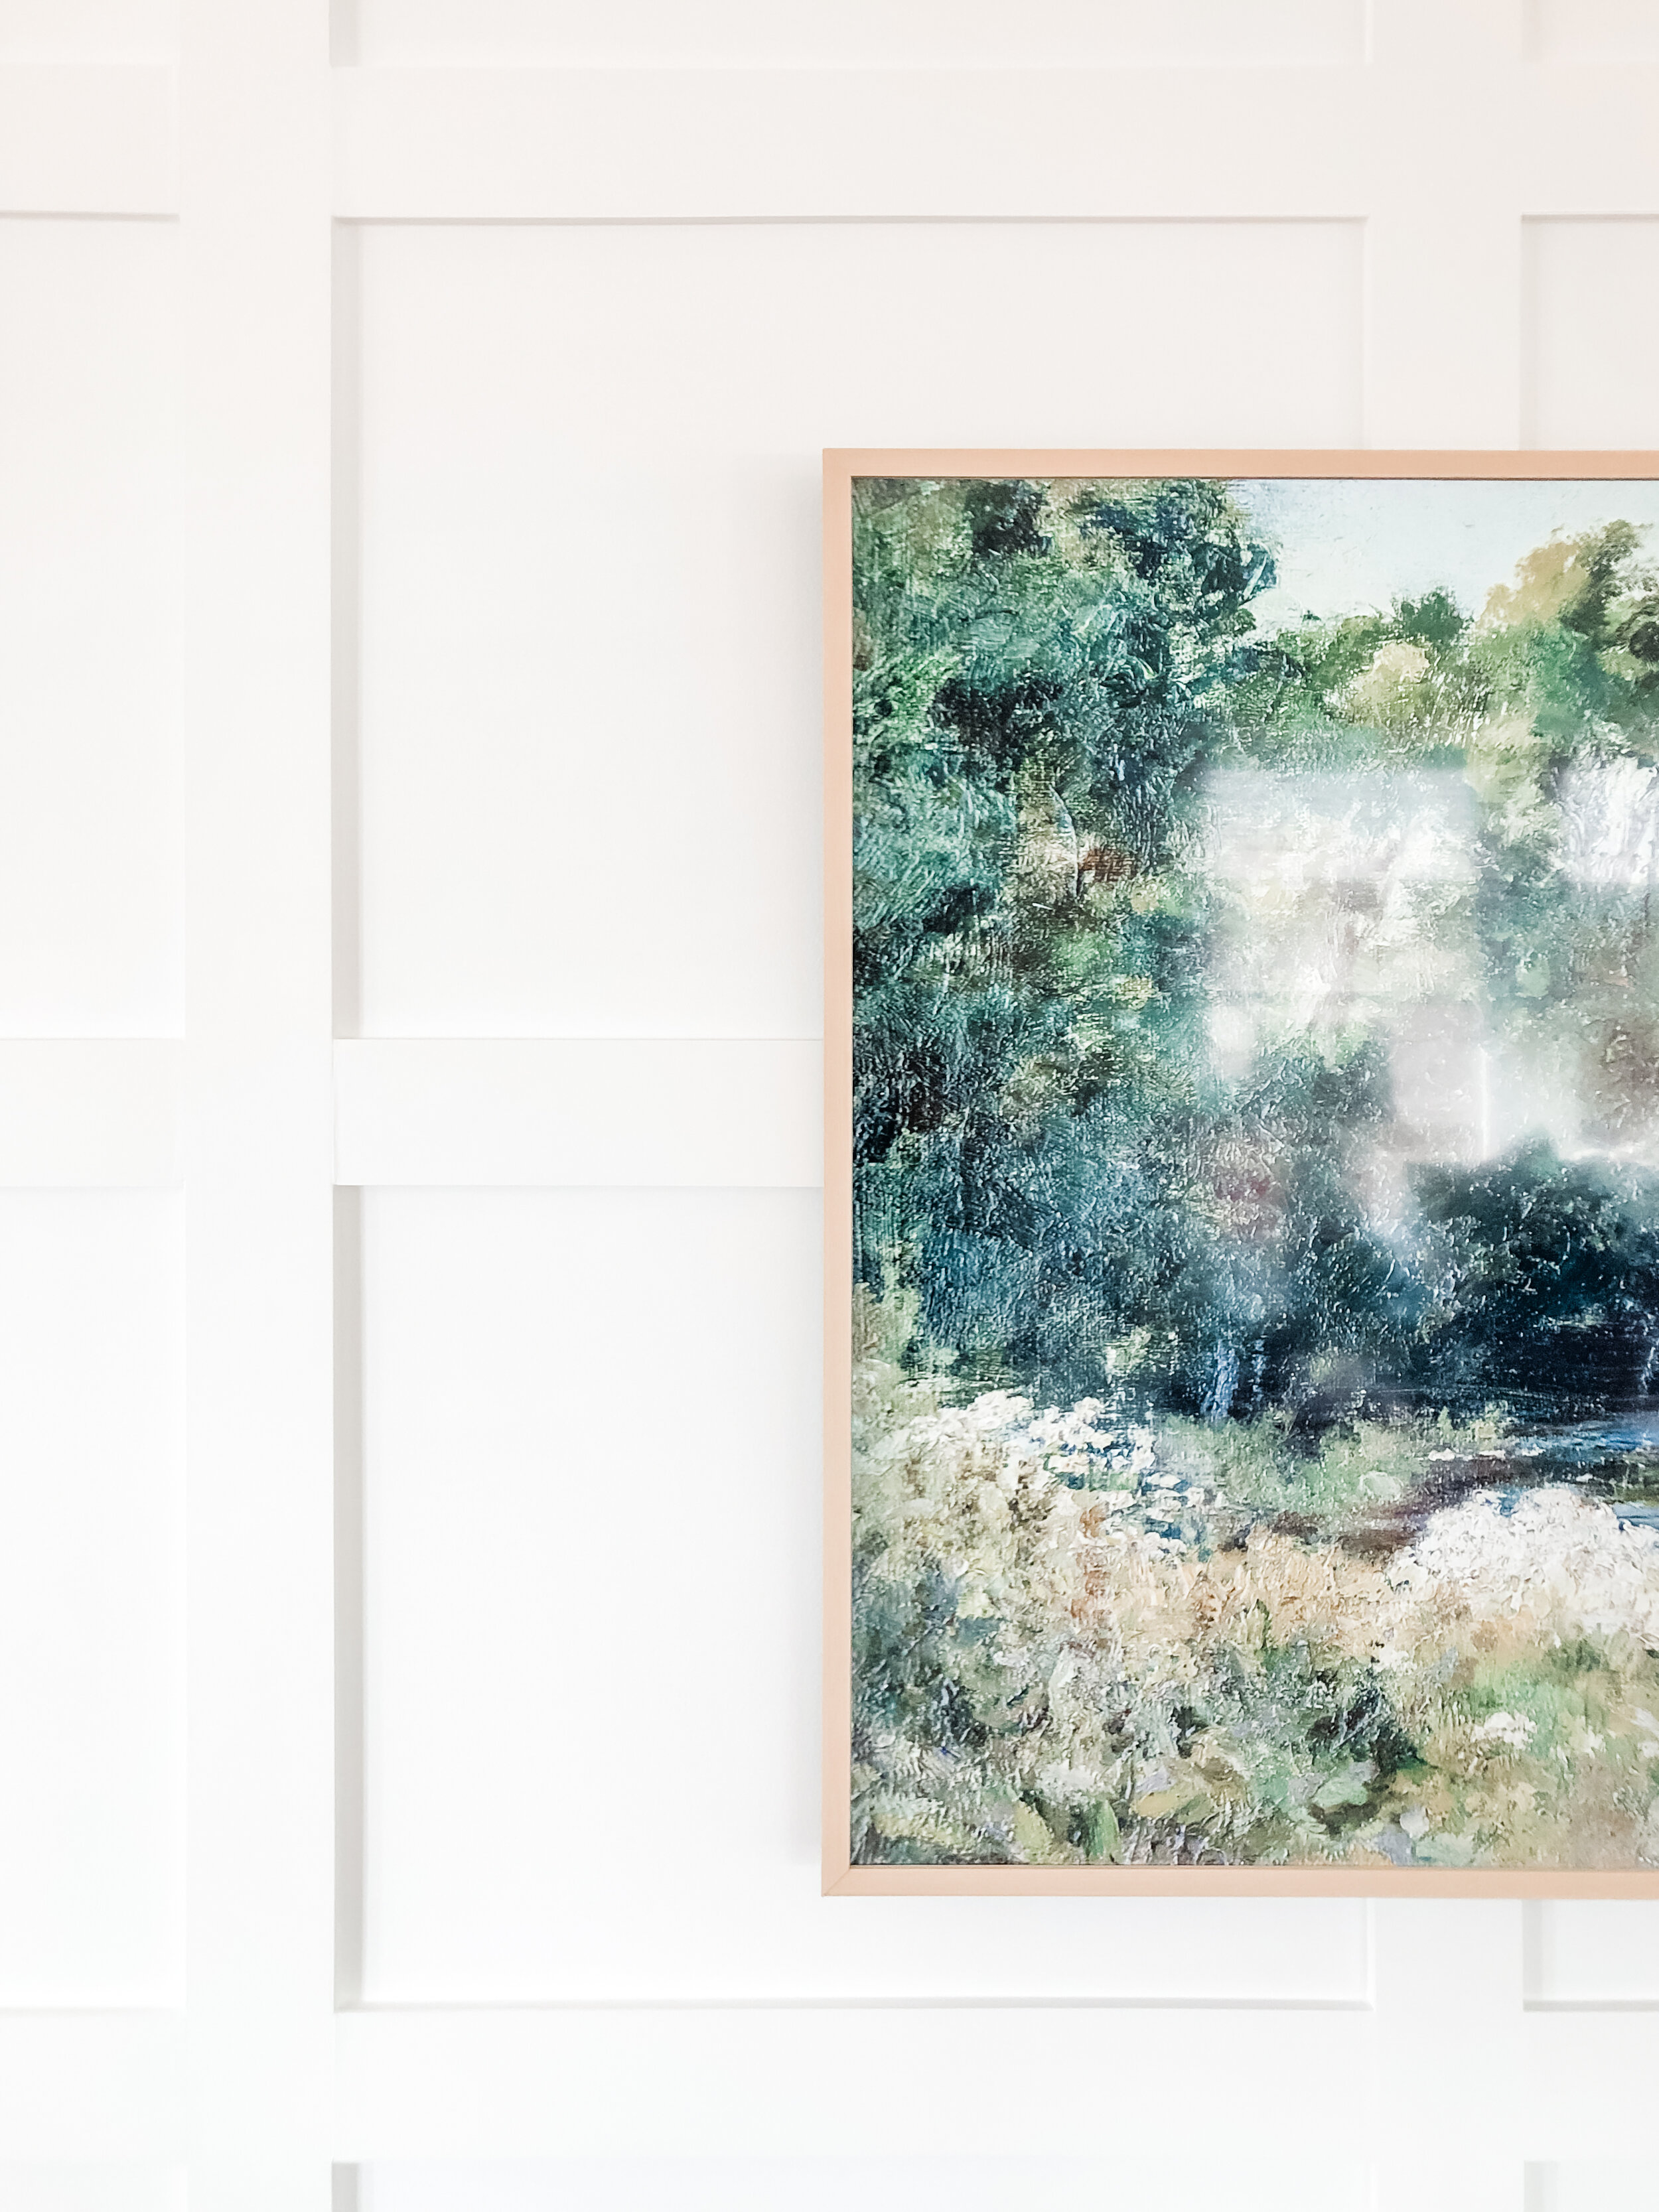
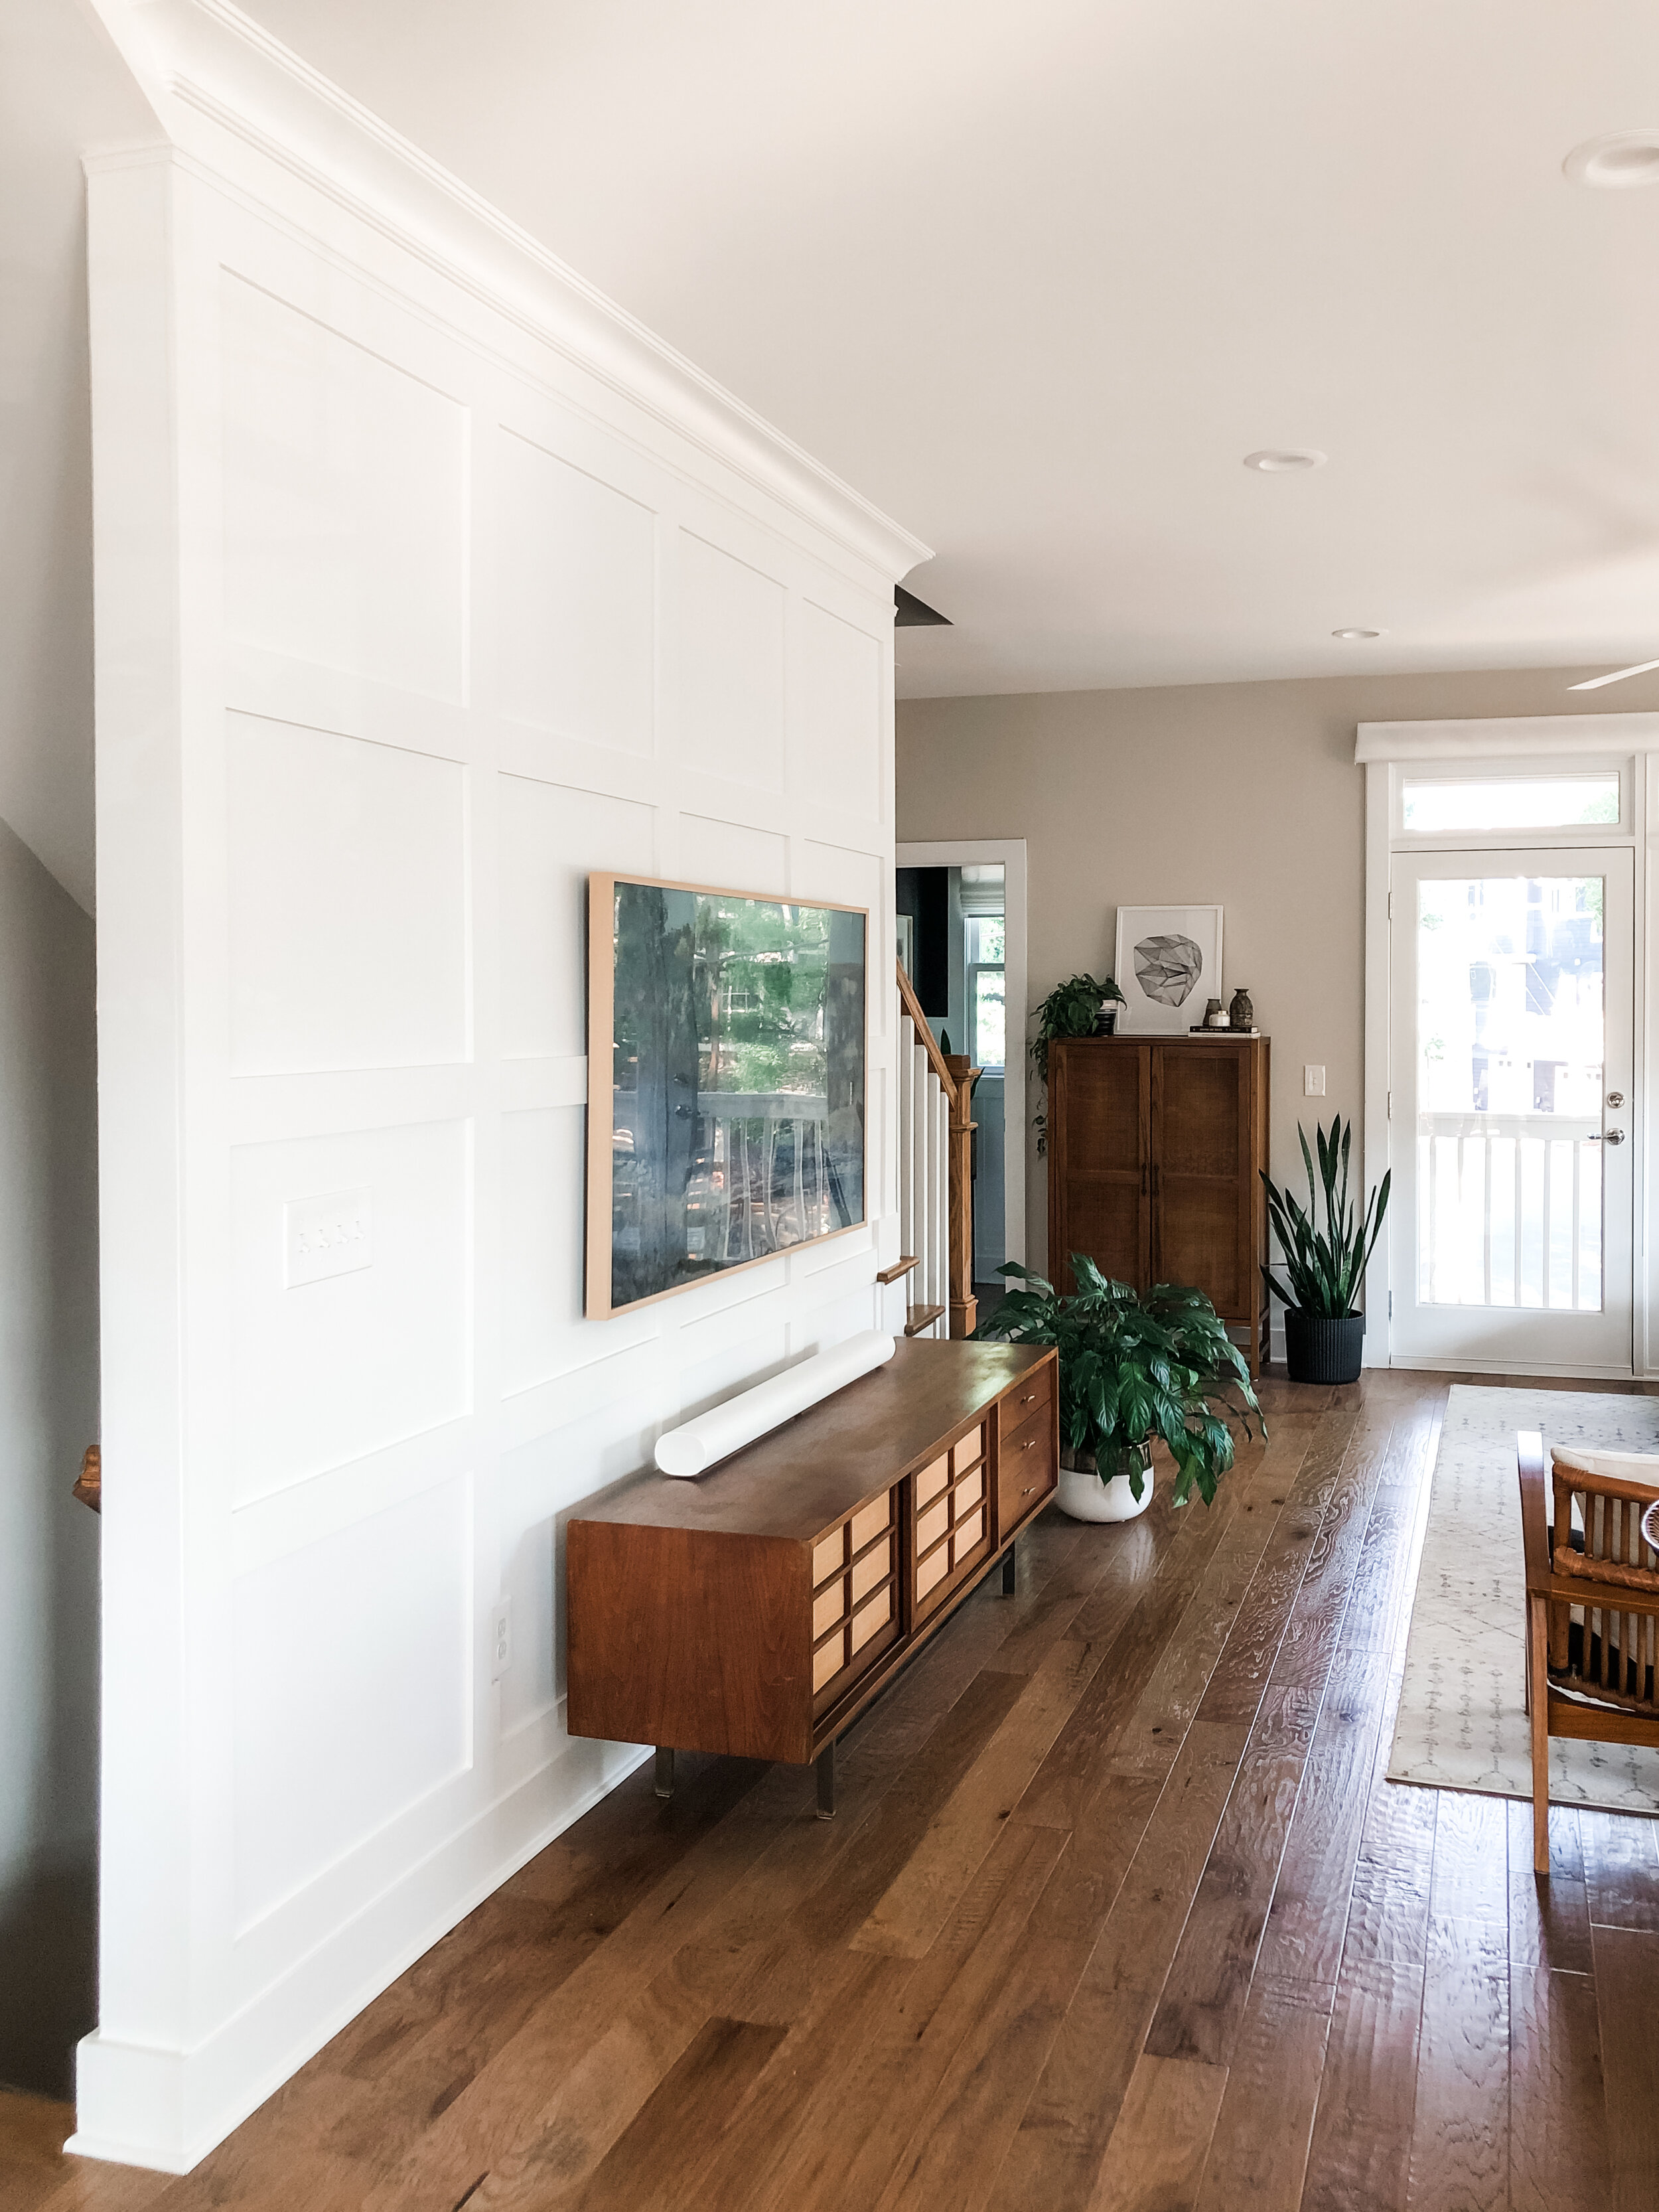
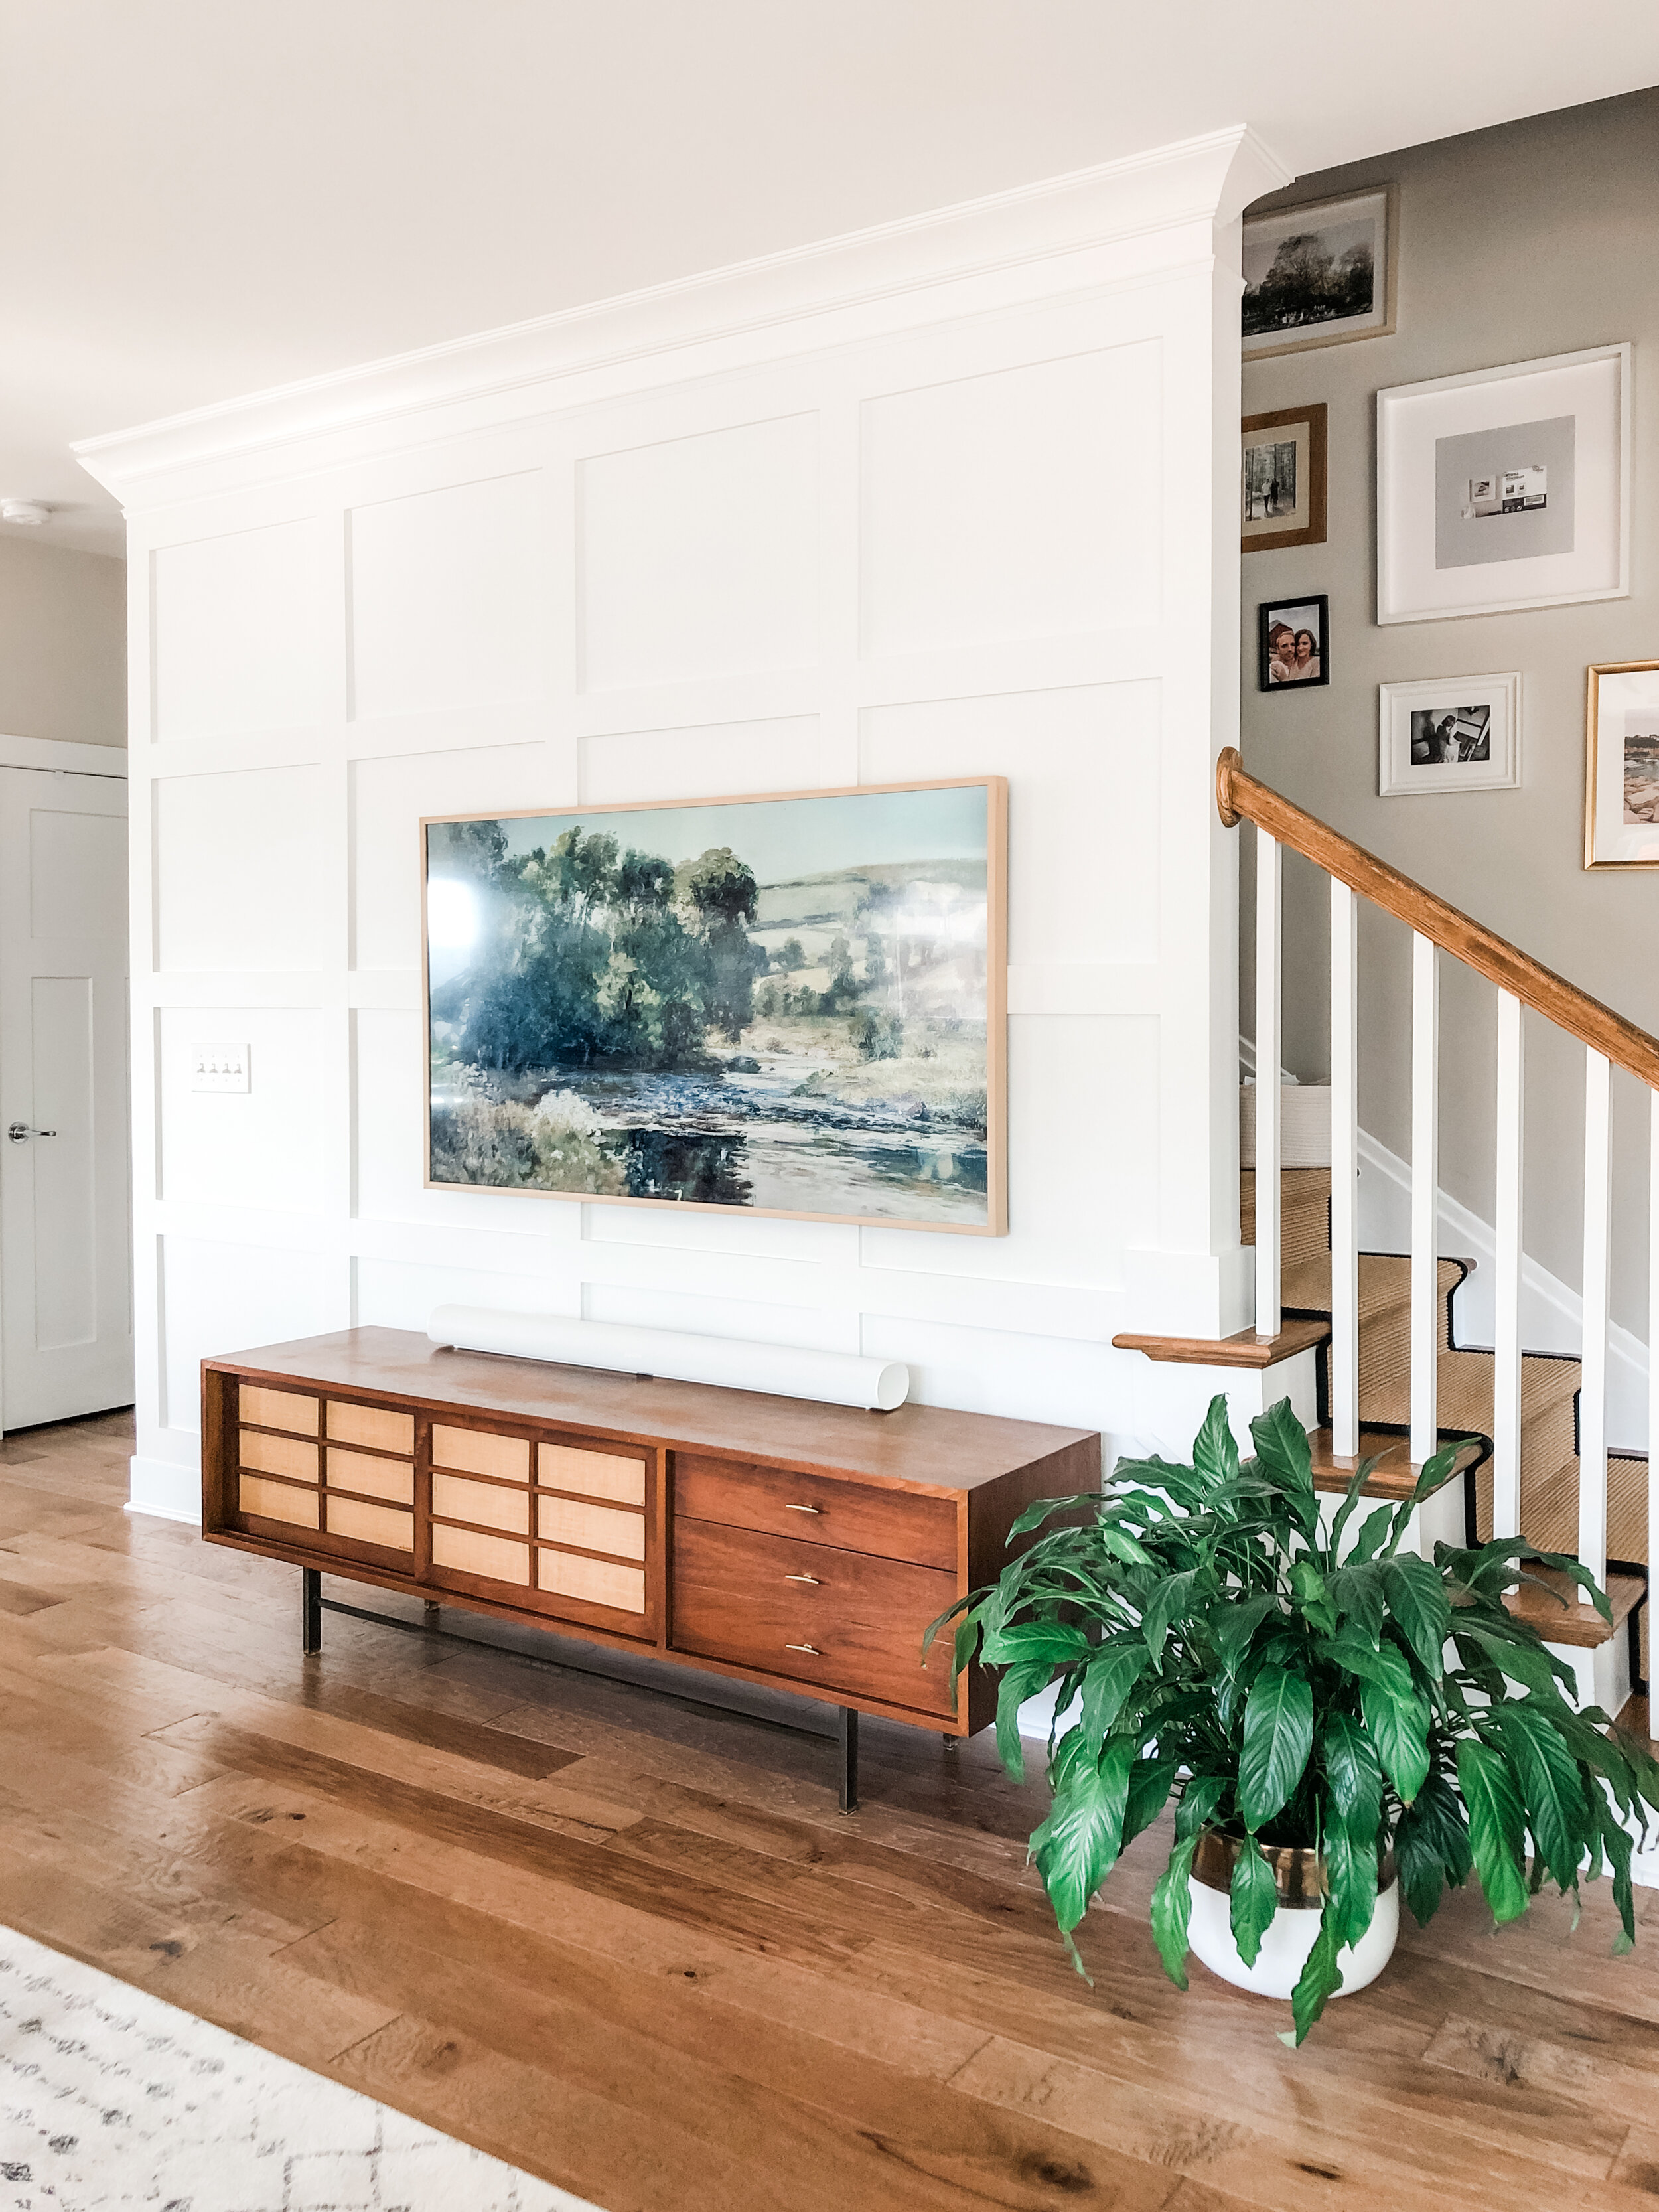
Our townhome is an end unit and while we love all the windows, we’re extremely limited on wall space. The TV wall is the focus of our second floor and main living space, and it needed special treatment! Lucky for me, Andrew agreed when we moved in, we would buy The Frame TV for the art mode. The library of images are beautiful and we enjoy switching it out every few months. I am currently obsessed with the painting Streamside by Edward Mitchell Bannister. This blogger has curated a collection of public domain artwork, honors the artist and offers all of the pieces for free—it’s gorgeous and I am here for it.
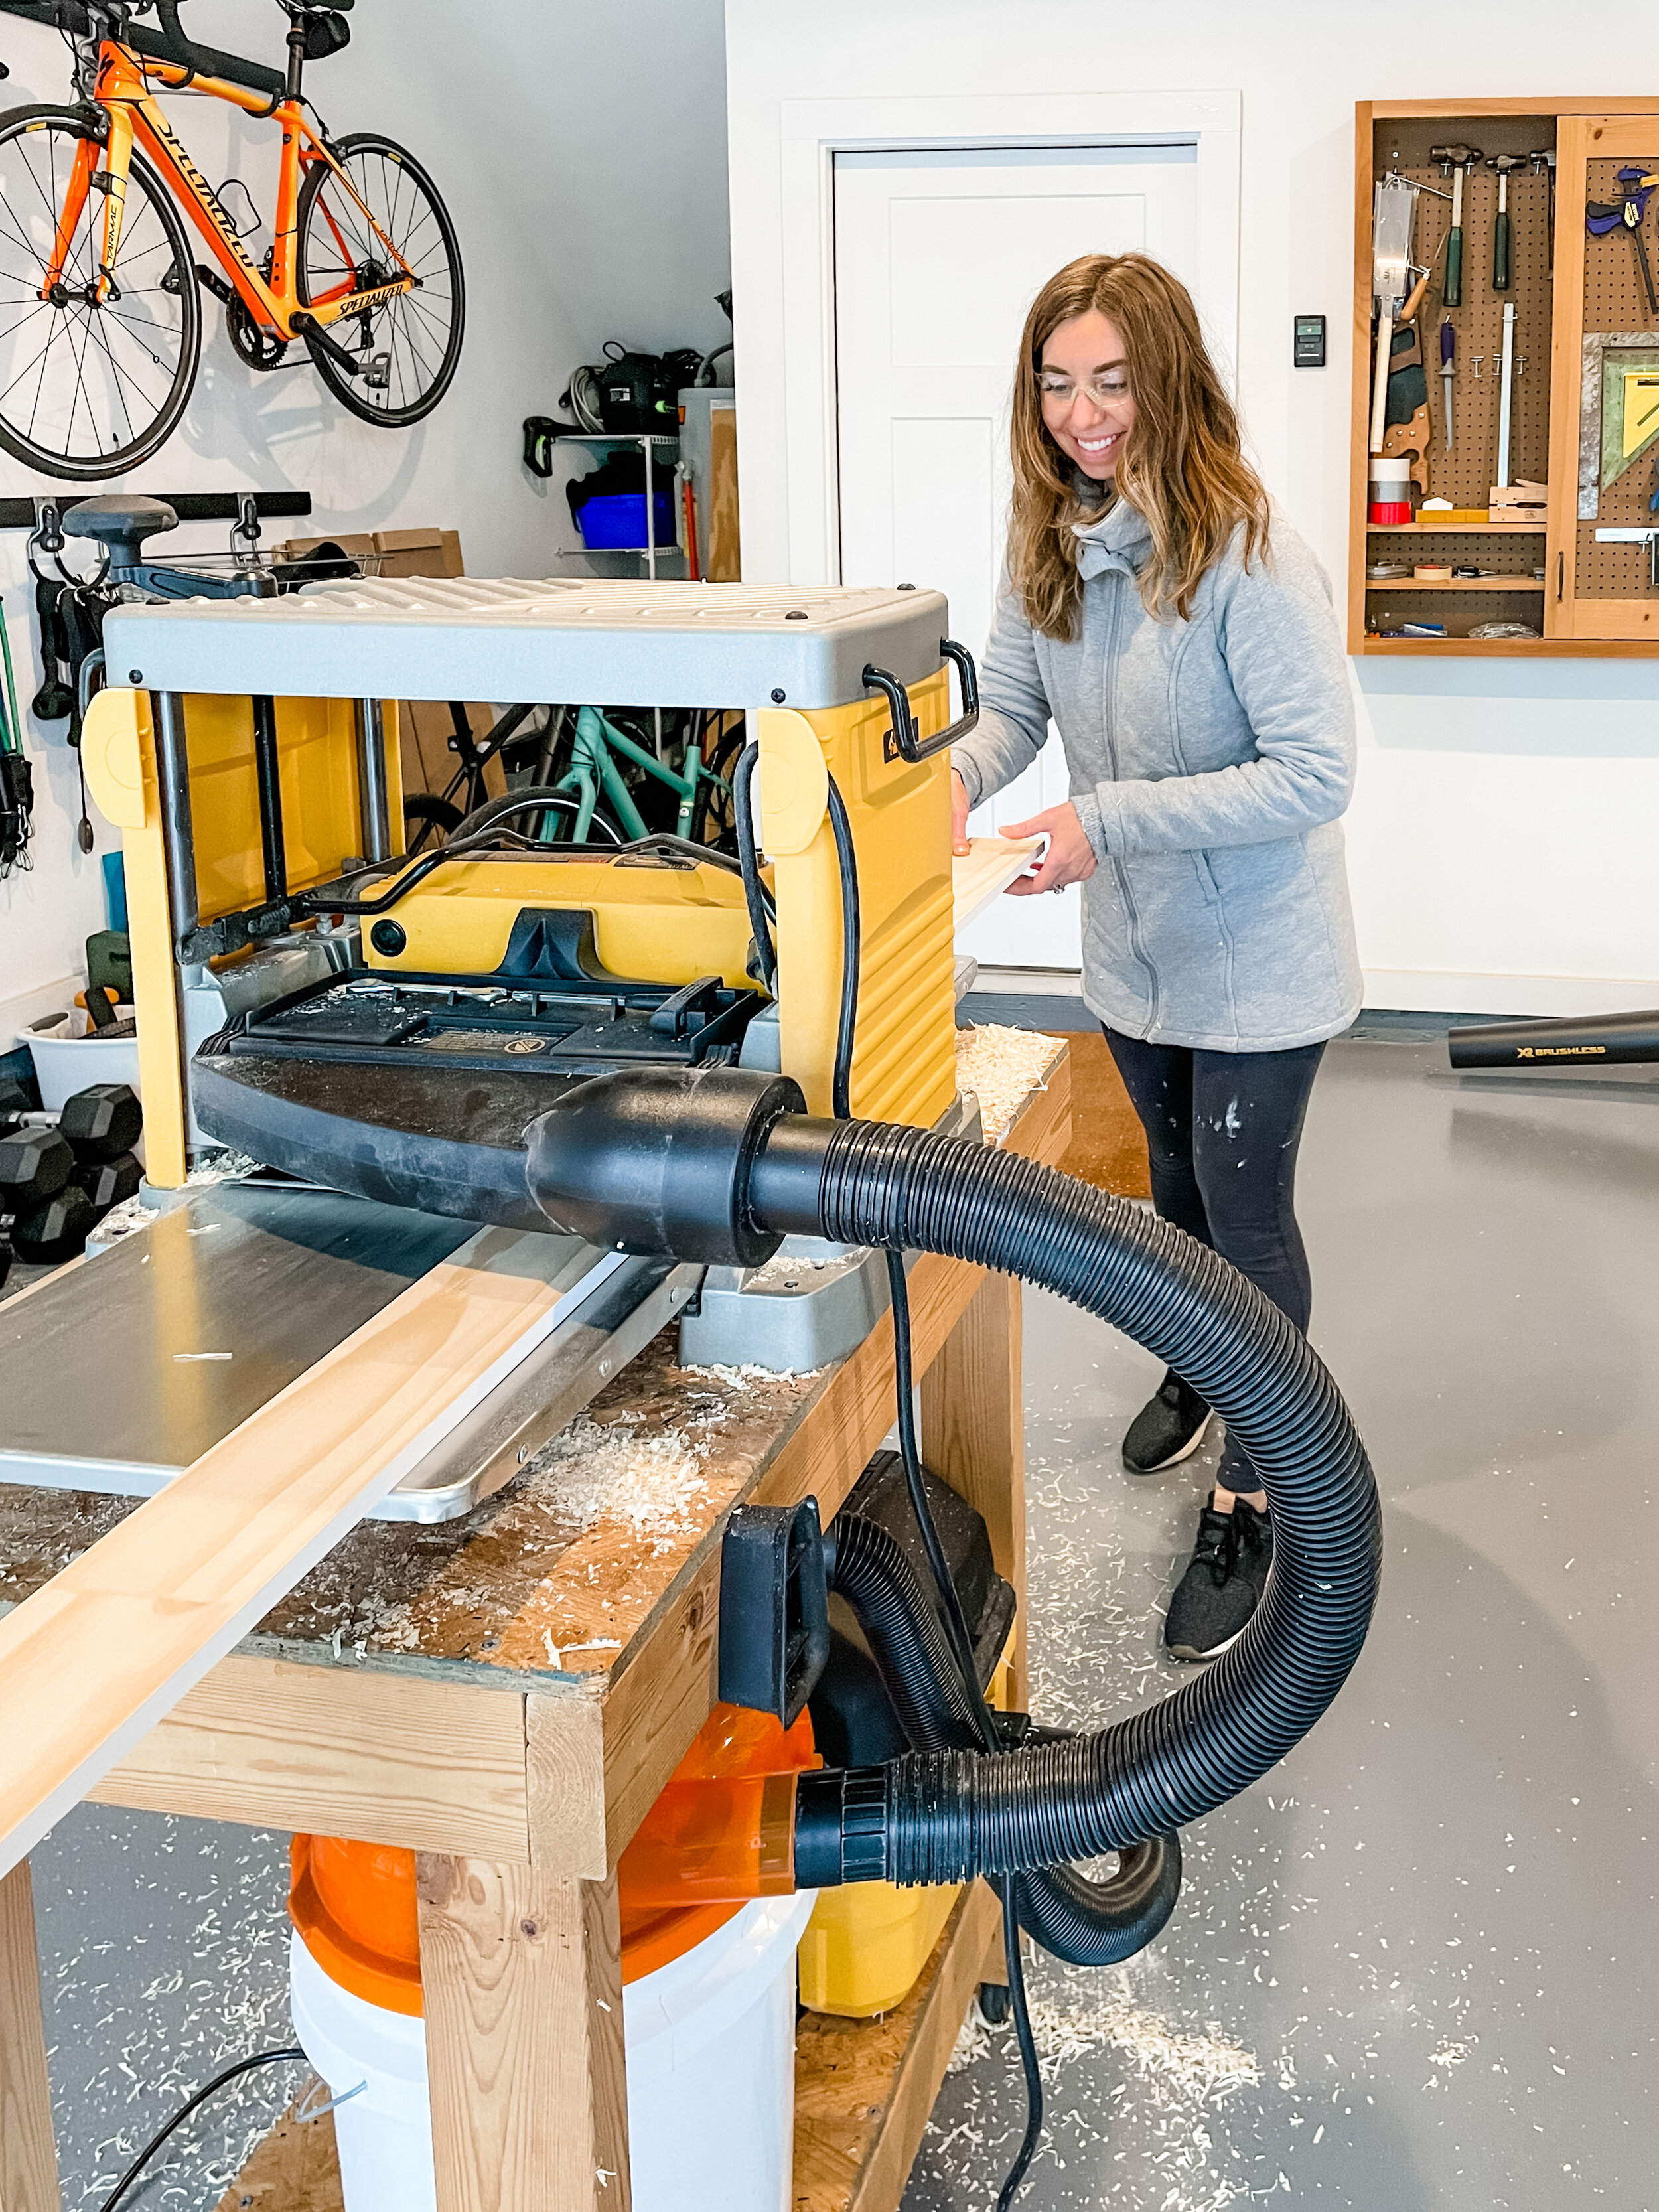
We started daydreaming up this wall after seeing so many beautiful board and batten projects on Pinterest—like this one! I made this project tricky because I really wanted boards that weren’t as deep as the baseboard. We have 1x6 baseboards—which are actually 0.75 inches thick. (Misguided marketing if you ask me!) Andrew and I looked all over for half-inch thick primed boards, but couldn’t find anything. When Andrew started his bench project in the fall, he decided to splurge on a planer to speed up the process, and boom: we had a way to make the boards a half-inch thick!
The Before

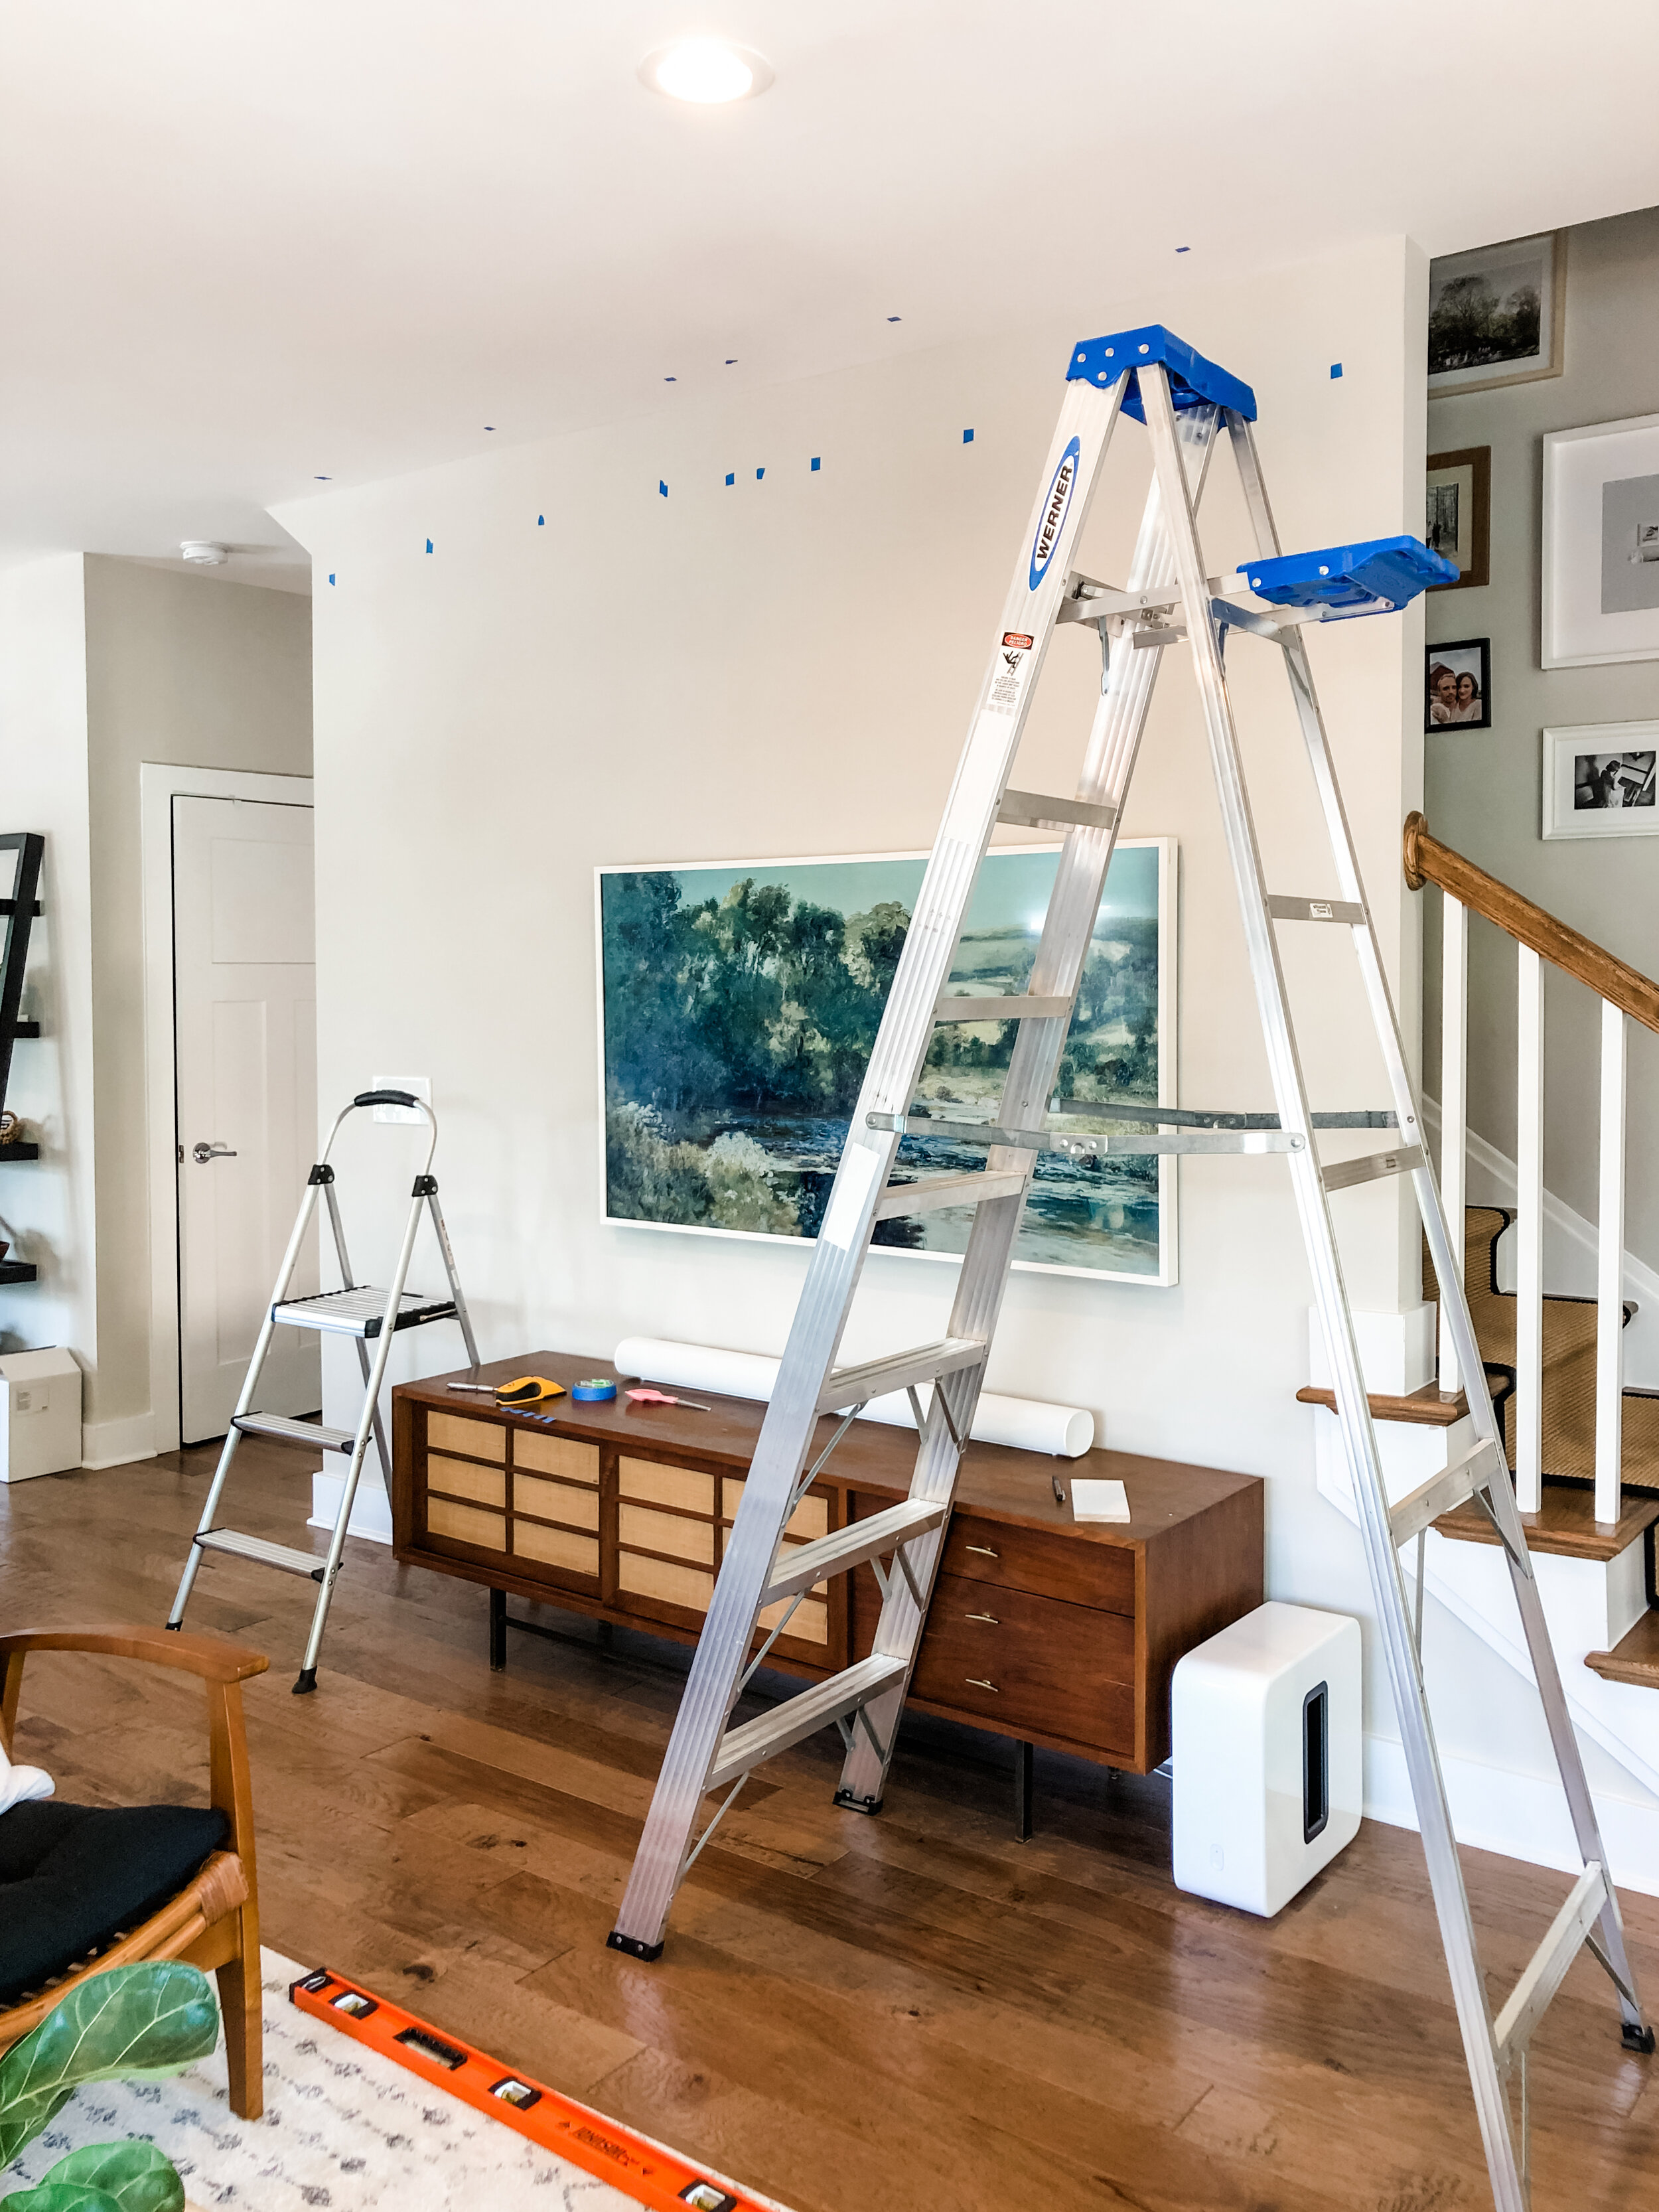
The Mockup

The Step-by-step
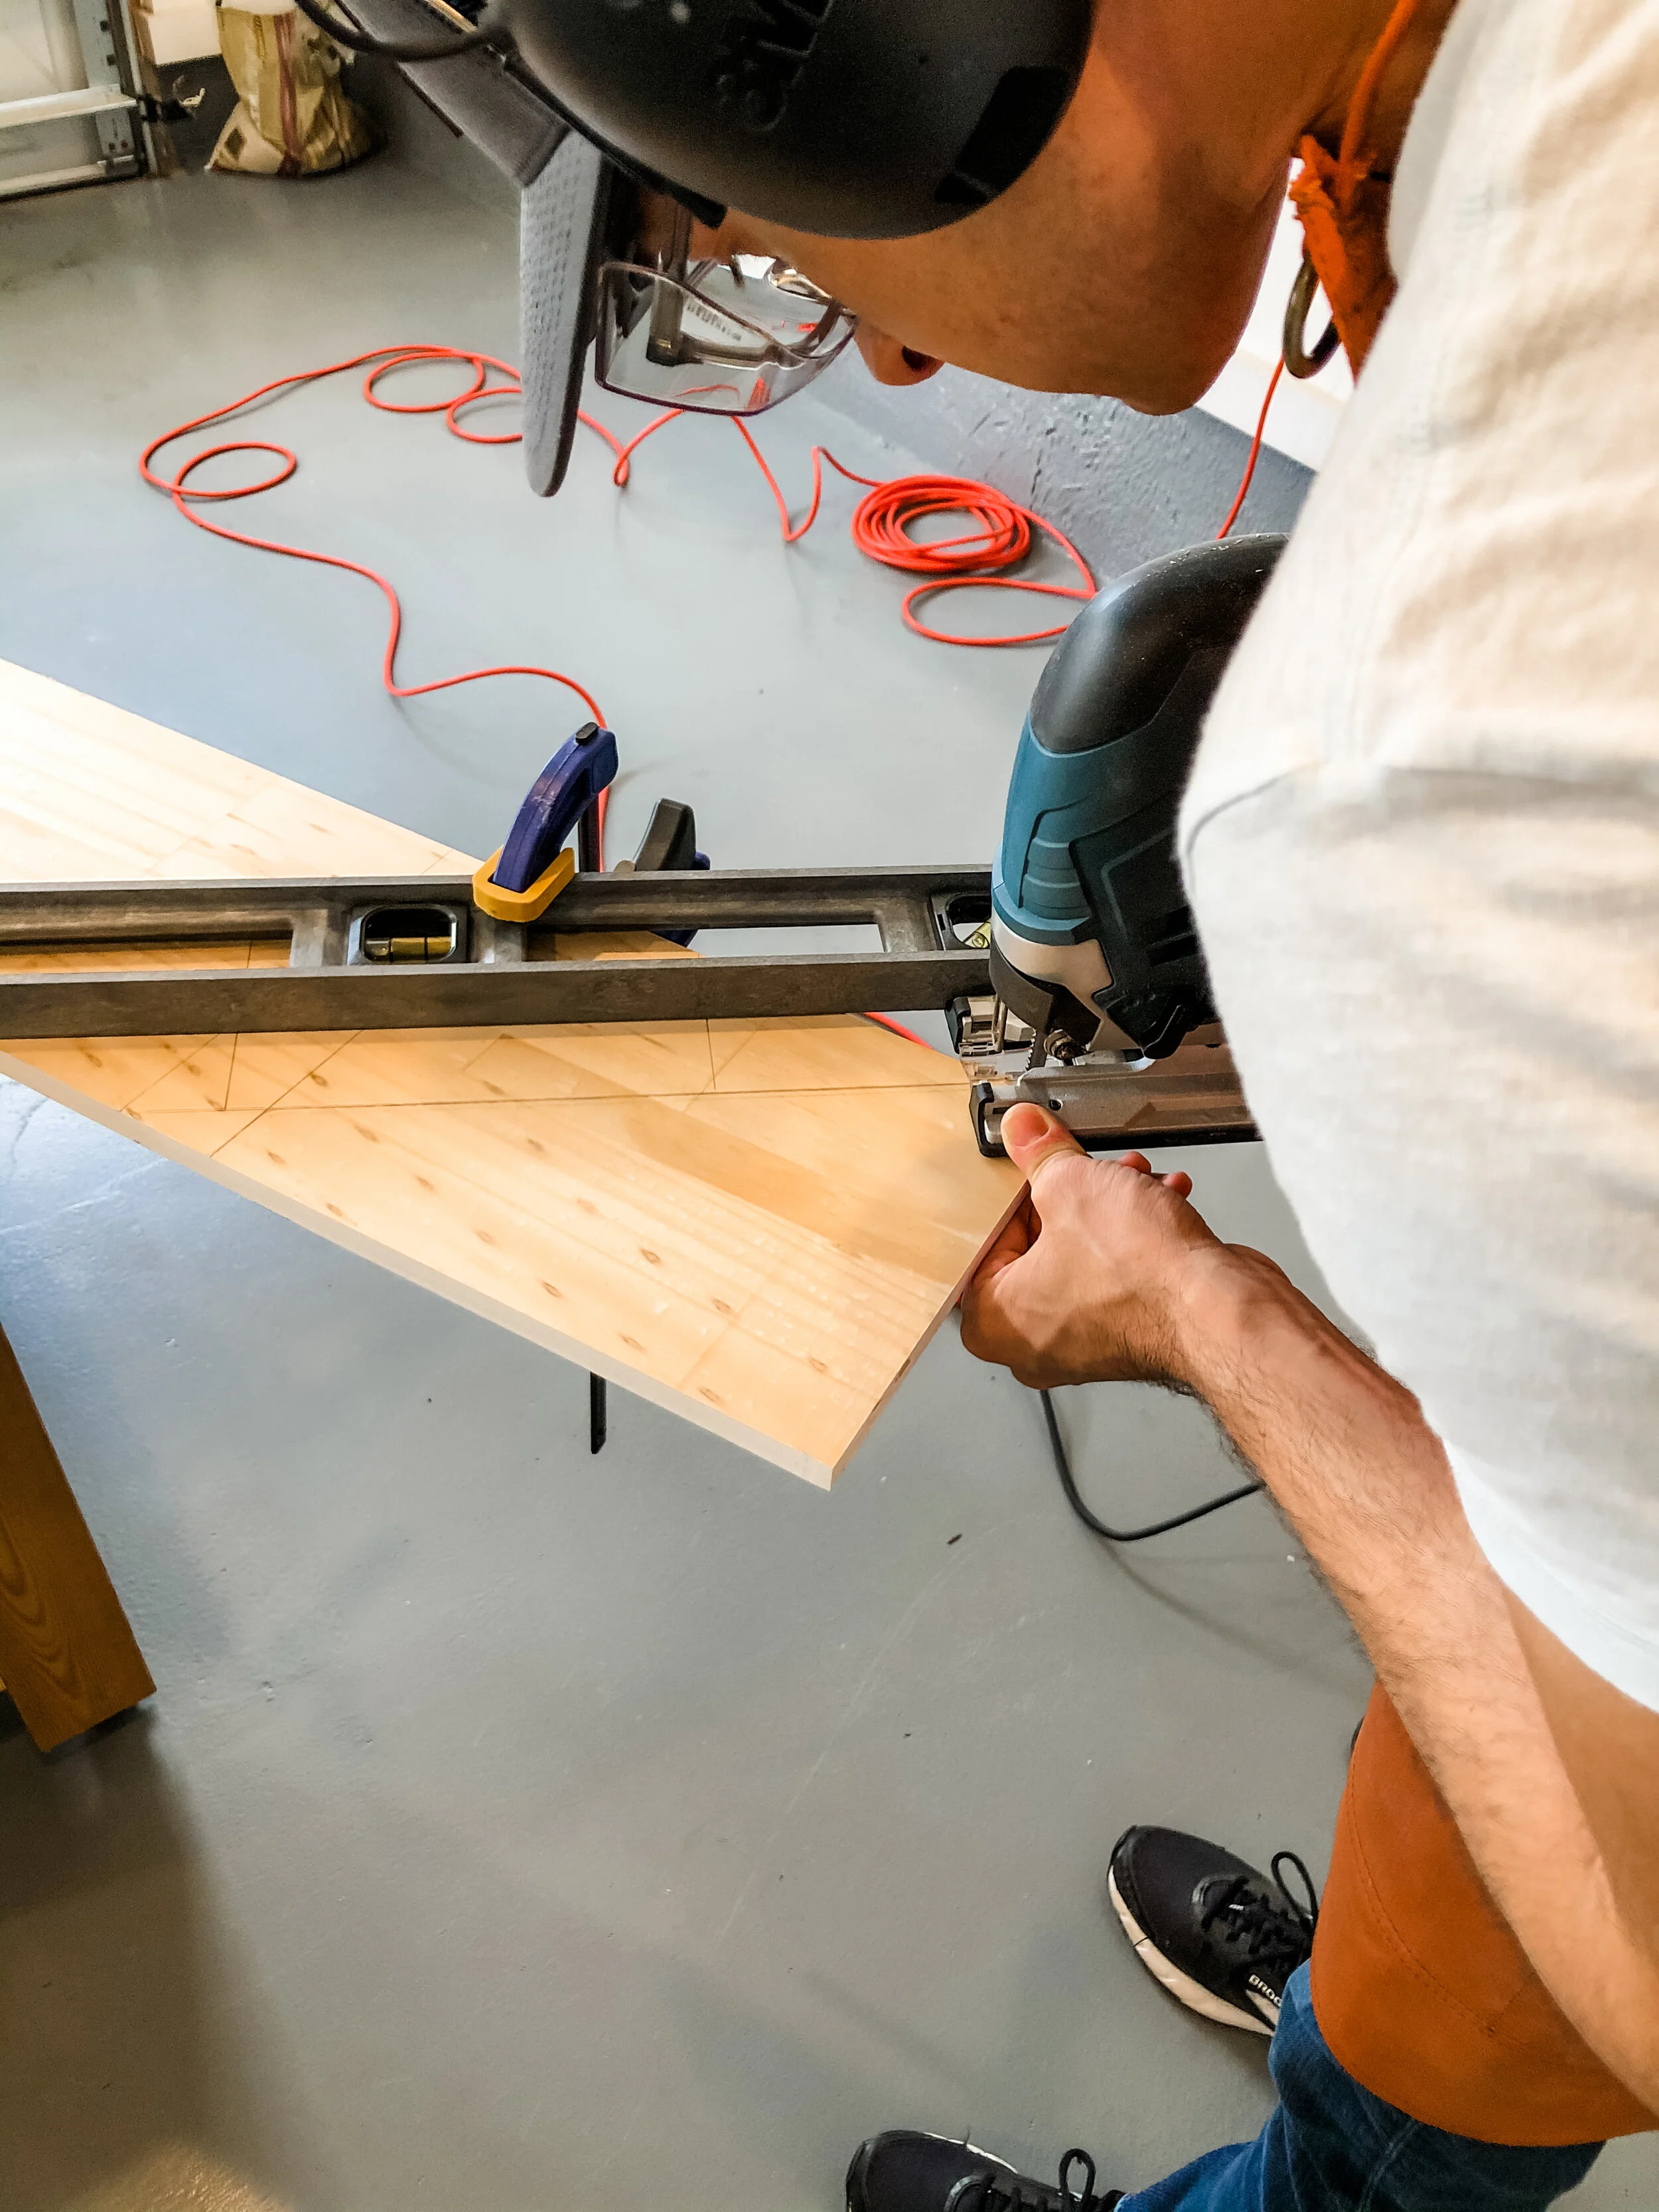
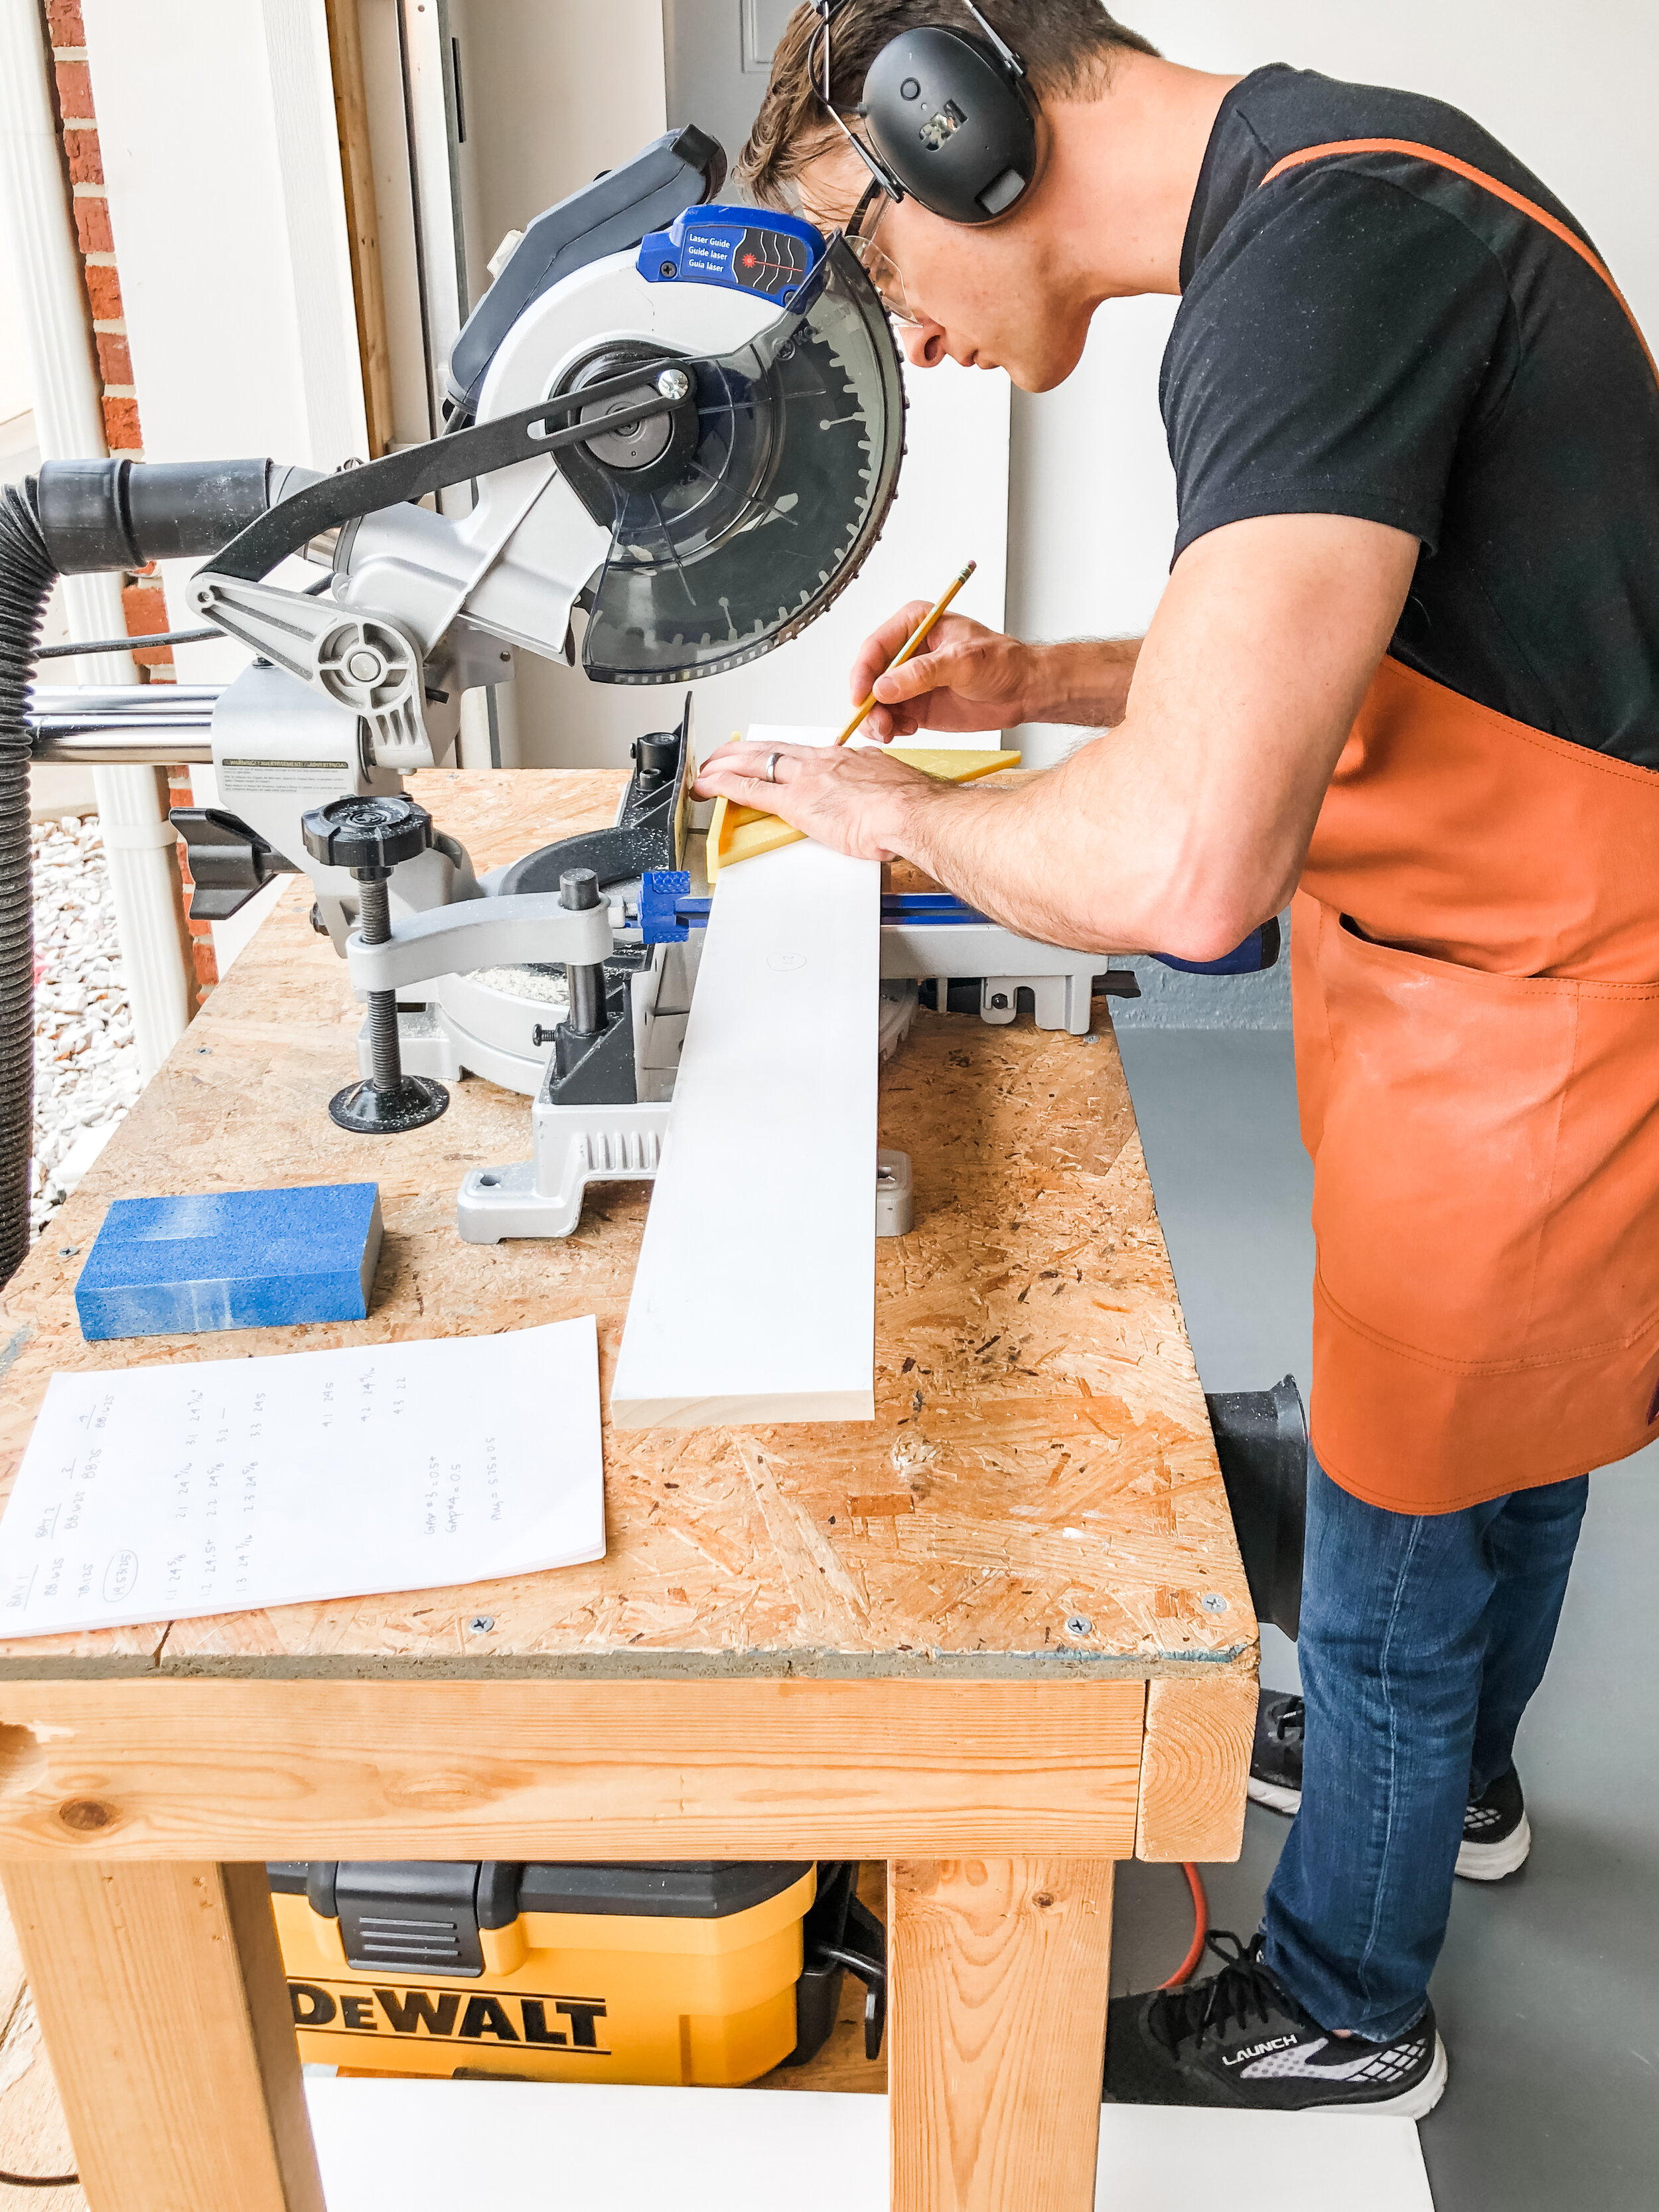
Andrew and I rough cut 1x4x12s (from Home Depot) down—90 inches for each stile and 25 inches for each rail
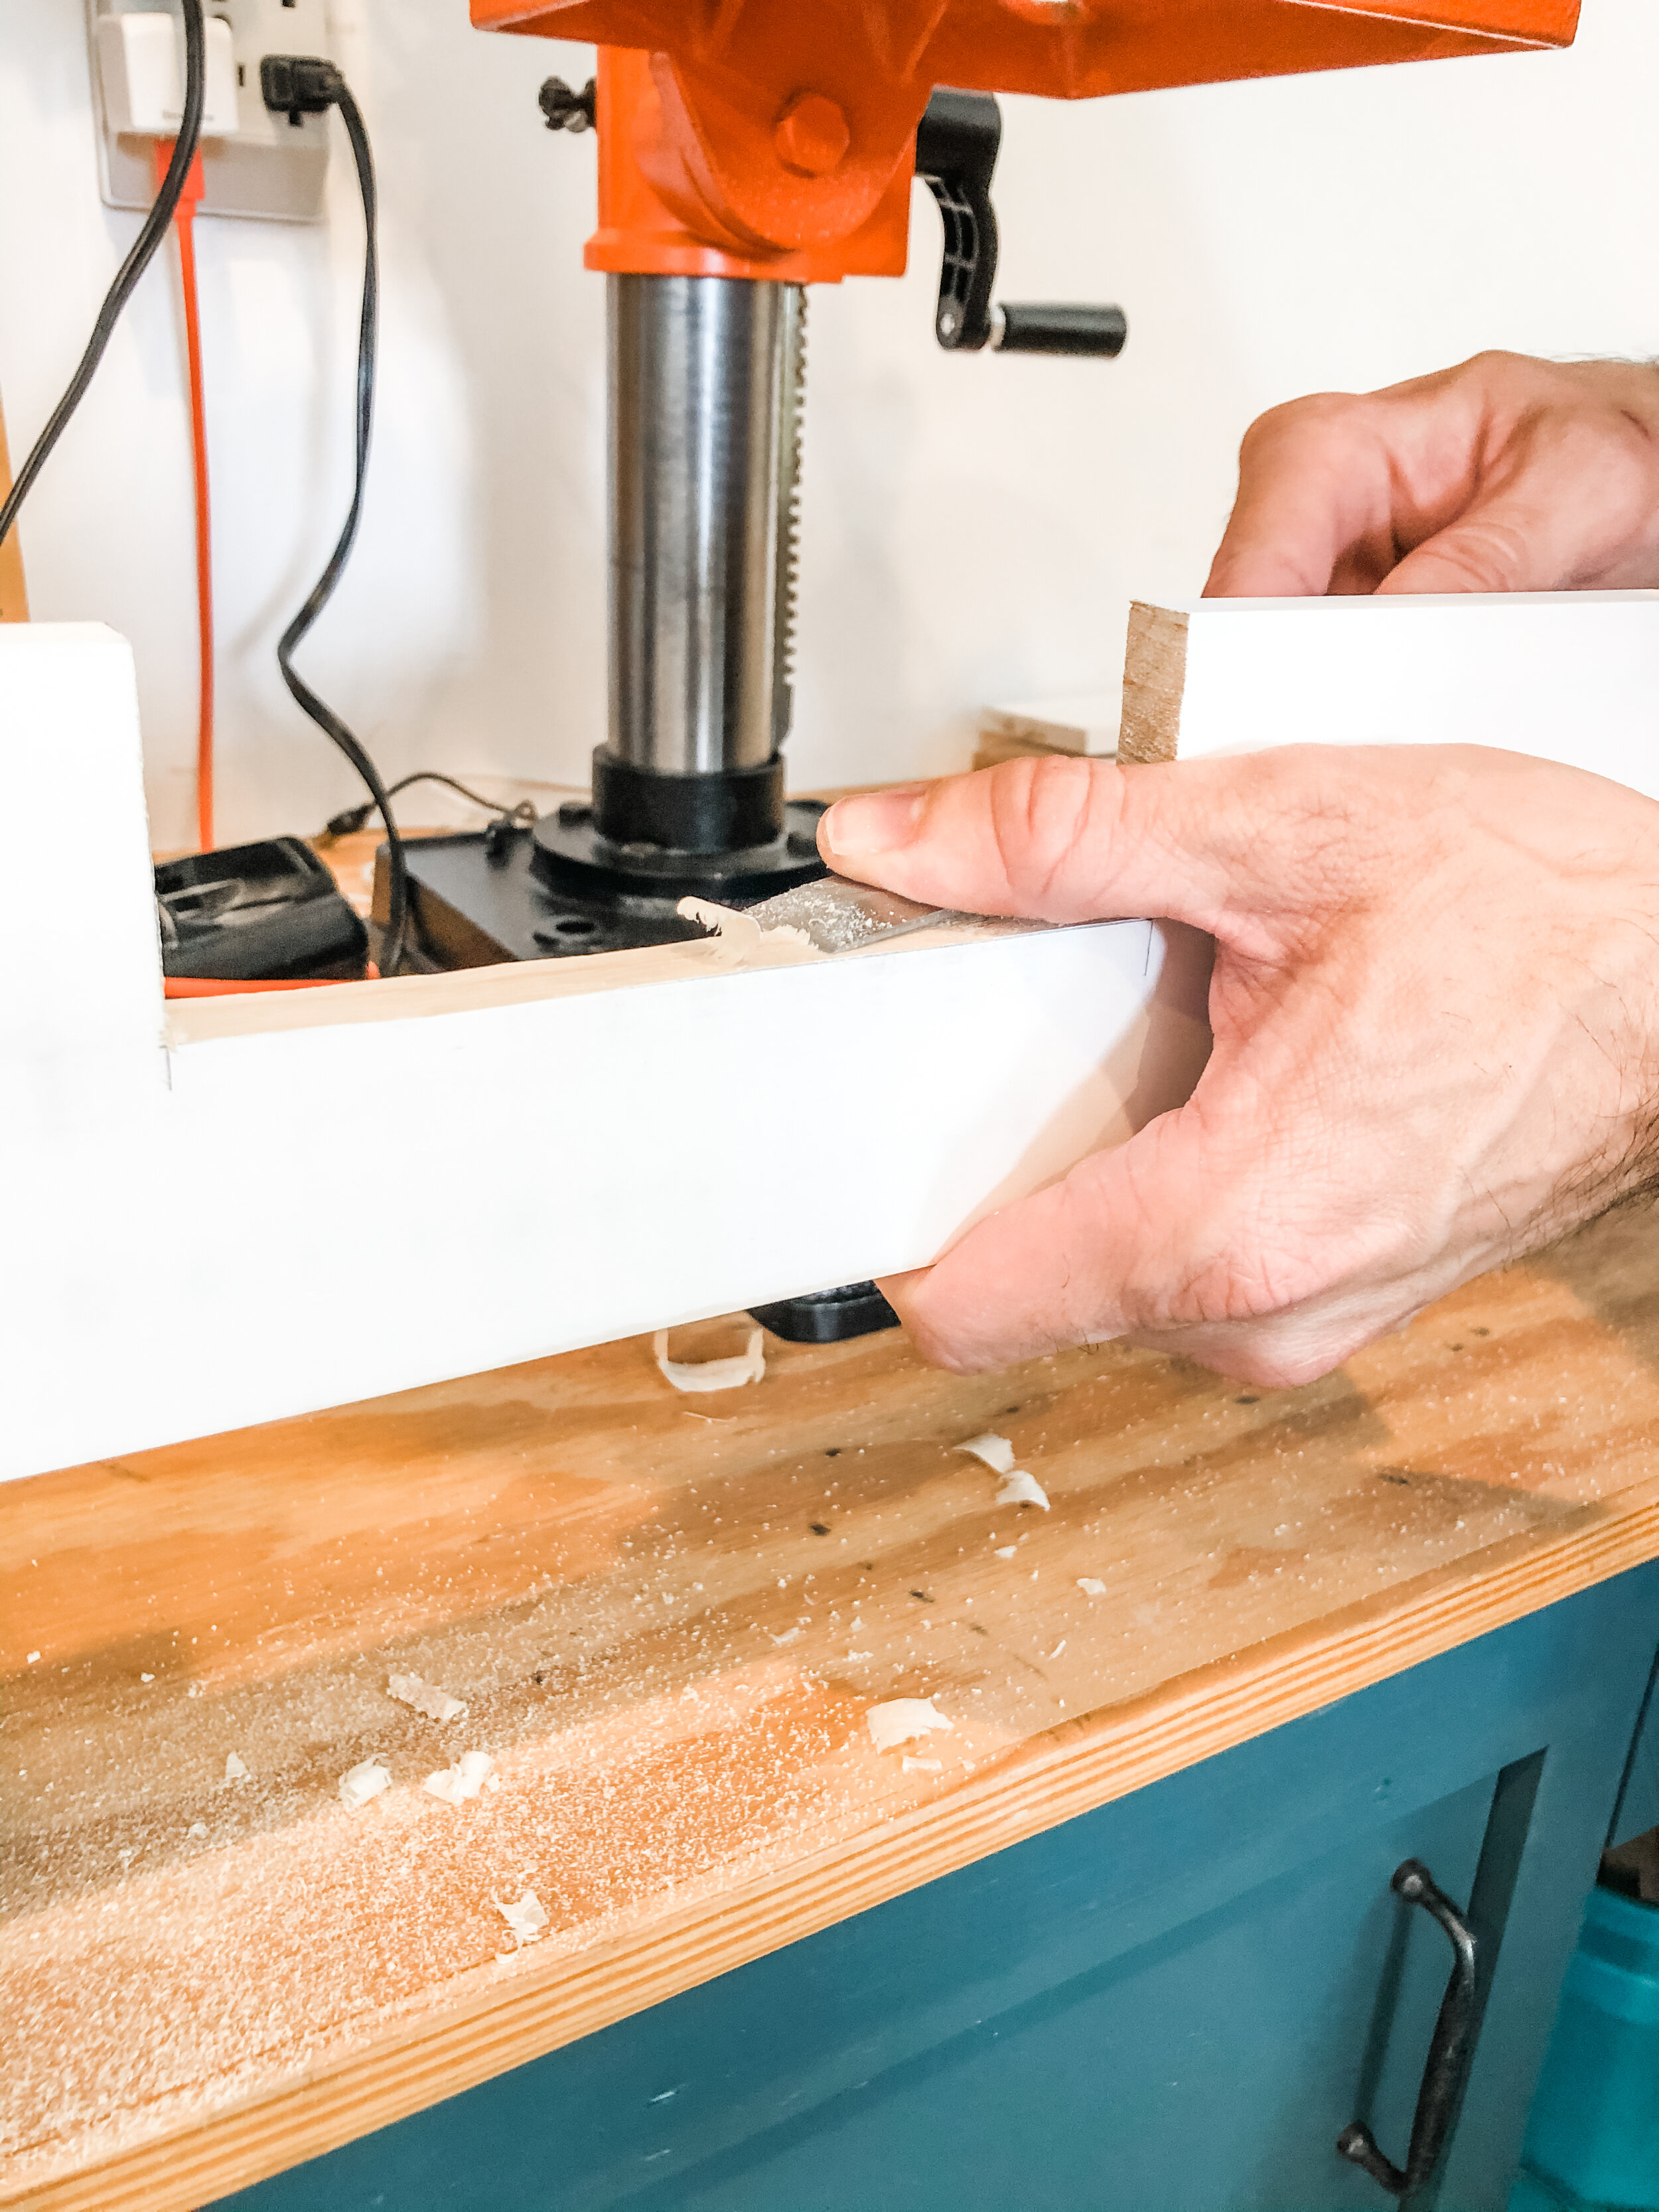
Next, we ran all the boards through the planer so each was a half-inch thick
The planer only takes off 1/32 of an inch each run and we needed to take off a quarter inch—each board passed through the planer eight times!!! Cutting down the boards and running them through the planer took an entire (rainy and cold) Saturday afternoon. Andrew asked me what I learned through this experience and I replied with “custom thicknesses are time-consuming and next time I will choose the boards at a standard thickness instead of making extra work.” Oops.I sanded each stile and rail—which went super quick since Andrew acted as my organizer, bringing me a stack at a time
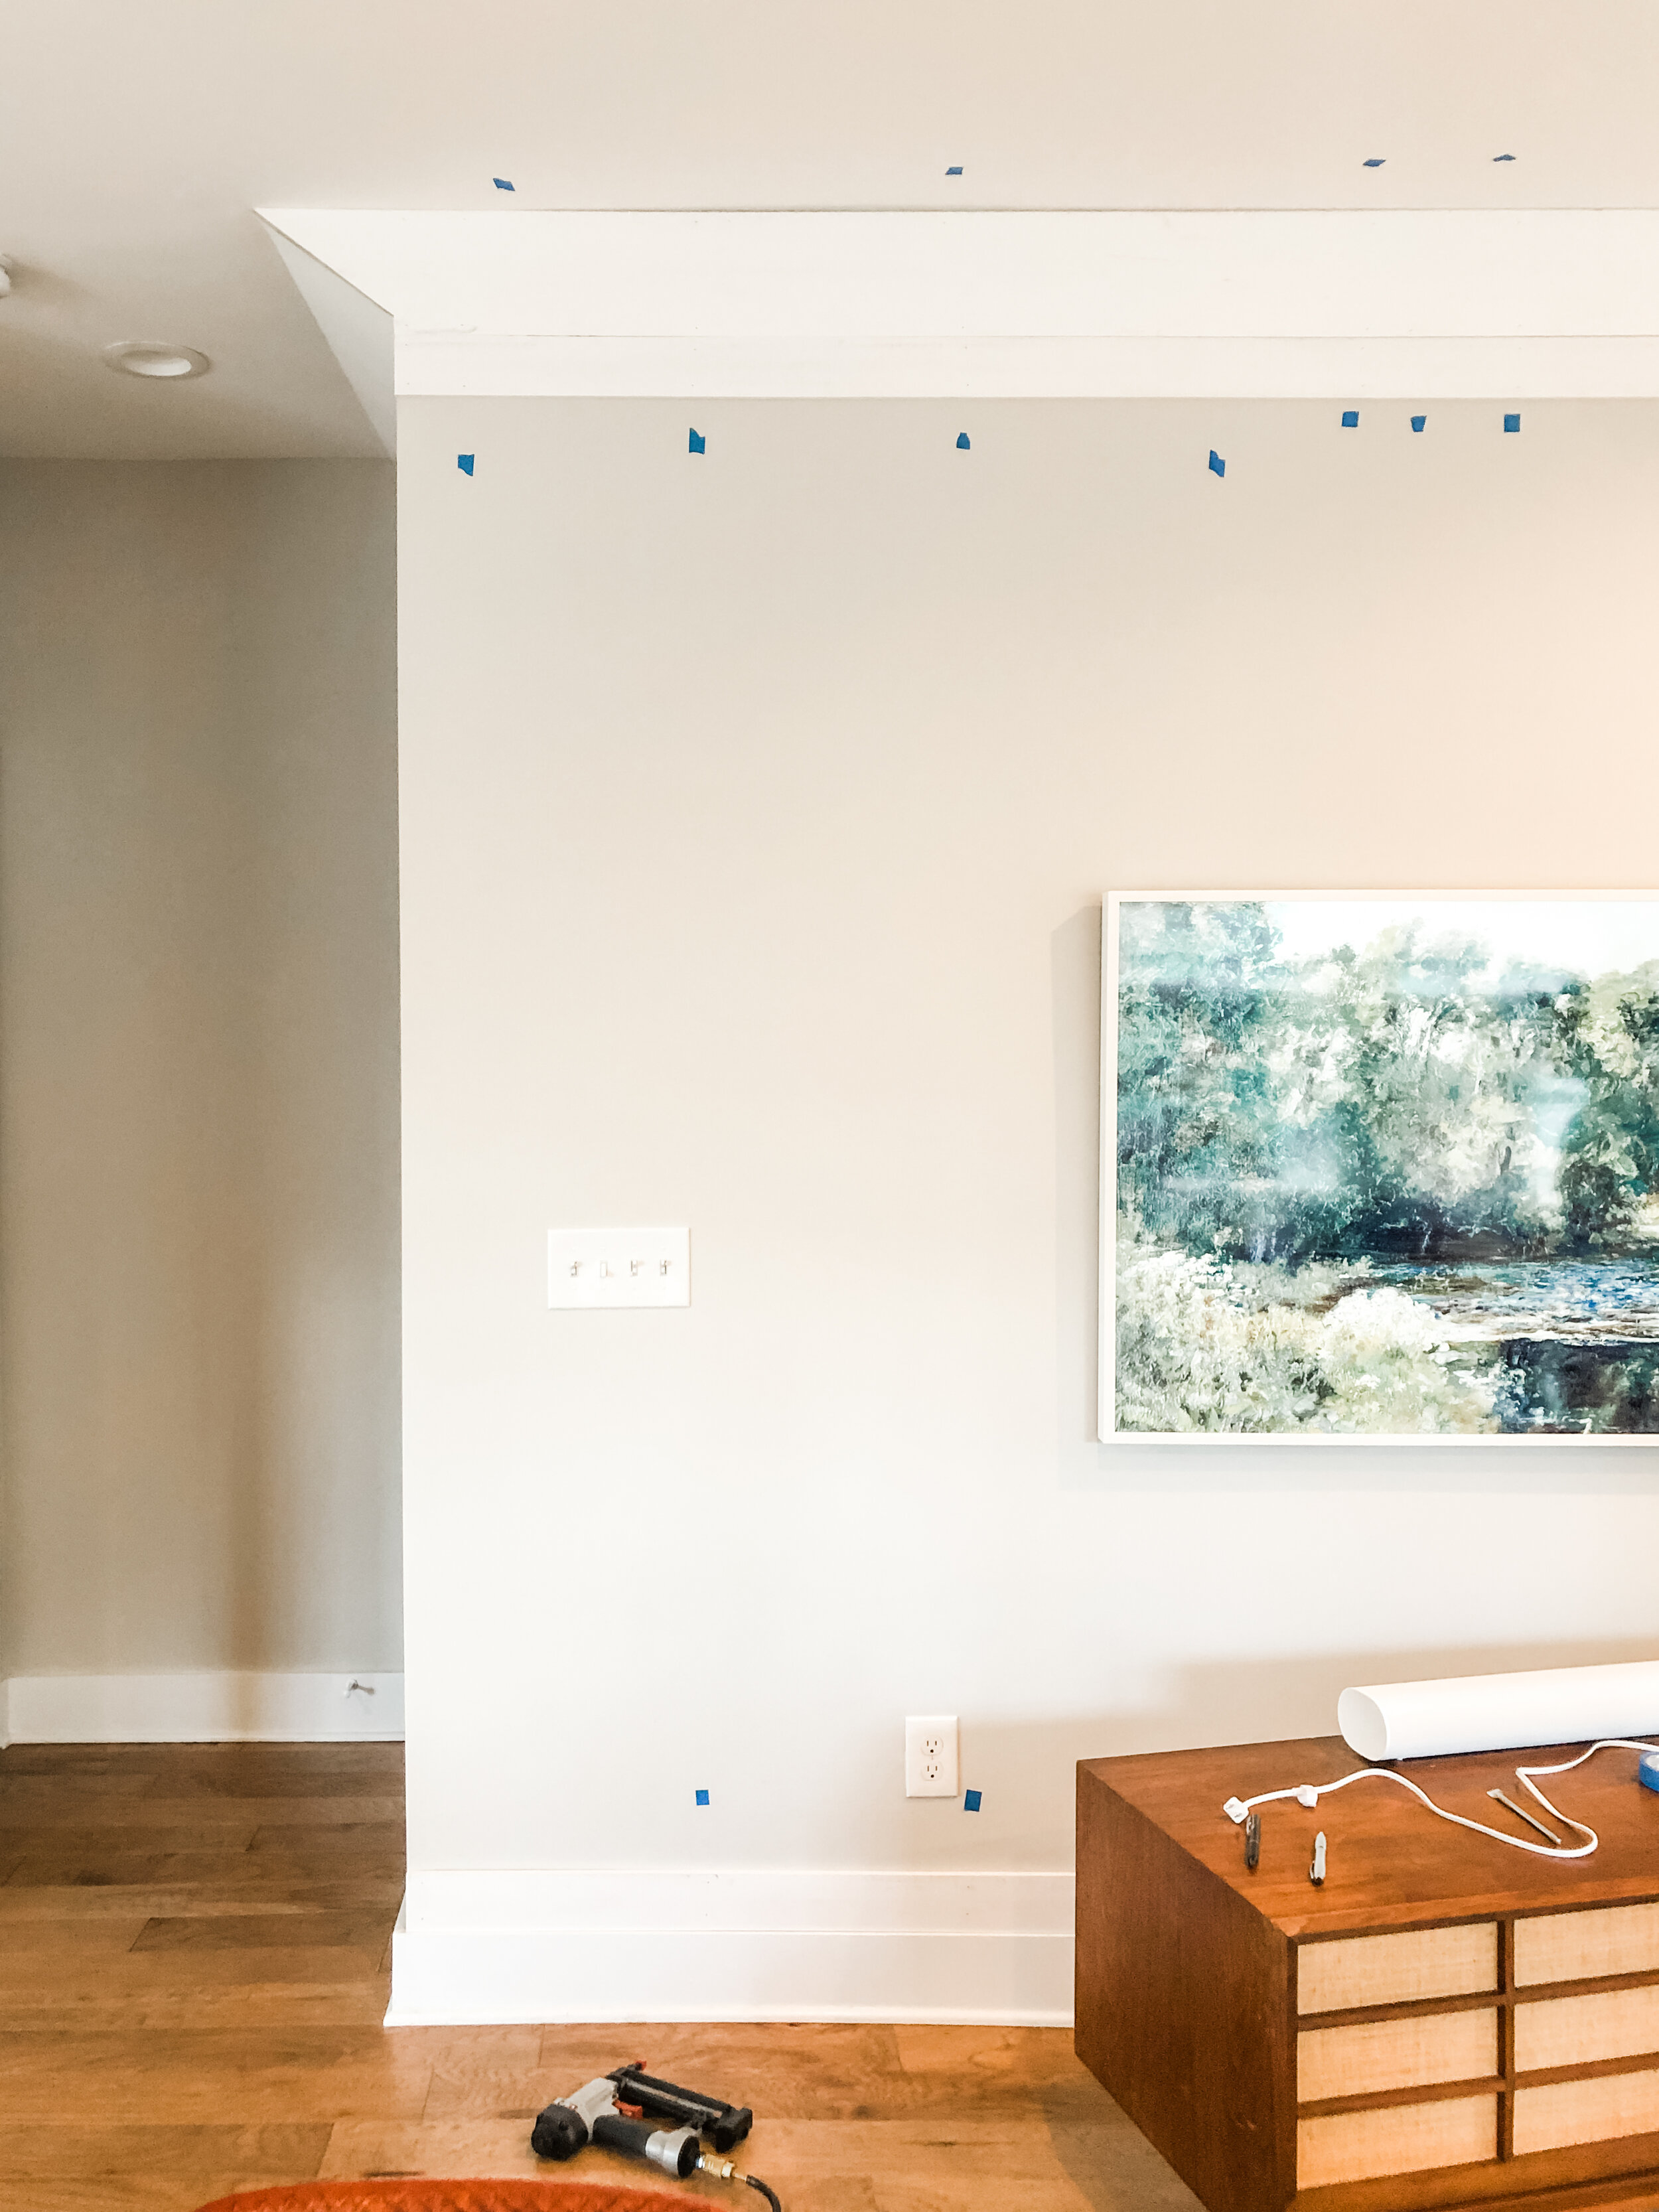
I marked all the studs and ceiling joists with painters tape
Andrew held up the 1x8 and I marked the angled wall outline for removal and he used his jigsaw to remove the extra board
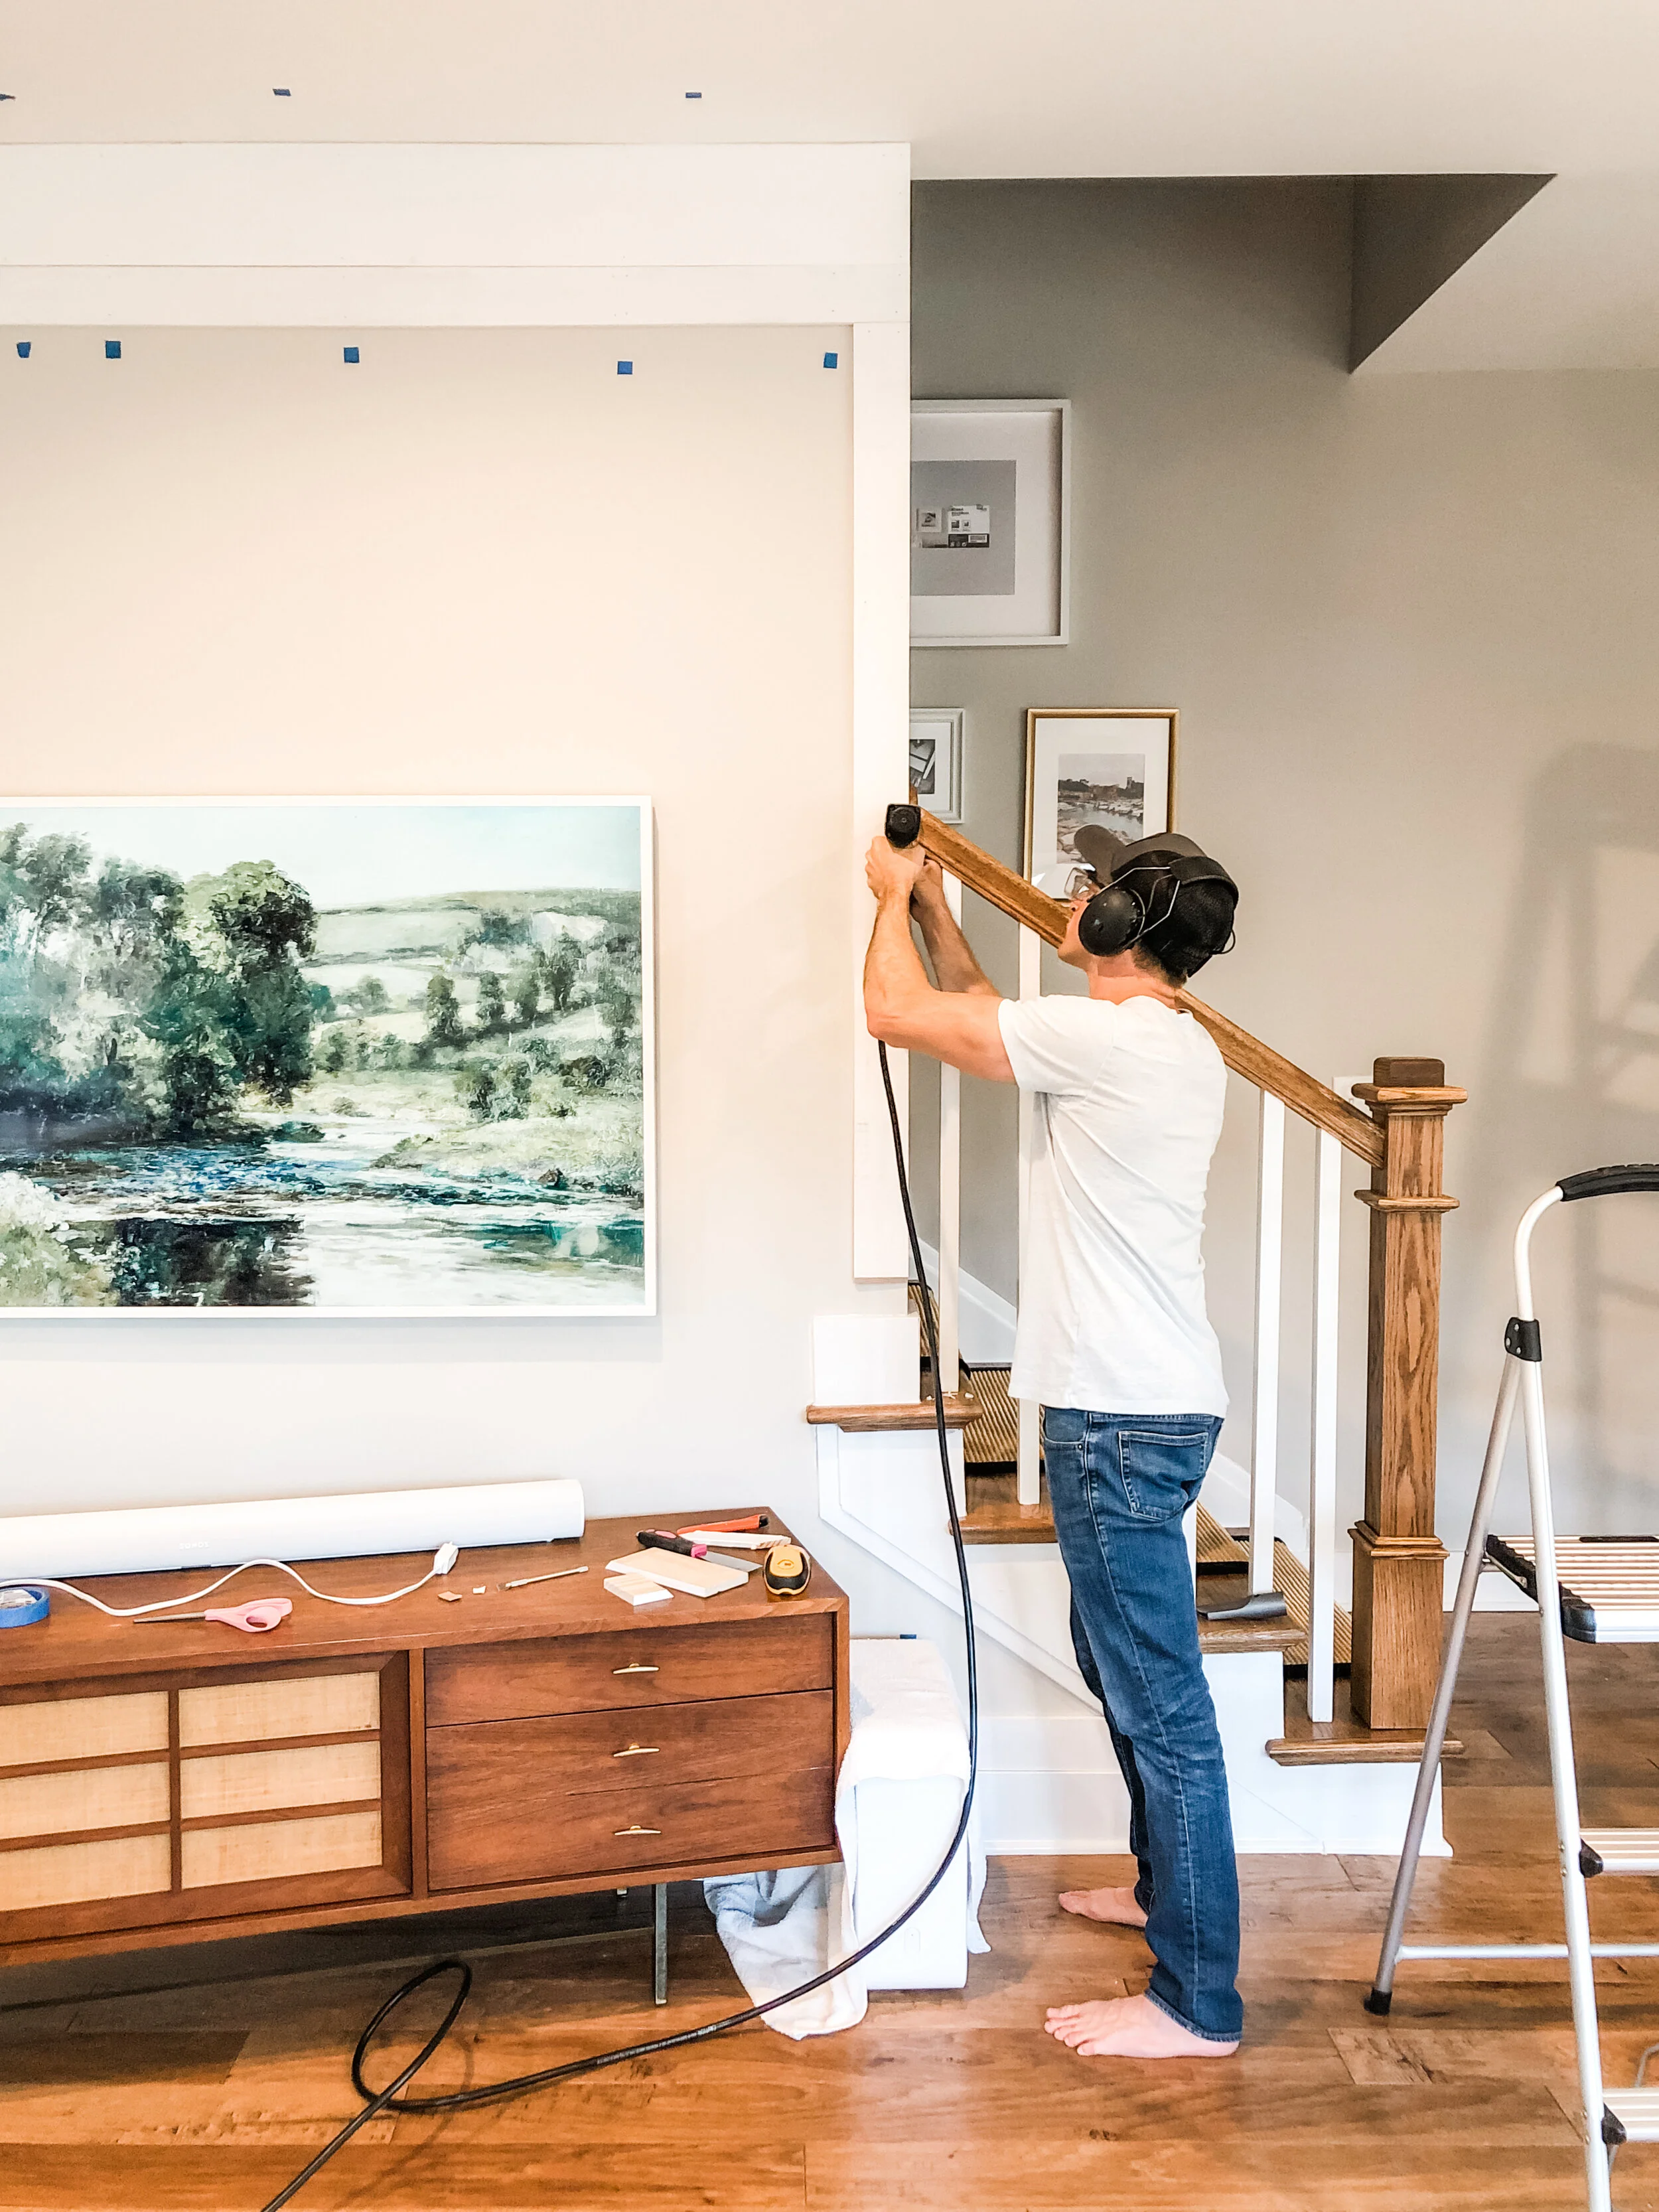
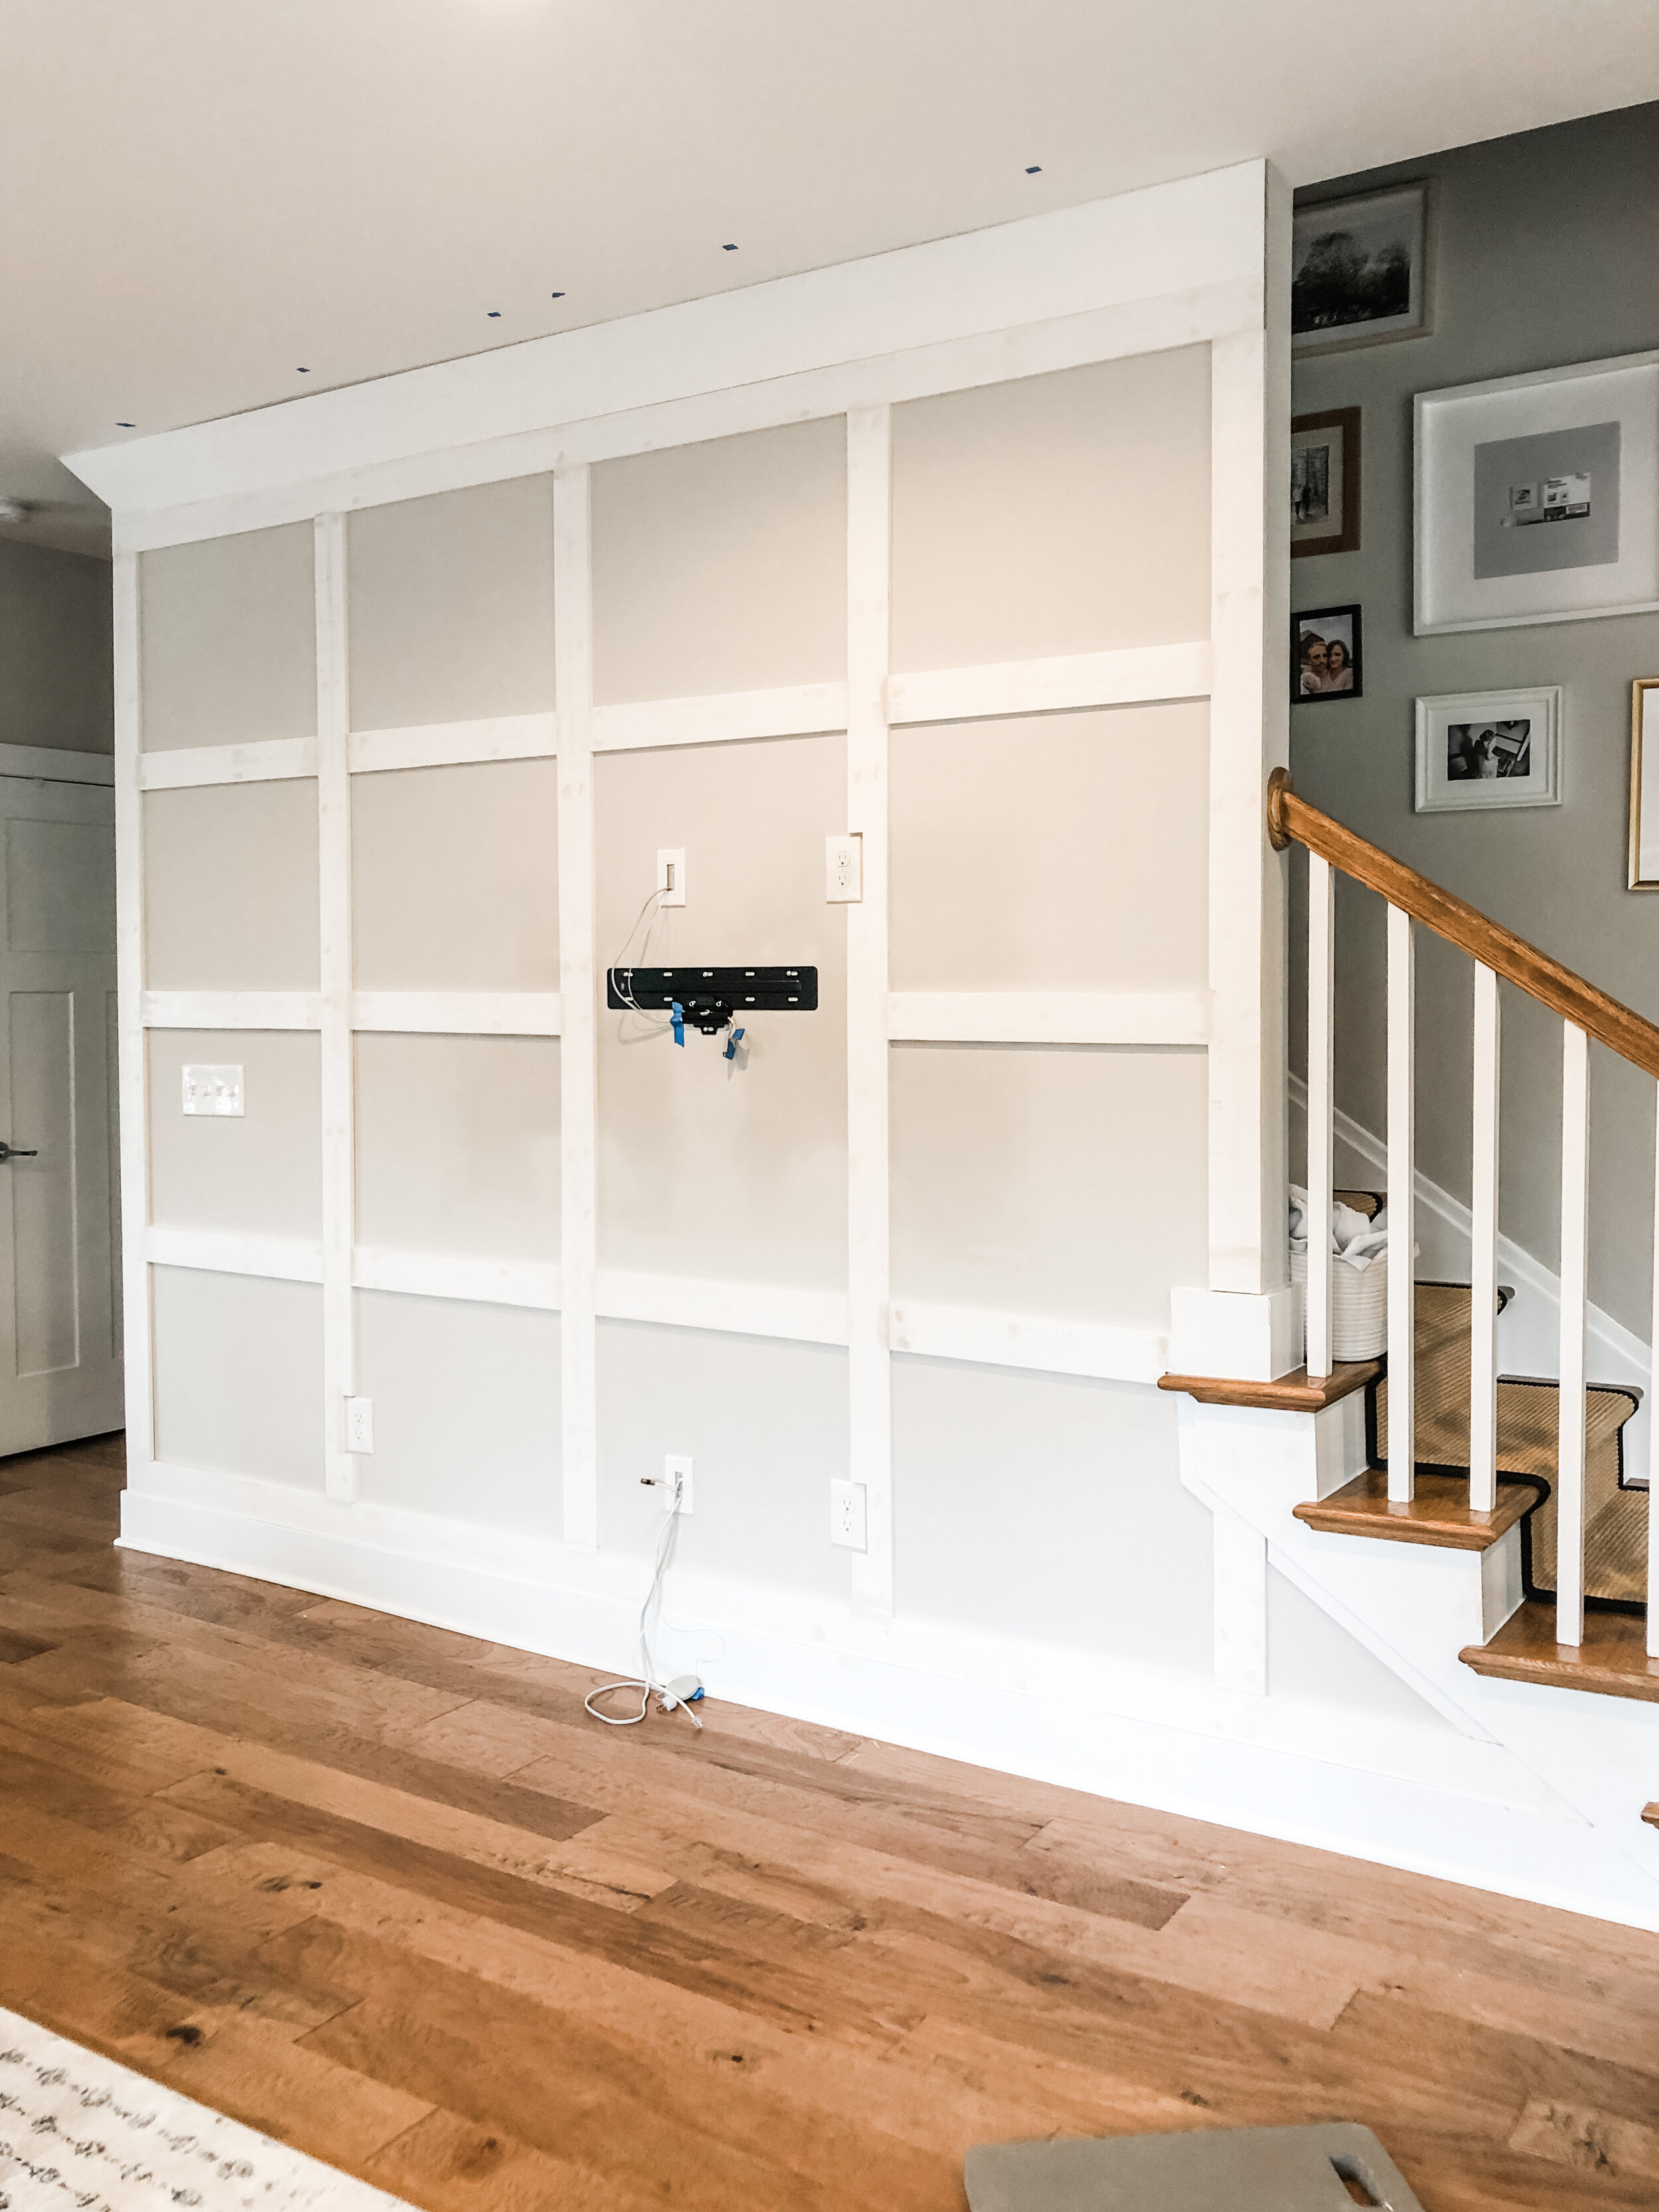
We attached the 1x8 that would serve as the “wall” behind the double crown along the ceiling
Andrew then added the top rail of the board and batten (directly below where the double crown will be)
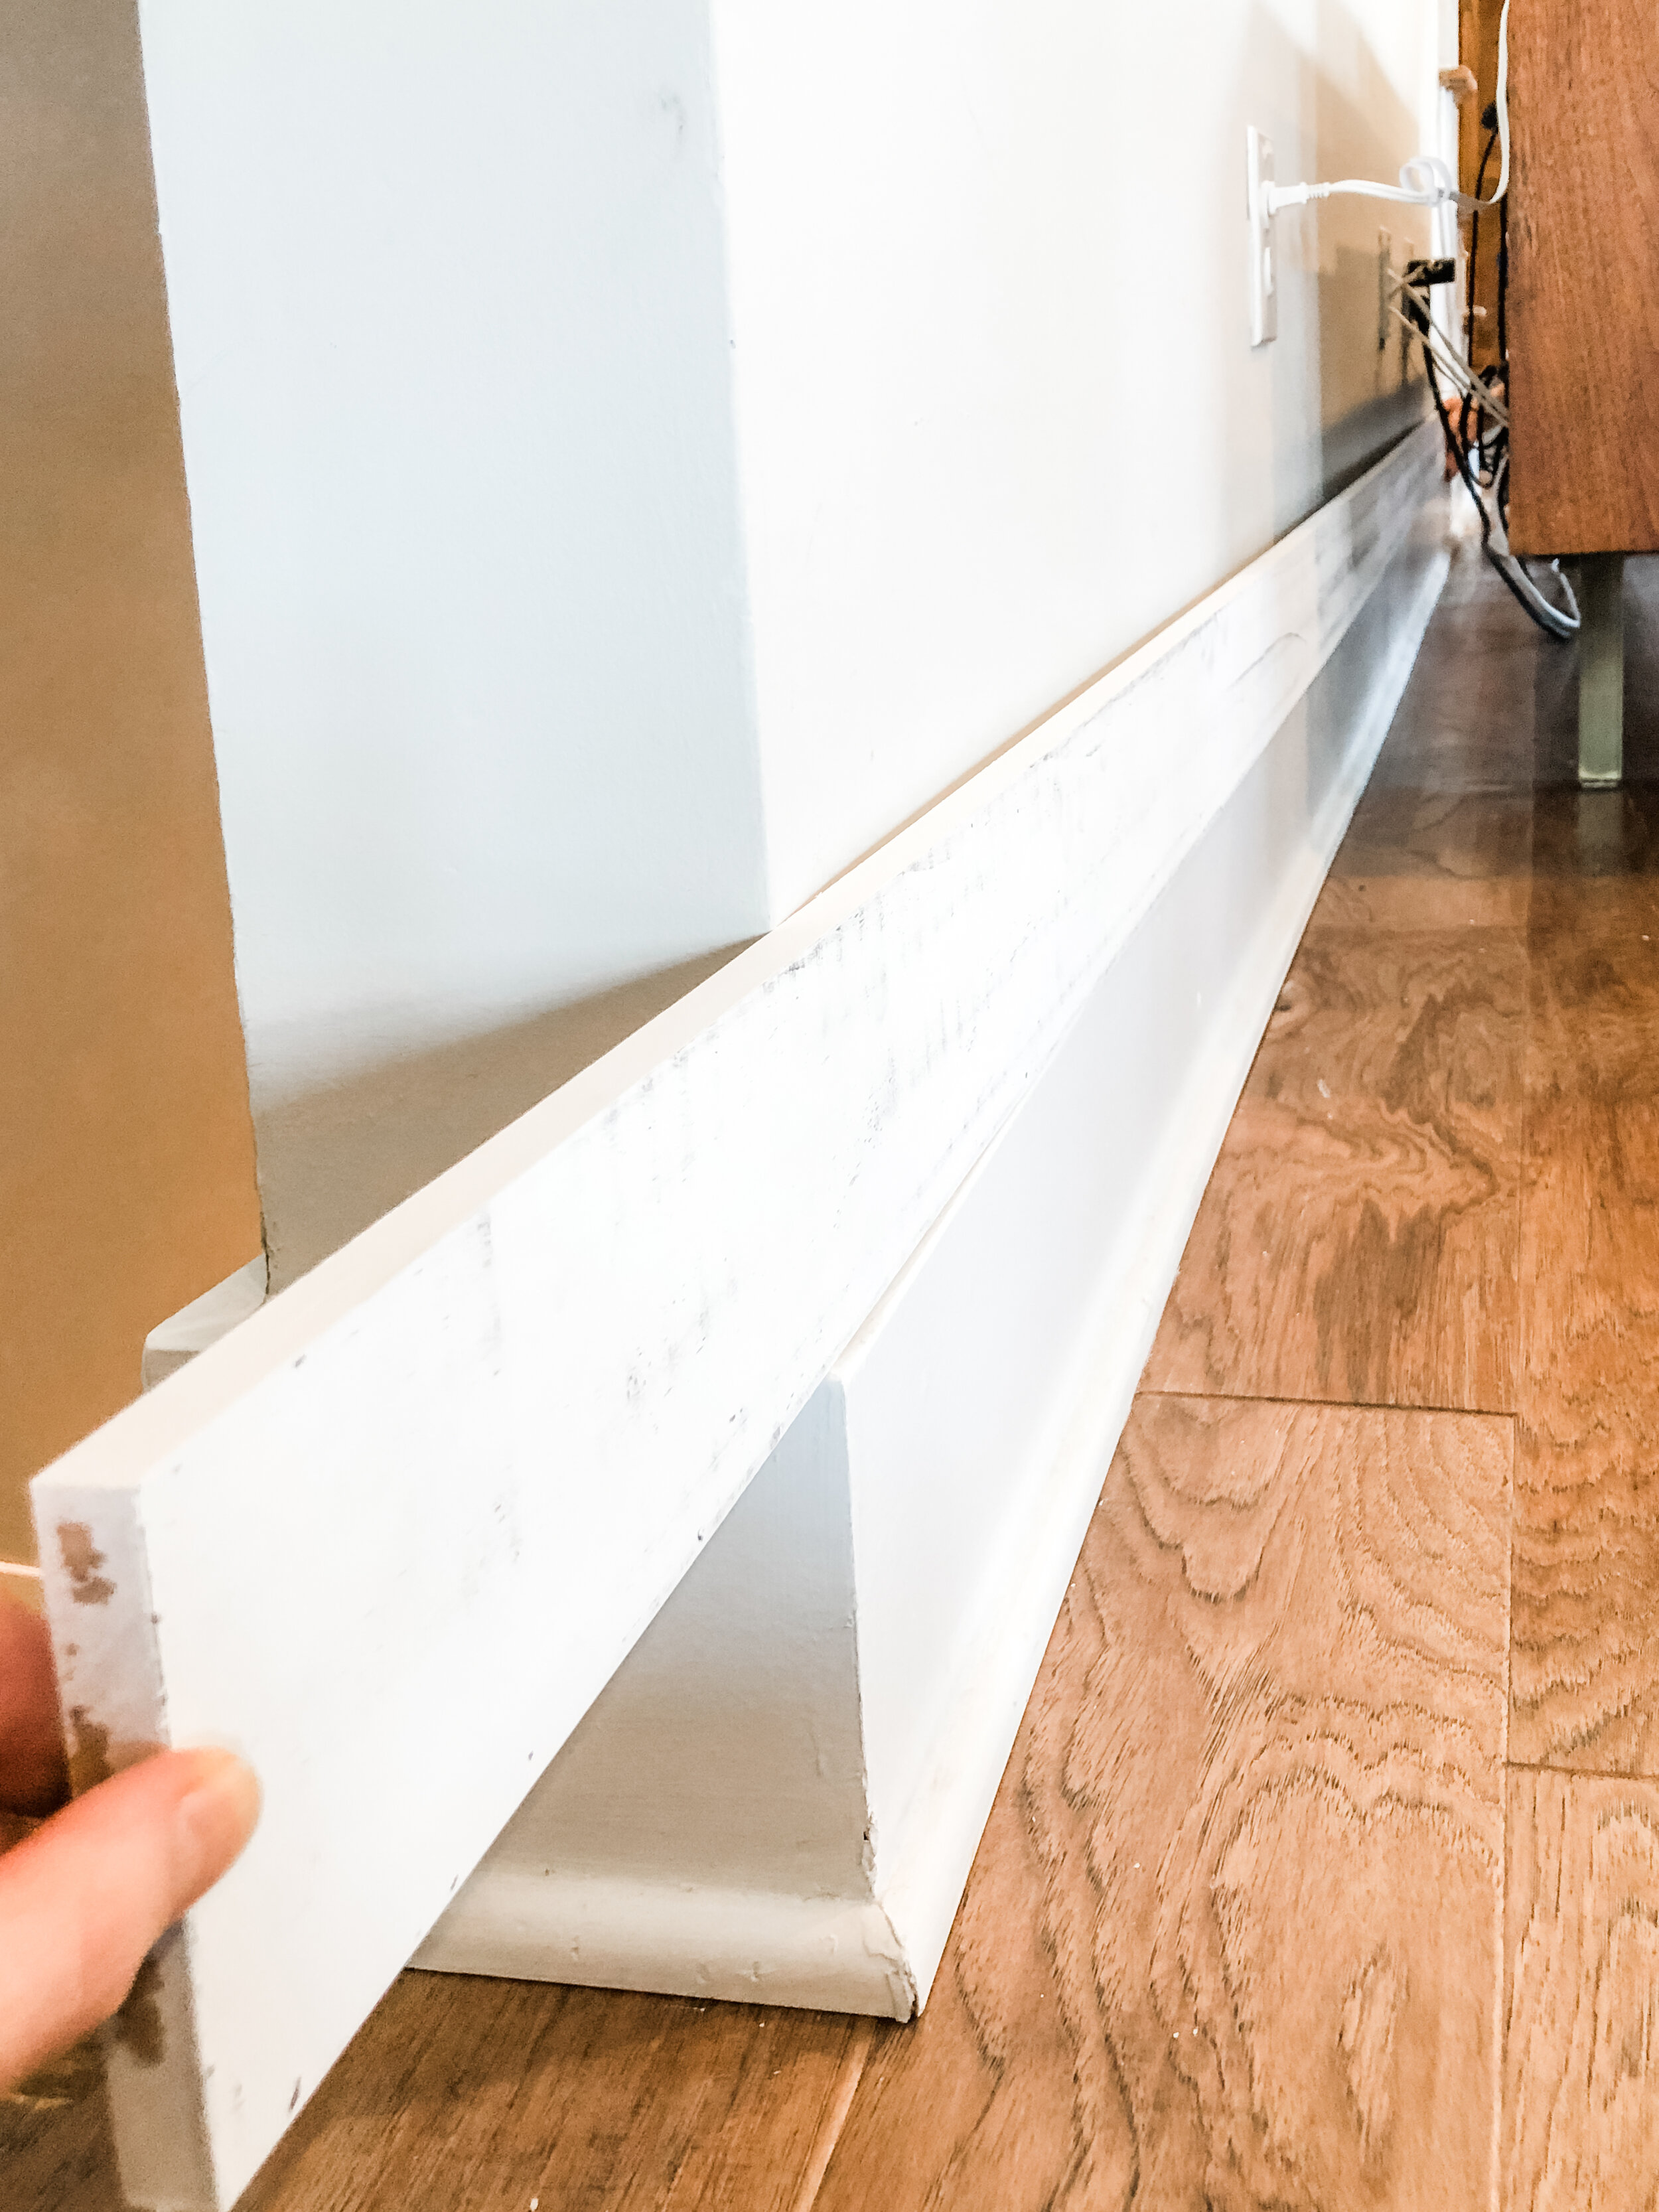
Next, we measured and cut the rail that sat directly on top of the baseboard
Typically, the stiles (the boards that run vertically floor to ceiling) are installed first, but we wanted a really smooth caulk seam under the crown and above the baseboard and opted to install the top and bottom rails first.
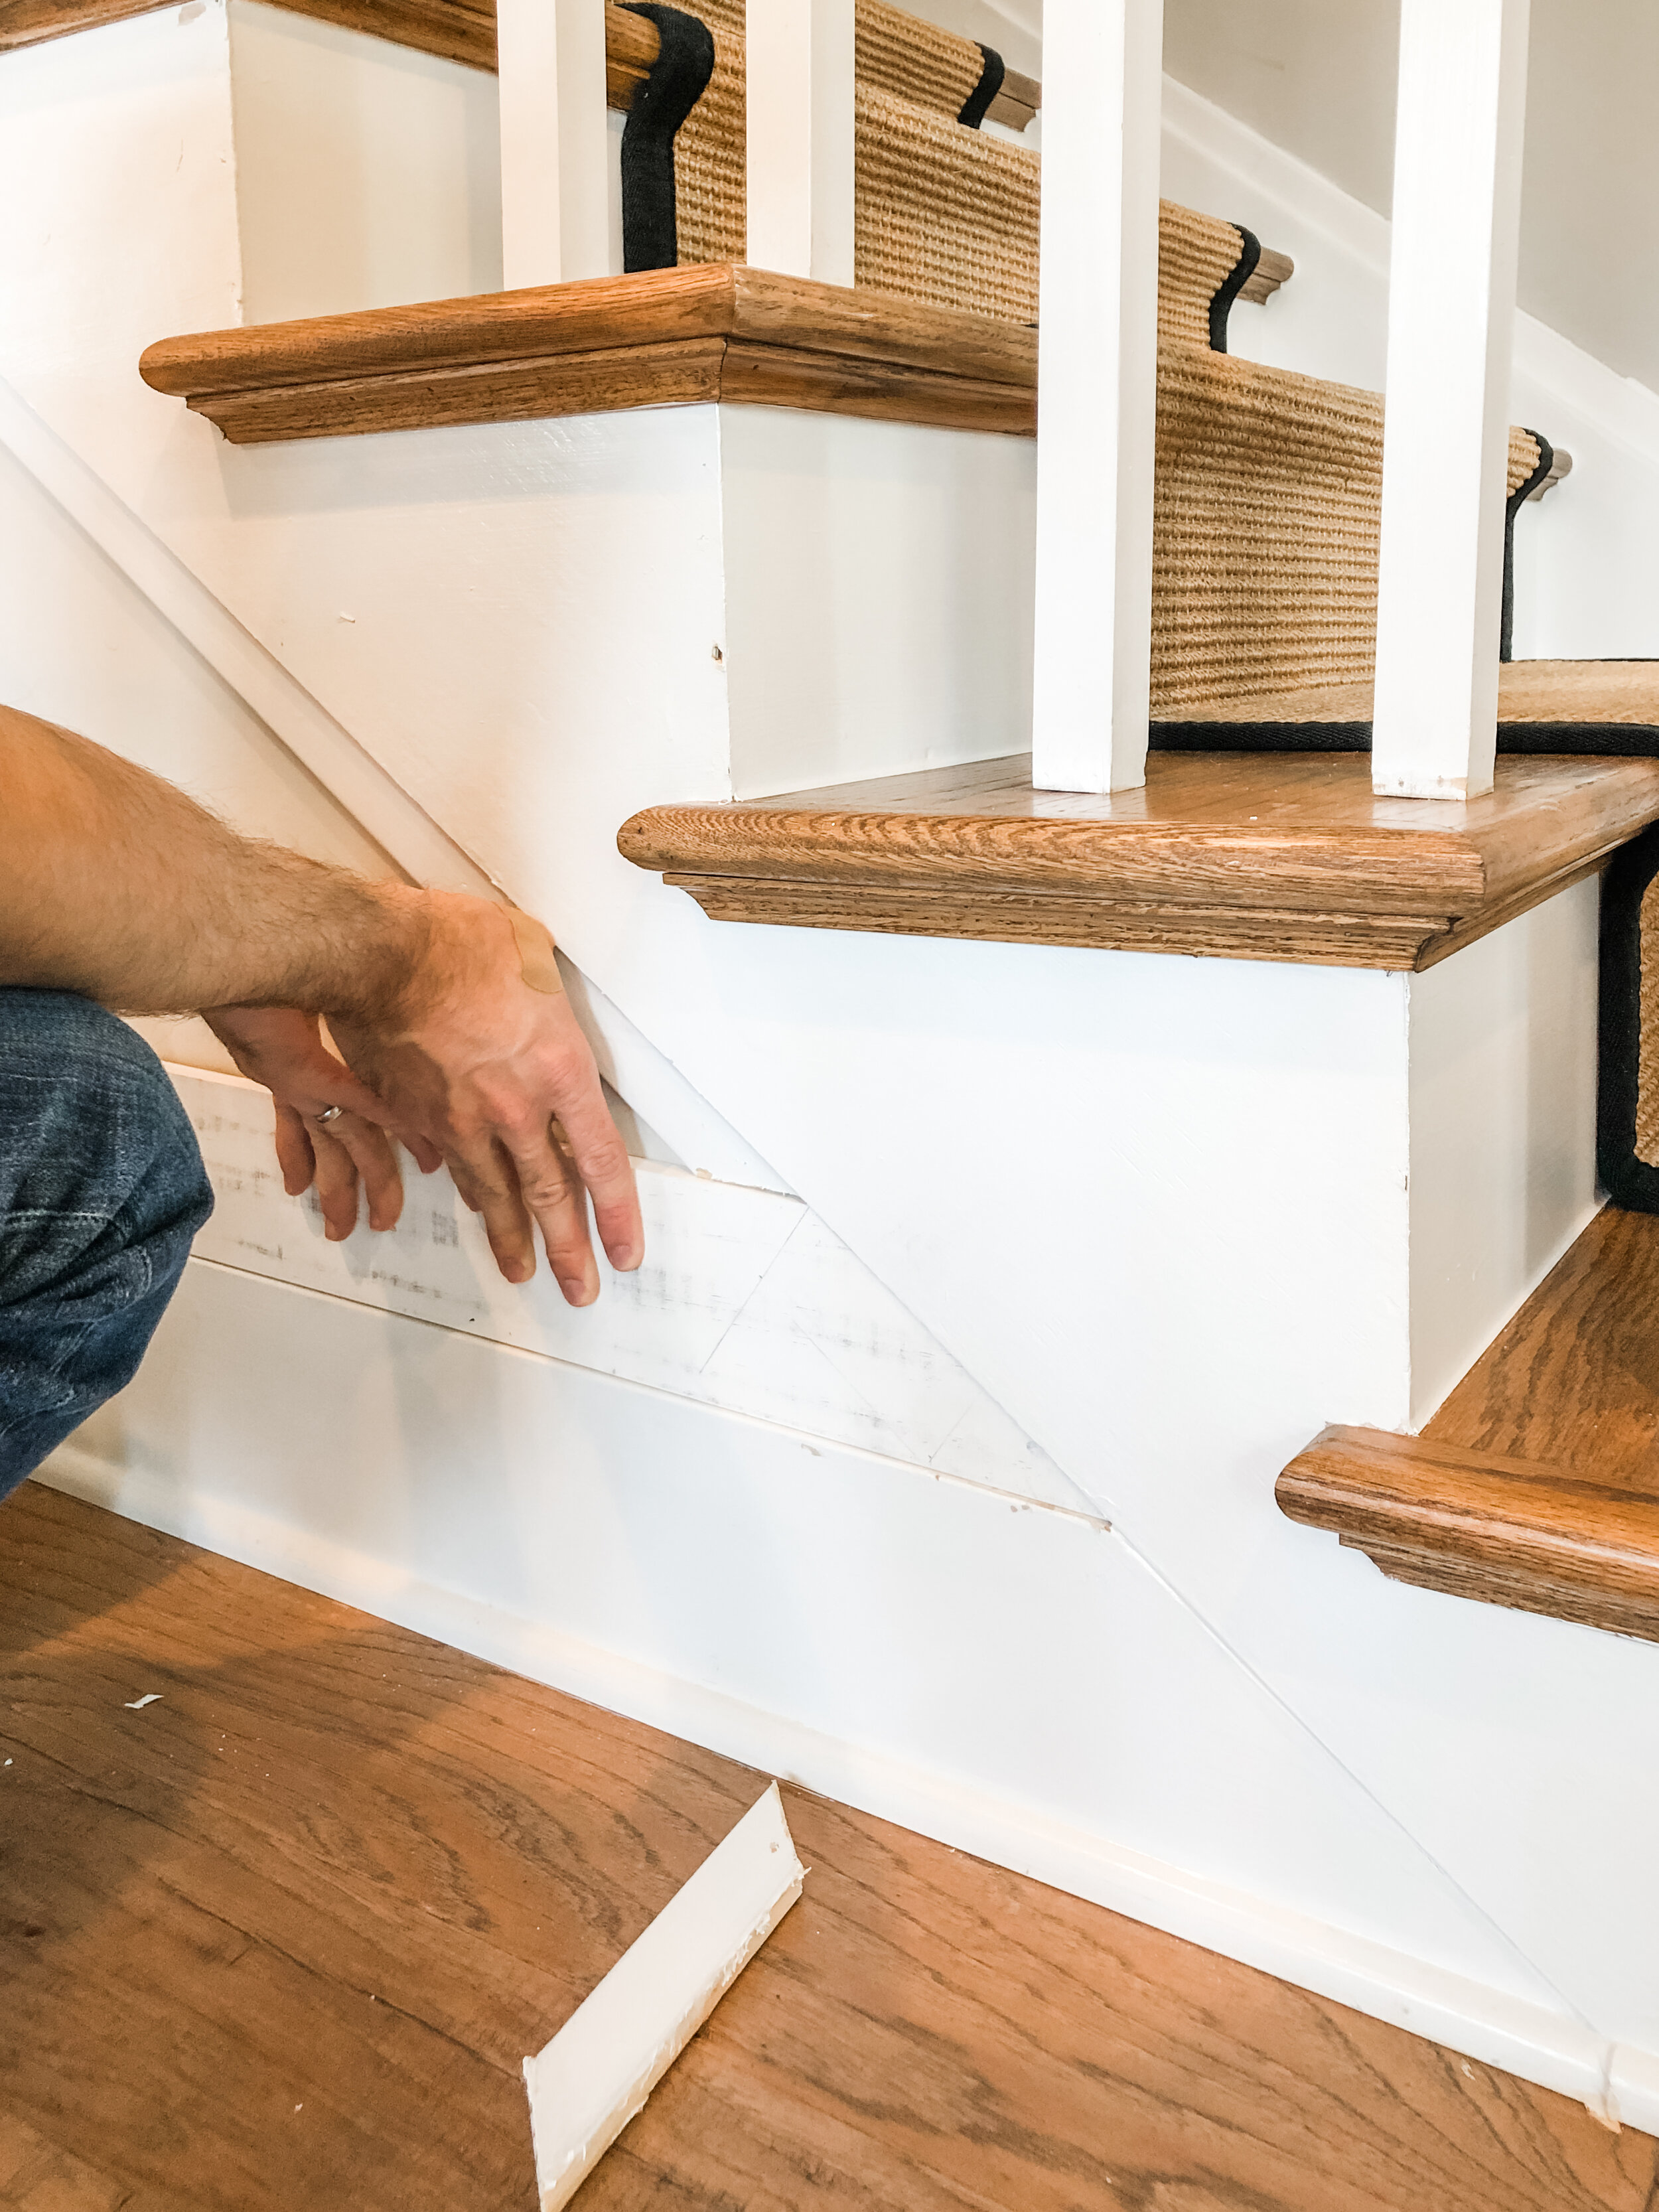
Andrew removed the decorative wood trim using his rotary hacksaw for a snug fit below the stairs
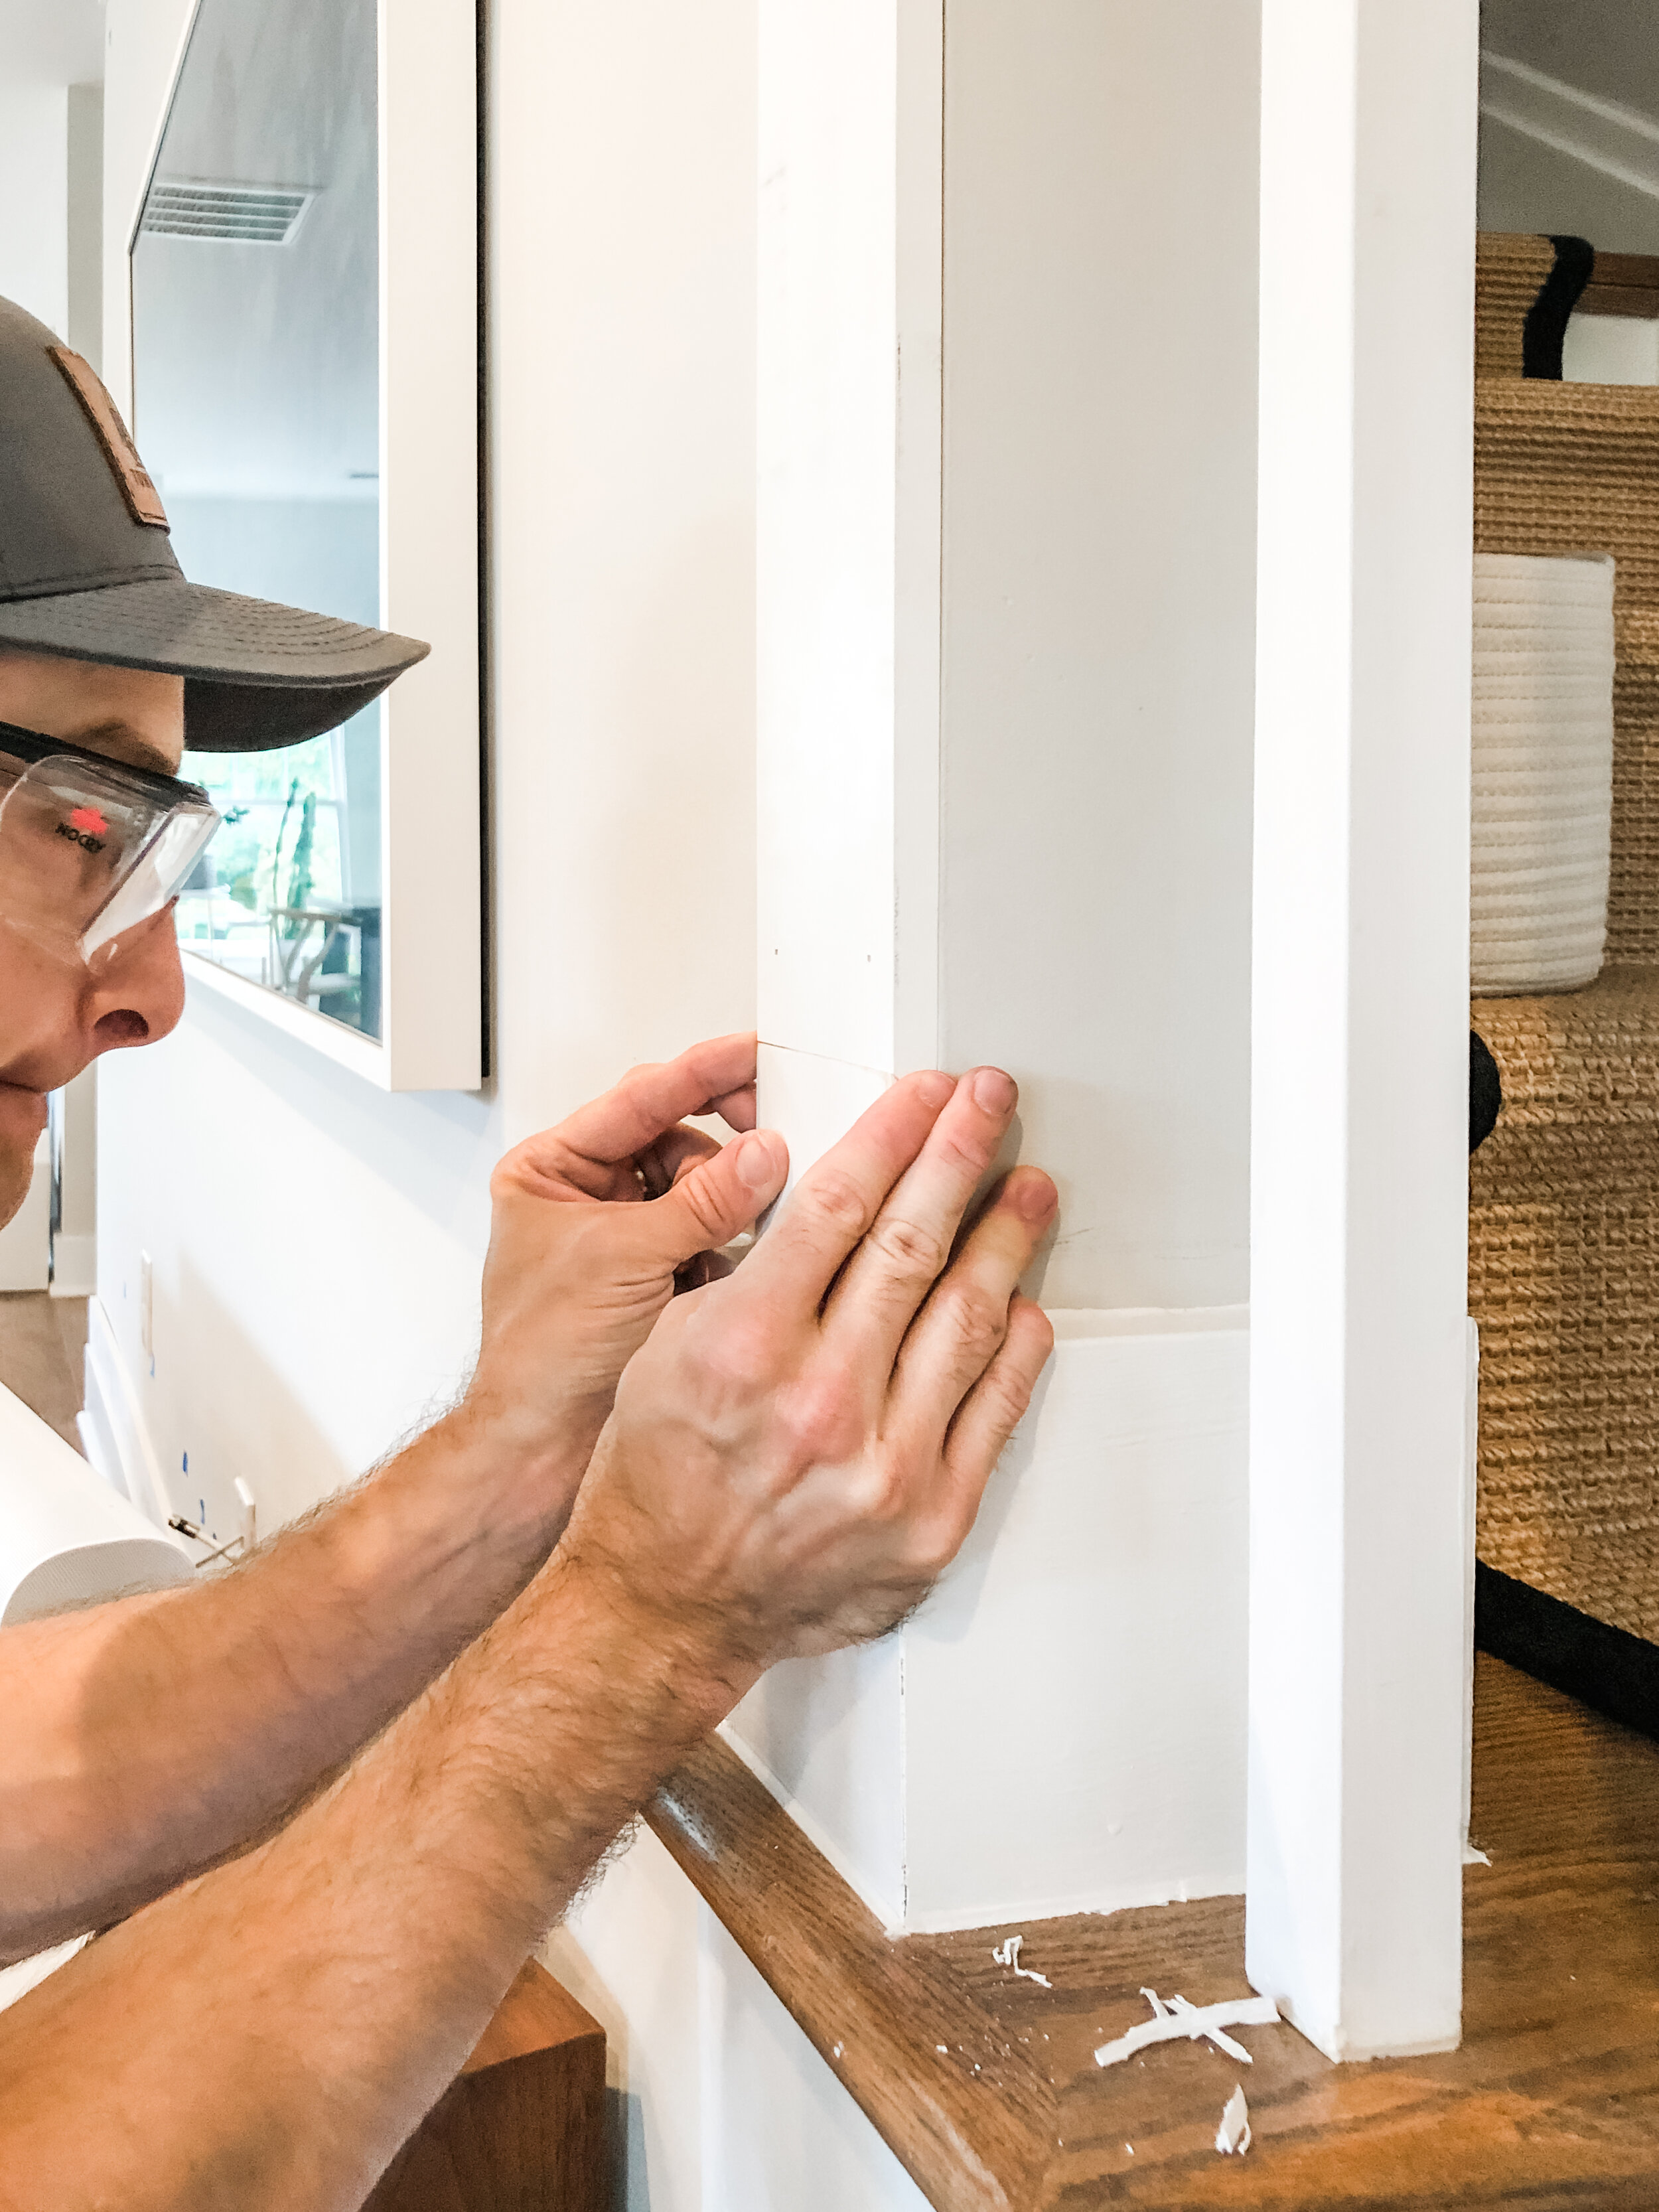
We installed the stiles on both ends of the wall, choosing to keep the boards as flush with the wall edge even though it was not perfectly level
Thankfully, the boards are pretty flexible and we were able to keep the boards lined up with the wall knowing any gap would be filled in with spackel. We also measured incorrectly and Andrew had to add a little piece of wood—measure twice, cut once!!
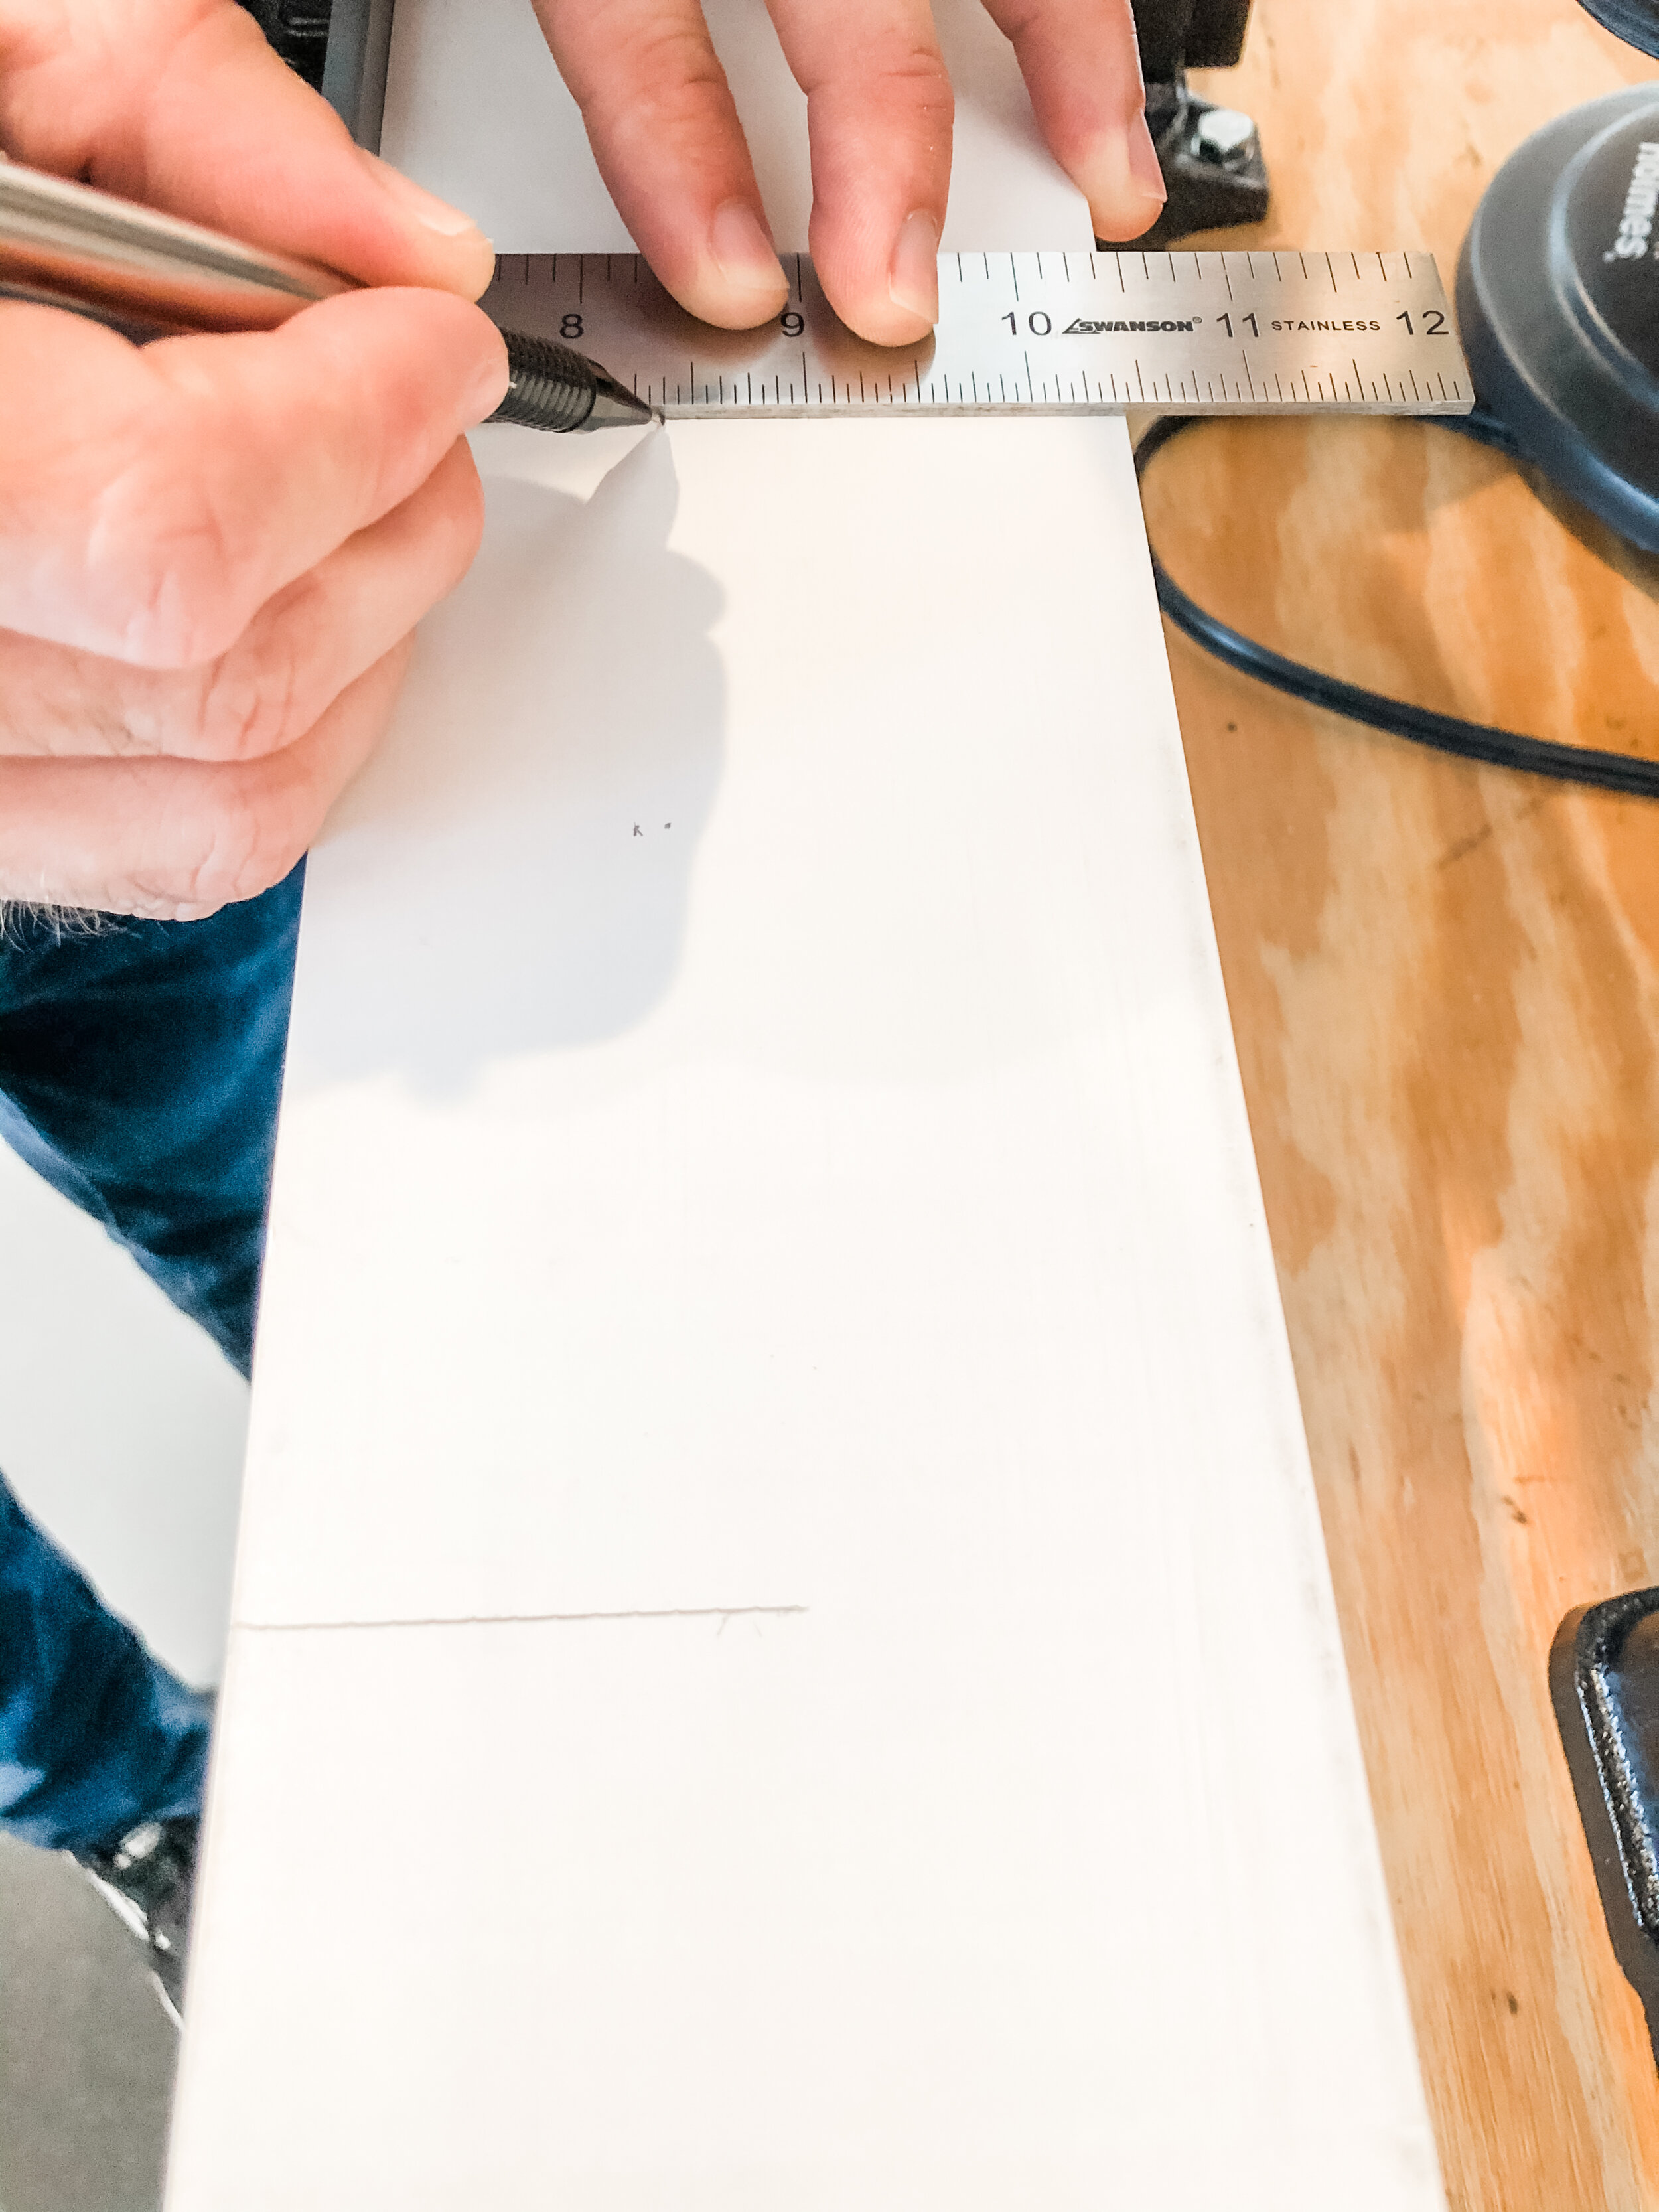
I did some super simple math, determined the stile spacing and traced a scrap for placement of each stile on the bottom rail
Next, we measured and cut all the stiles
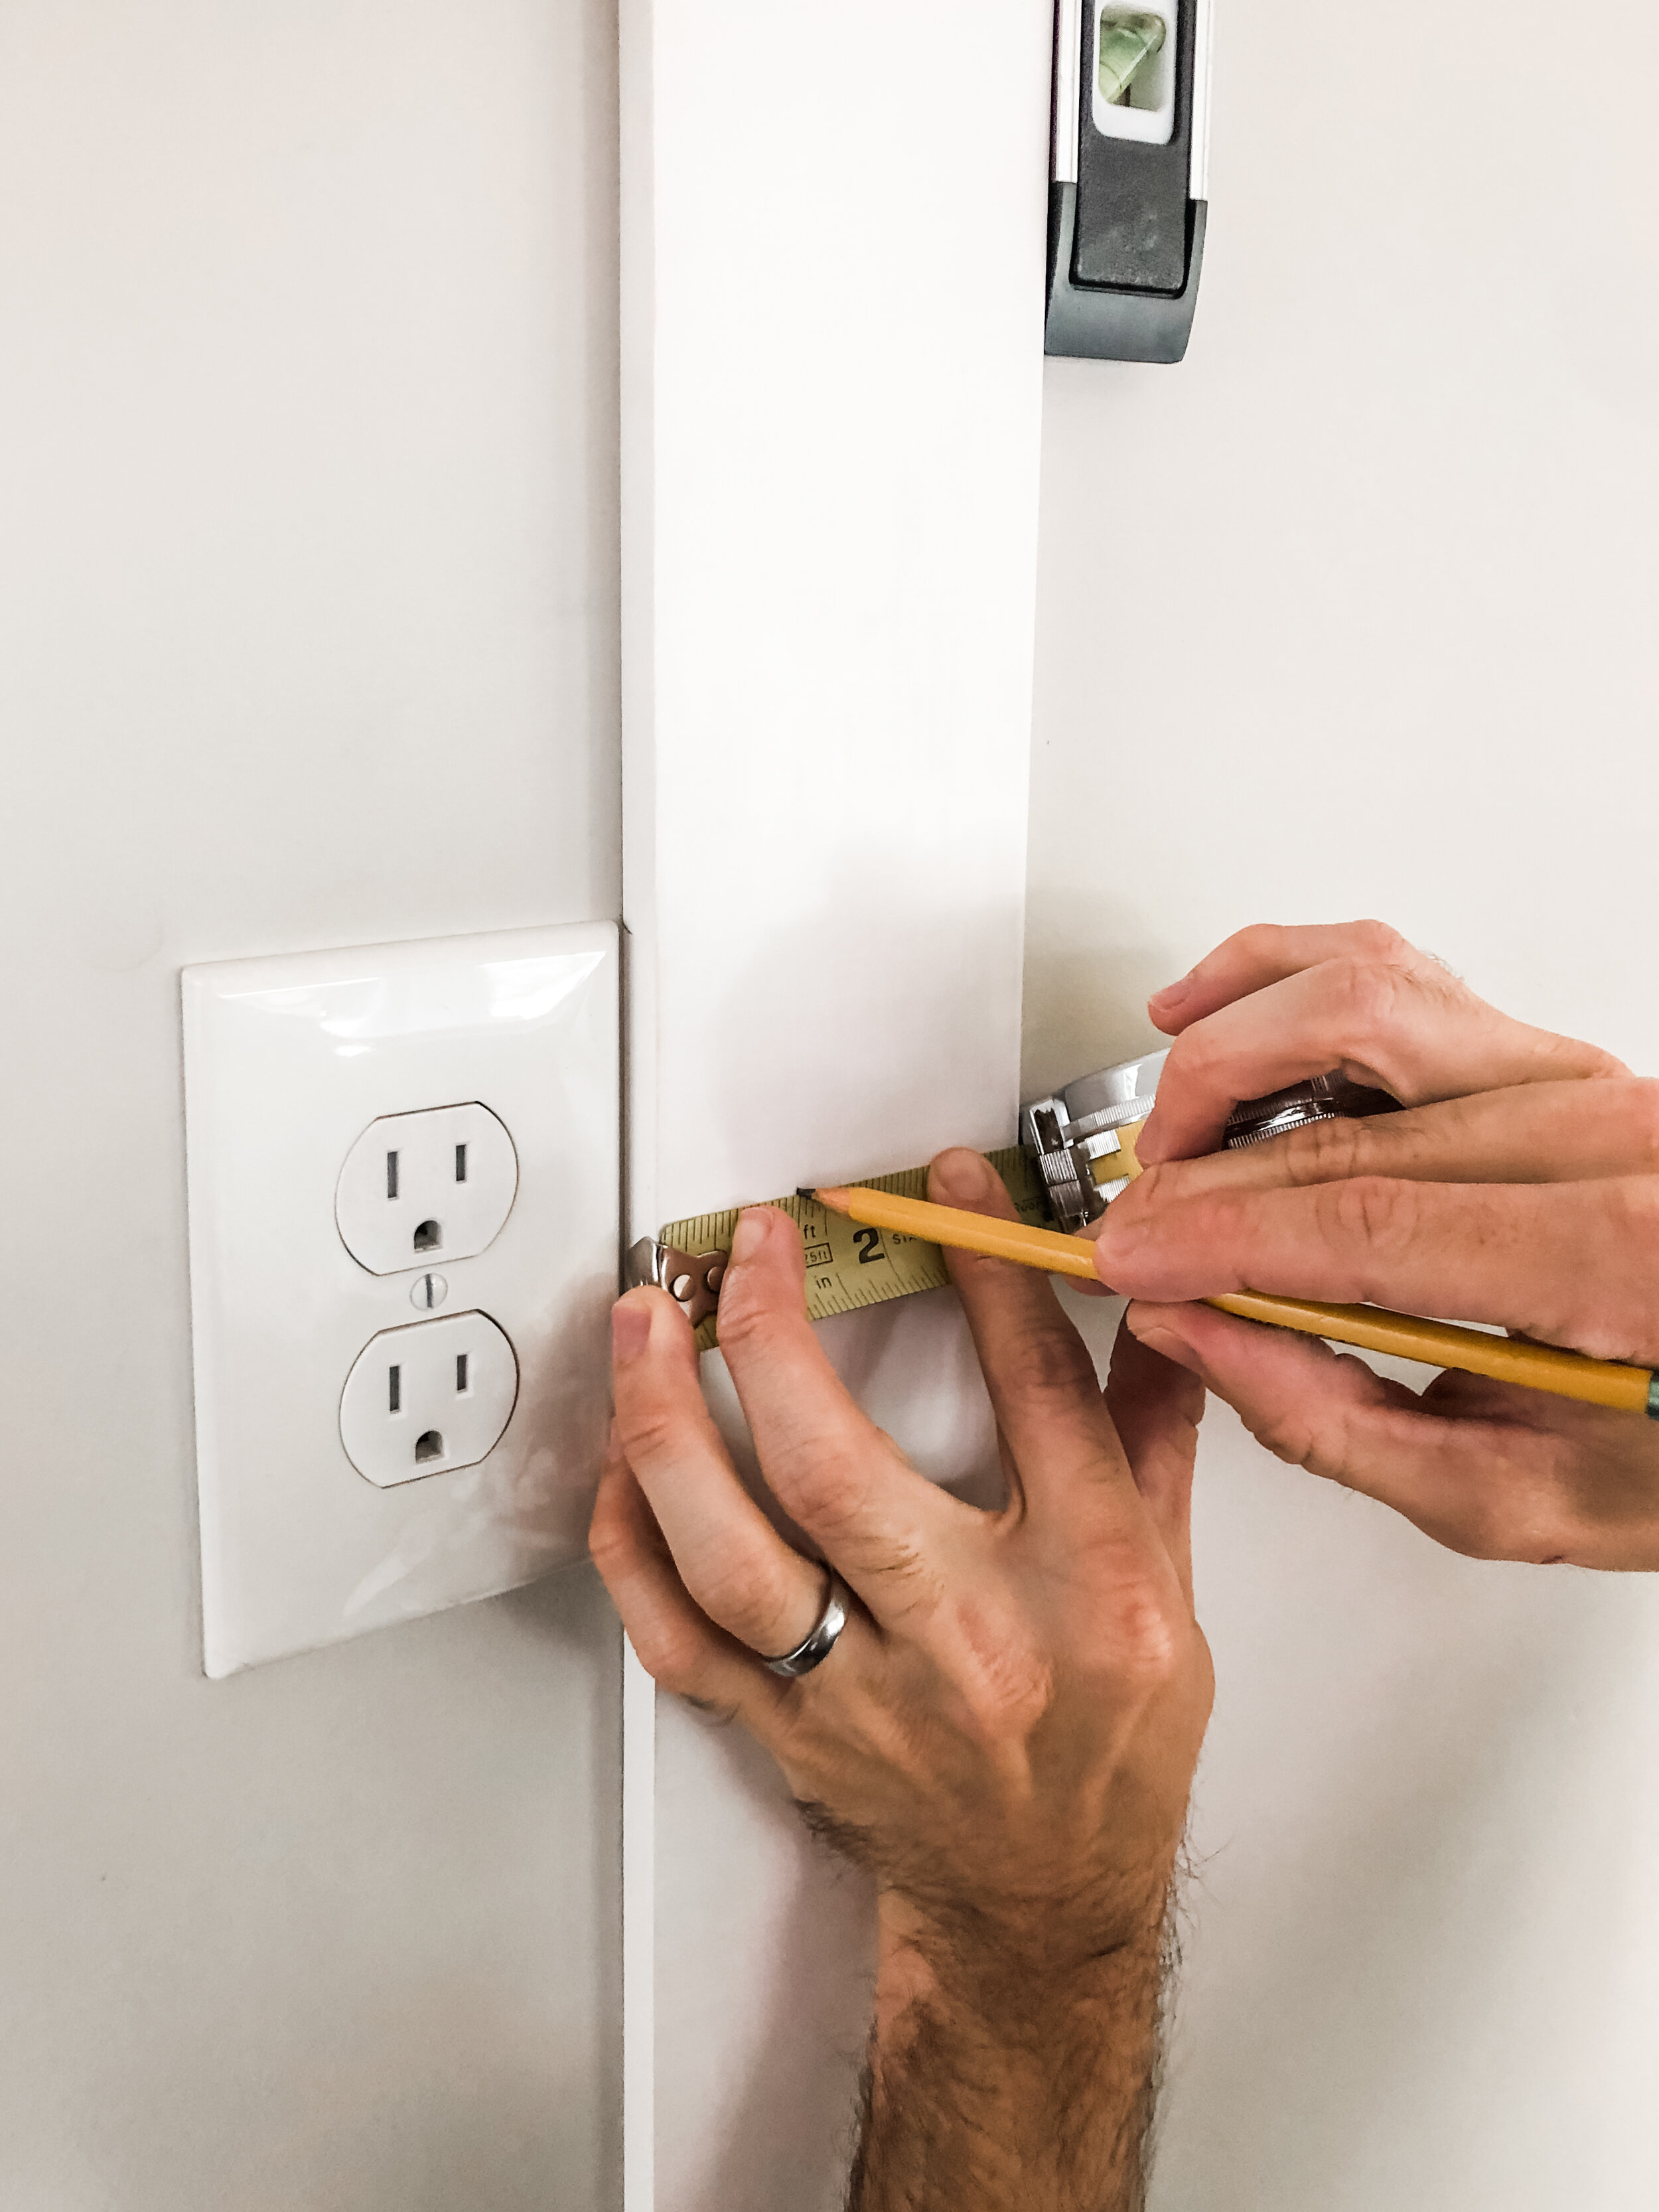
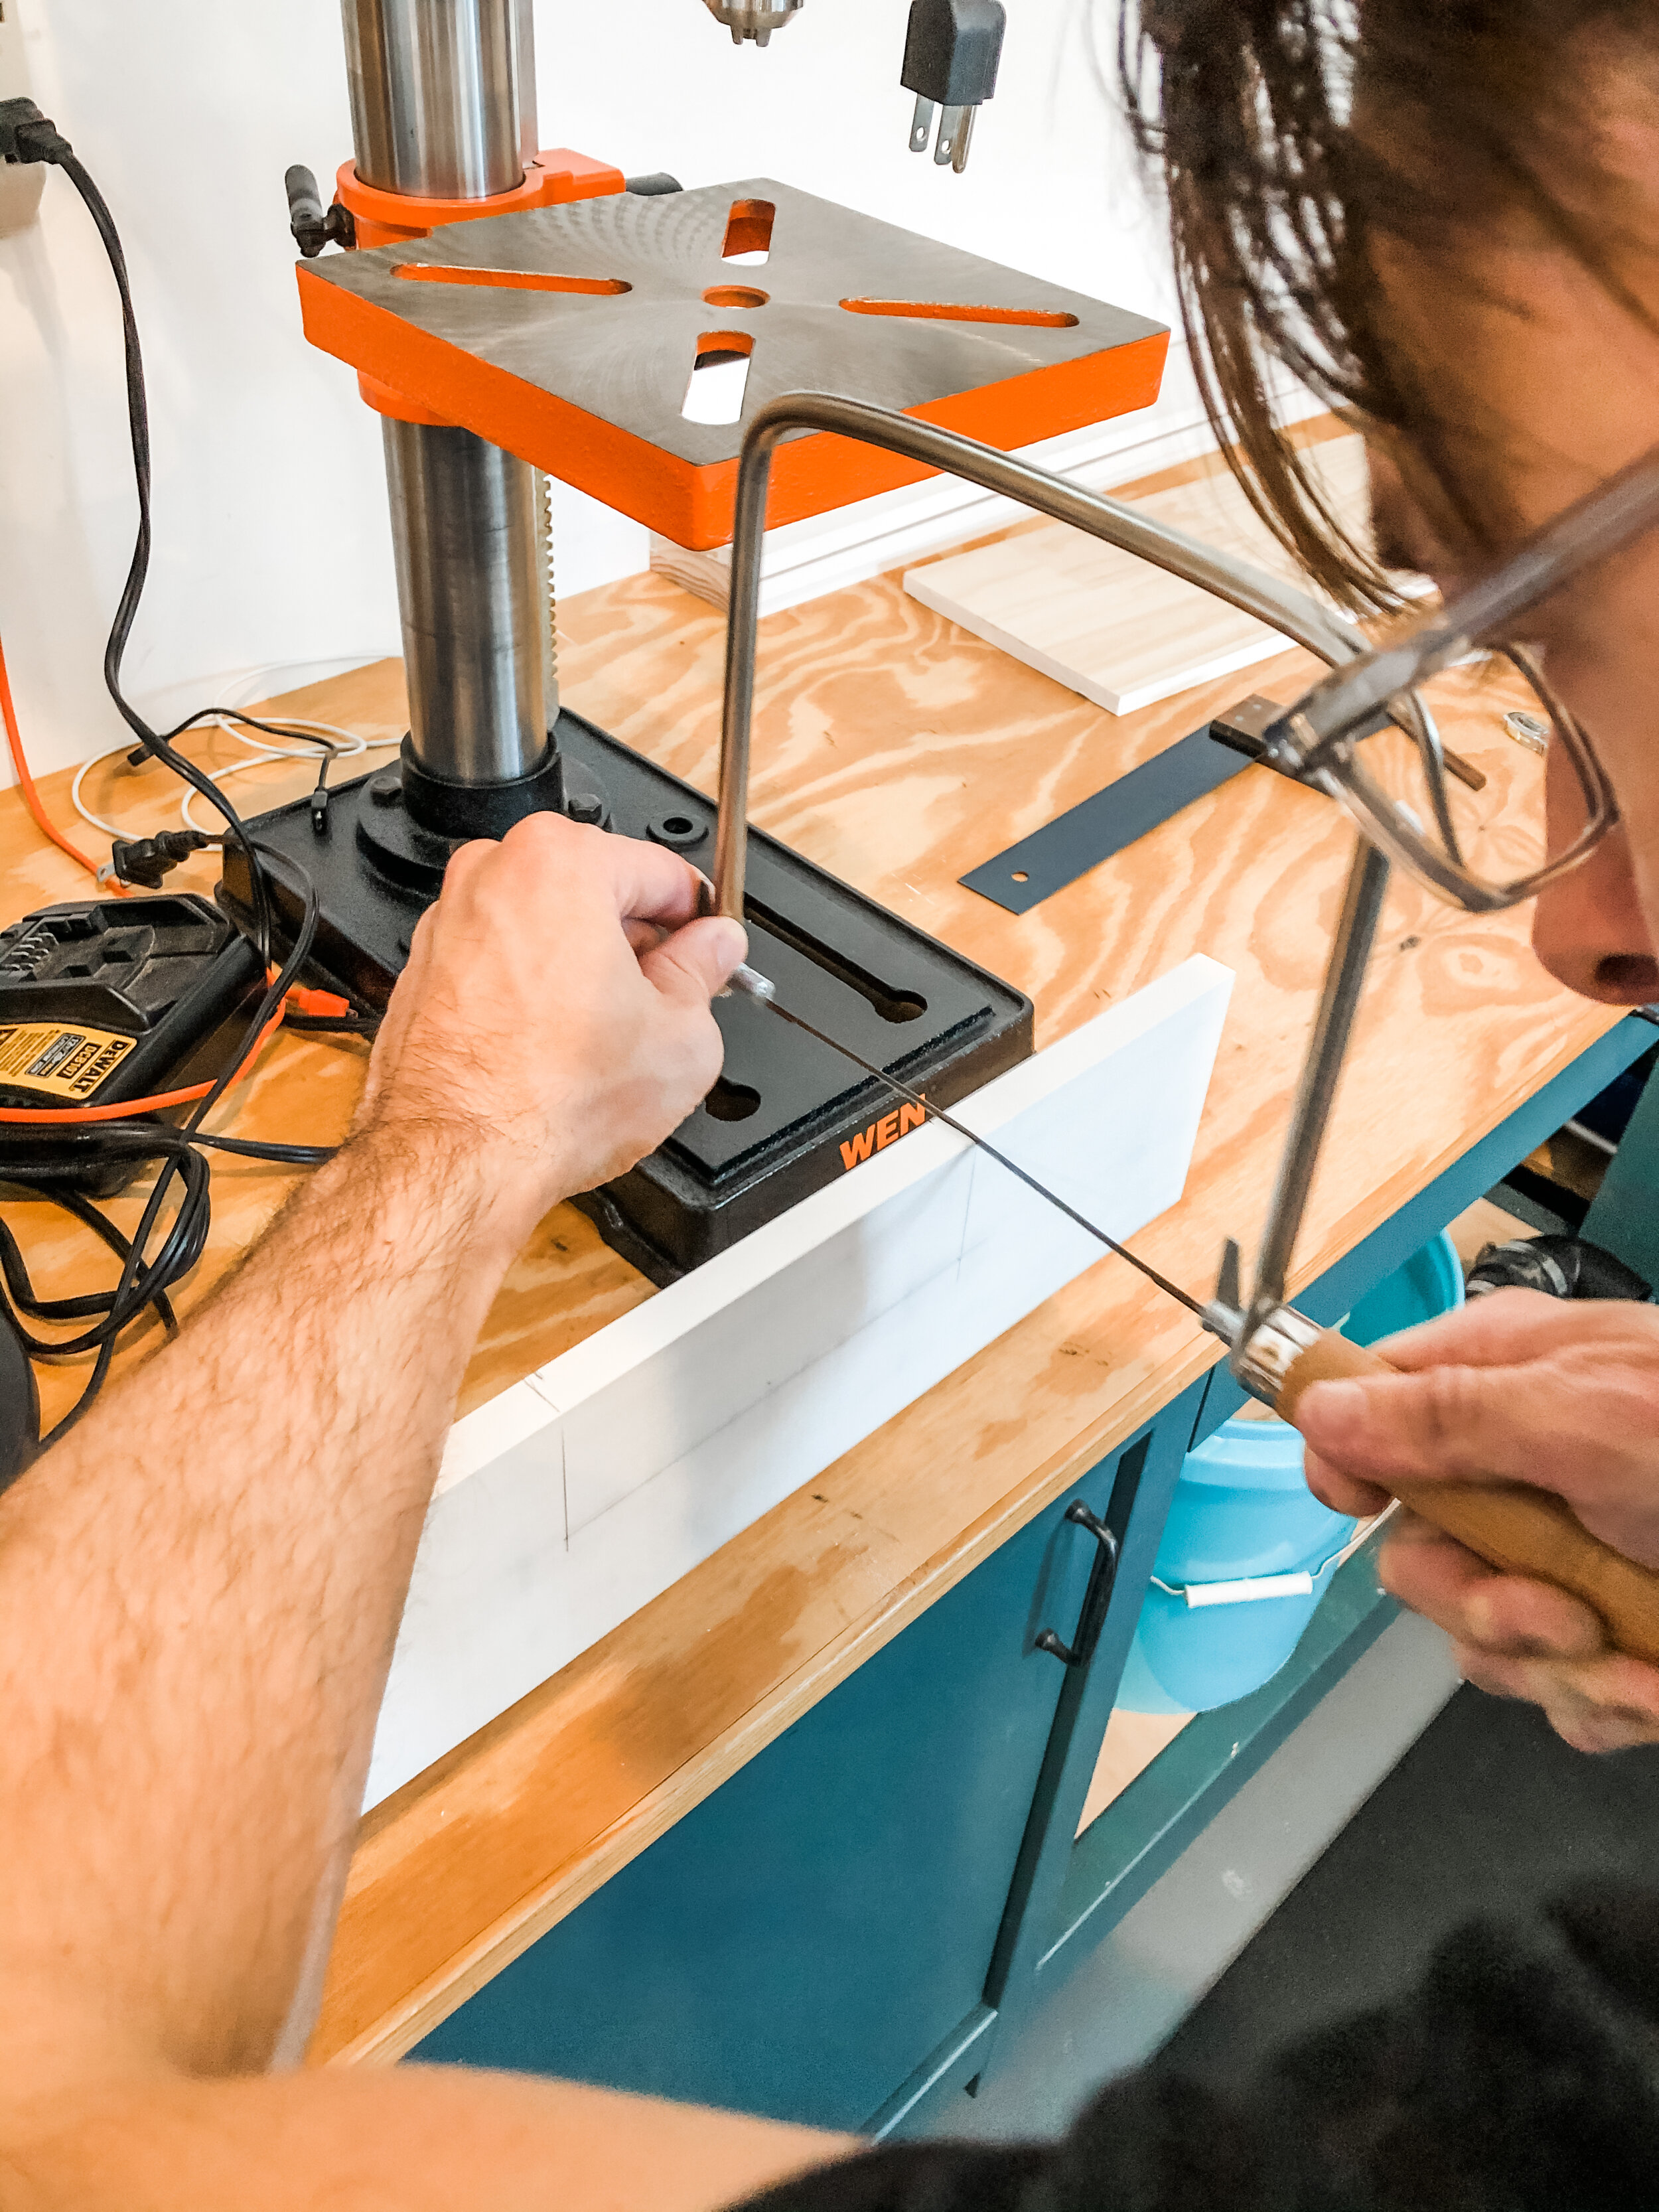
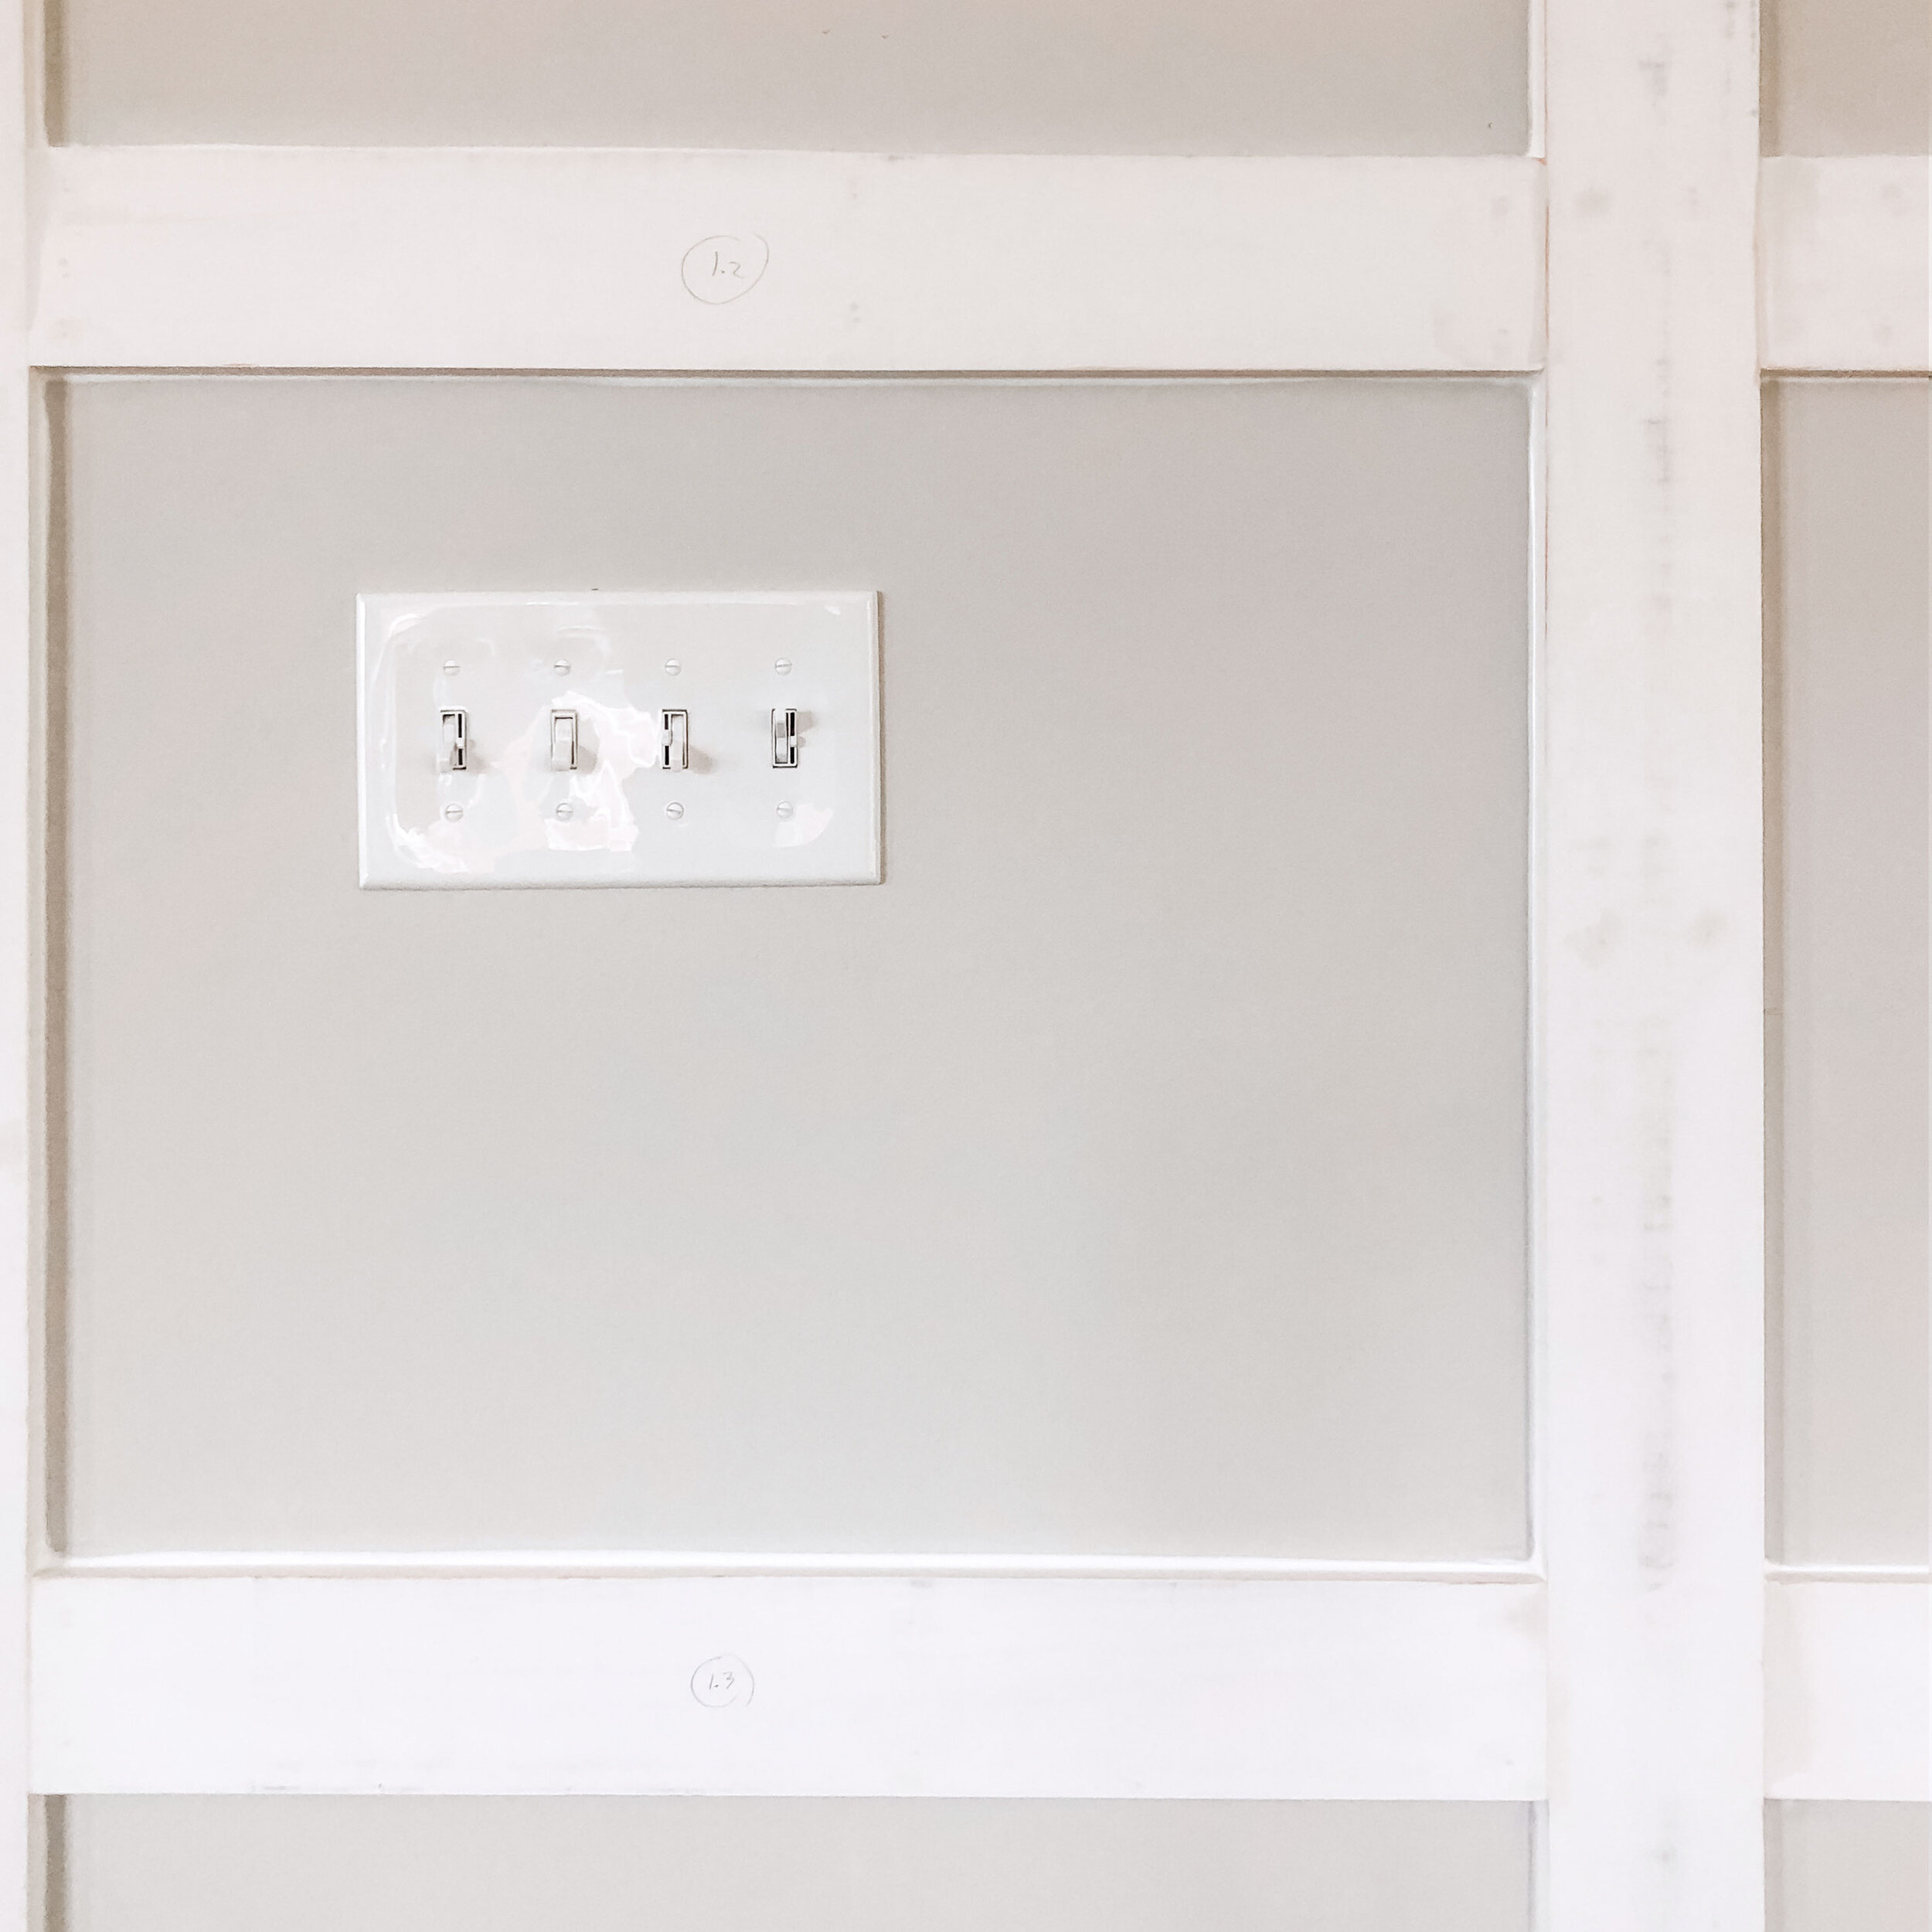
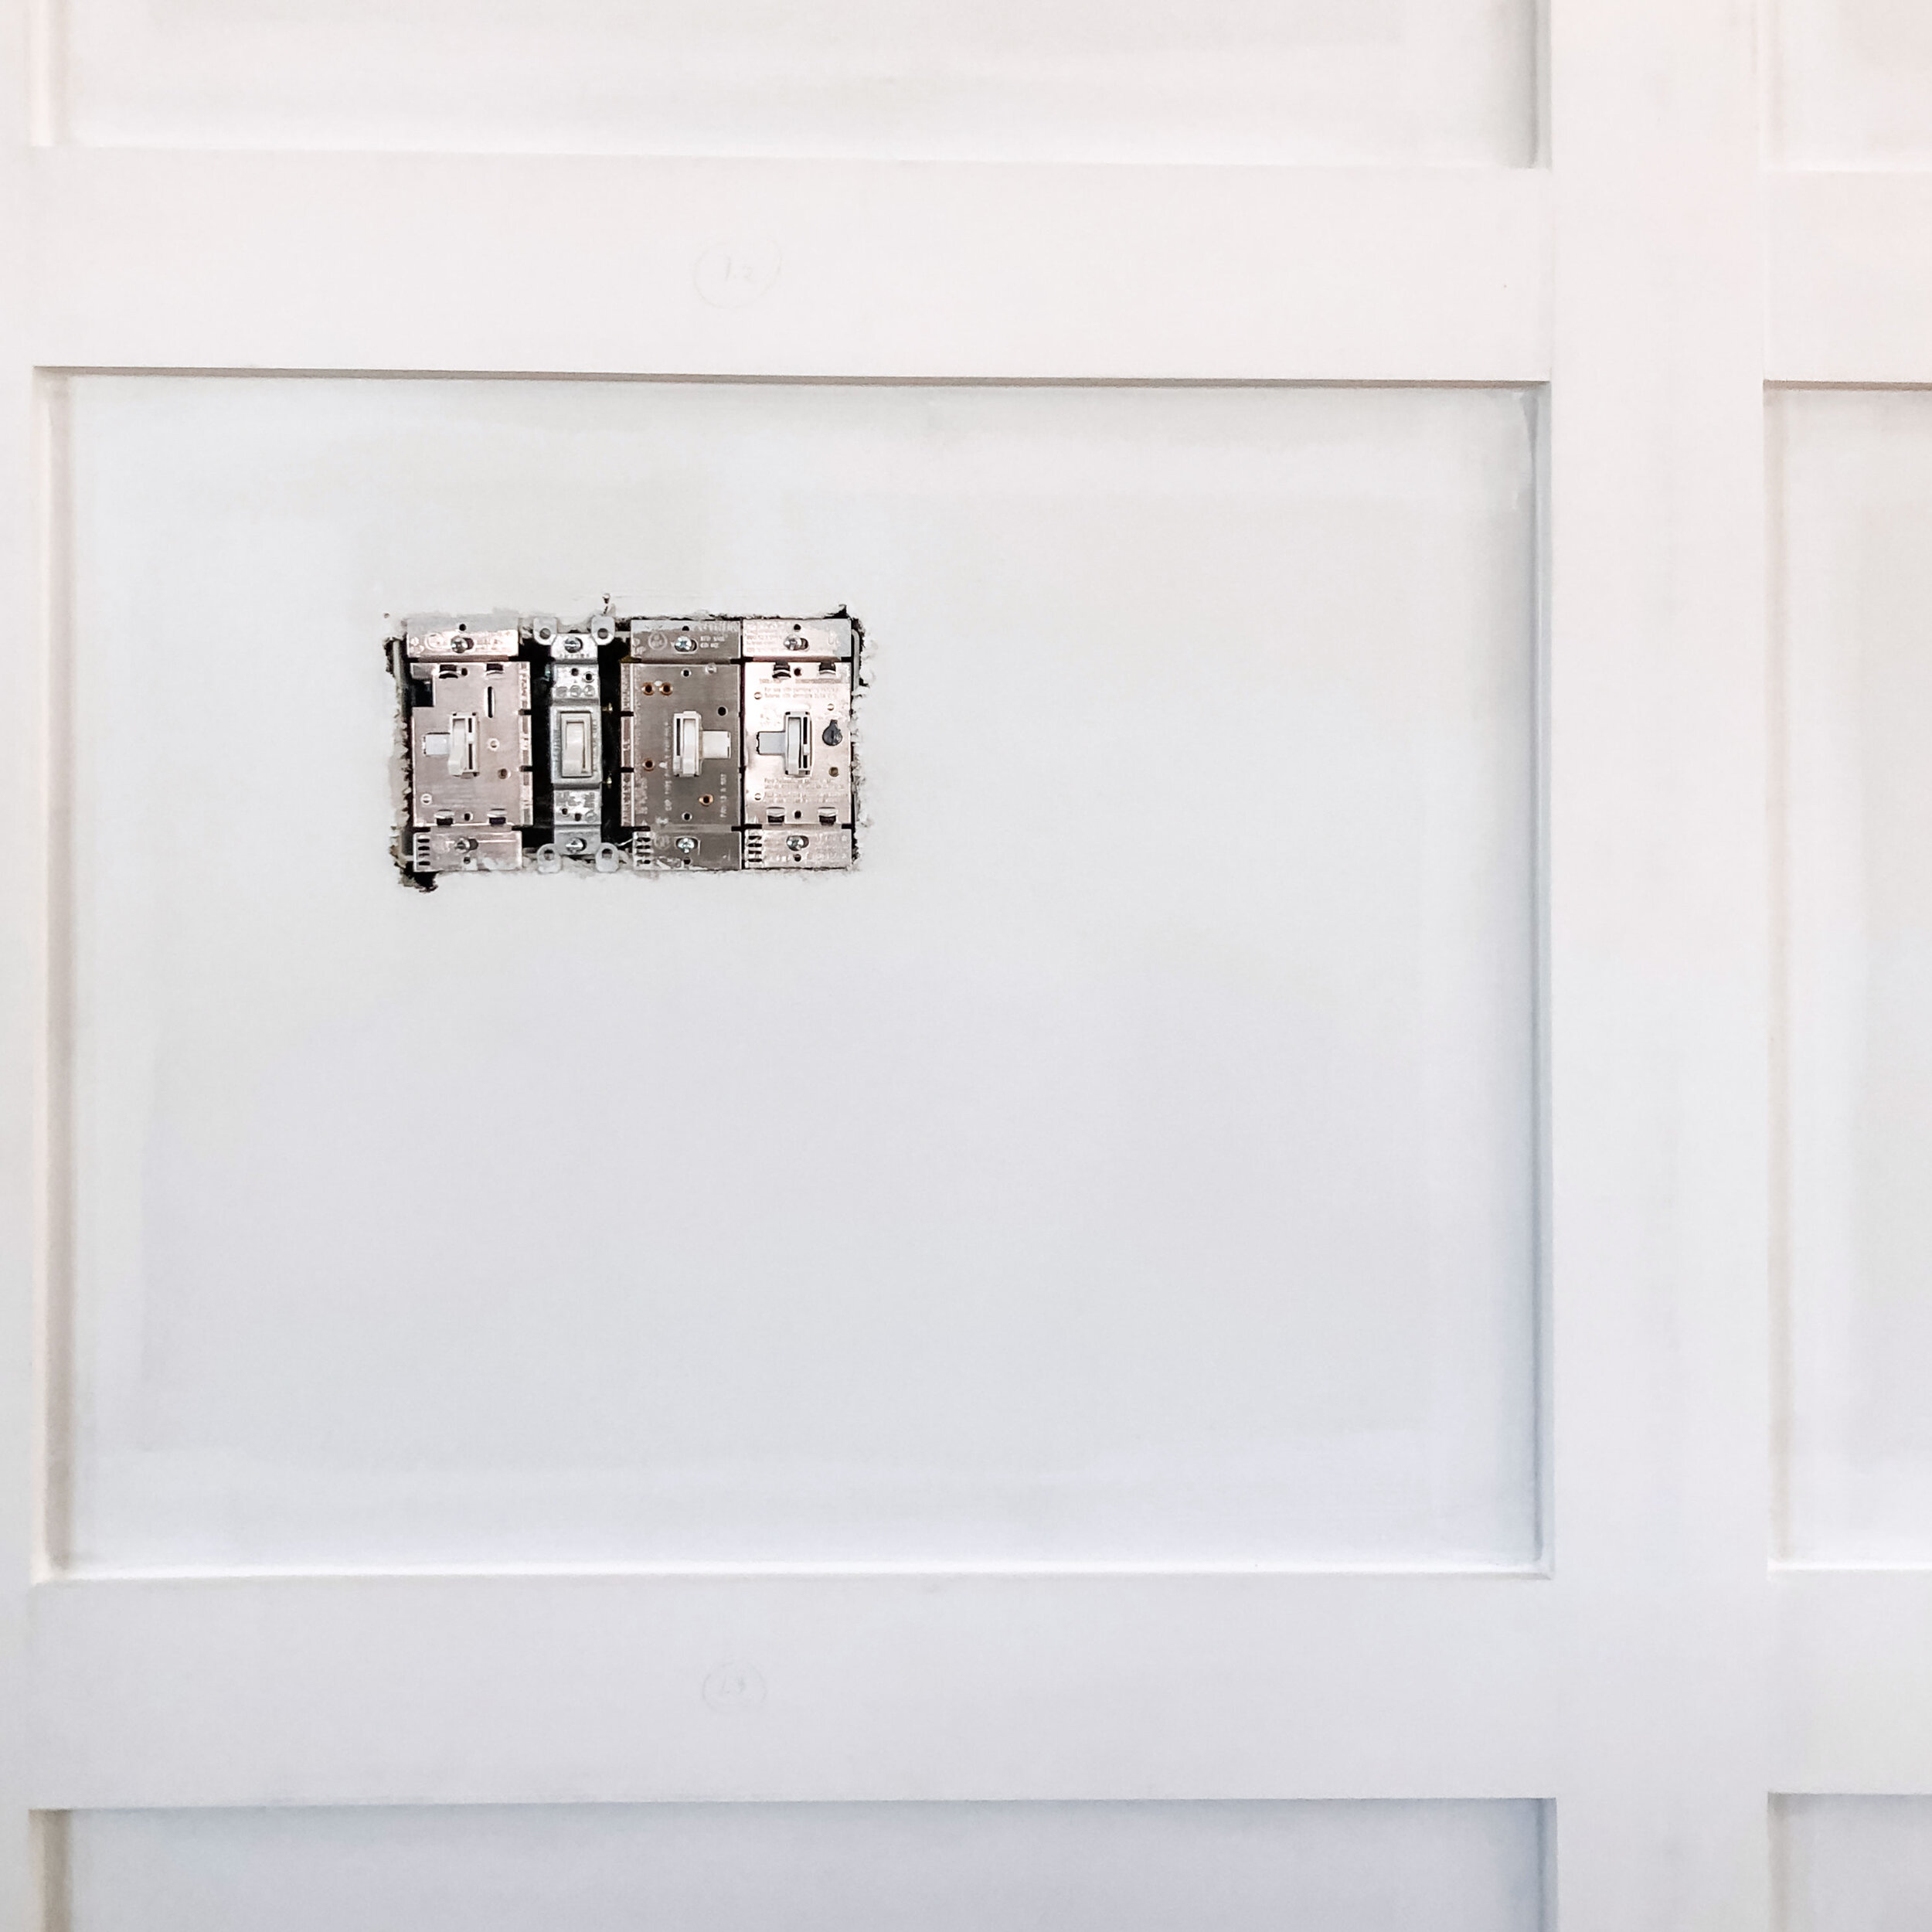
Andrew determined outlet placement and traced the outlet cover top and bottom onto the edge of the vertical board. He then measured the distance the board was off from the guide I drew earlier and used that as the distance into the board to cut out. Andrew gave the outlet an eighth inch of breathing room on each side. He then used his coping saw to cut out the unneeded portion and used a chisel to smooth out the rough cut.
We then taped each stile to the wall for a visual
Unfortunately, our wall is a trapezoid—wider at the top—and we had to nudge the stiles around for visually even spacing! It took a little adjusting from our original measurements, but in the end, it looked great!


After attaching the stiles to the wall, we measured the distance between all the stiles and cut the rails—and they were all different lengths thanks to our trapezoid wall!
Andrew and I brad nailed all the stiles into place—this was the most exciting stage of the project! It’s alive!
I then filled all the nail holes and seams between the rails and stiles using wood filler
Once the wood filler dried, I sanded everything super smooth
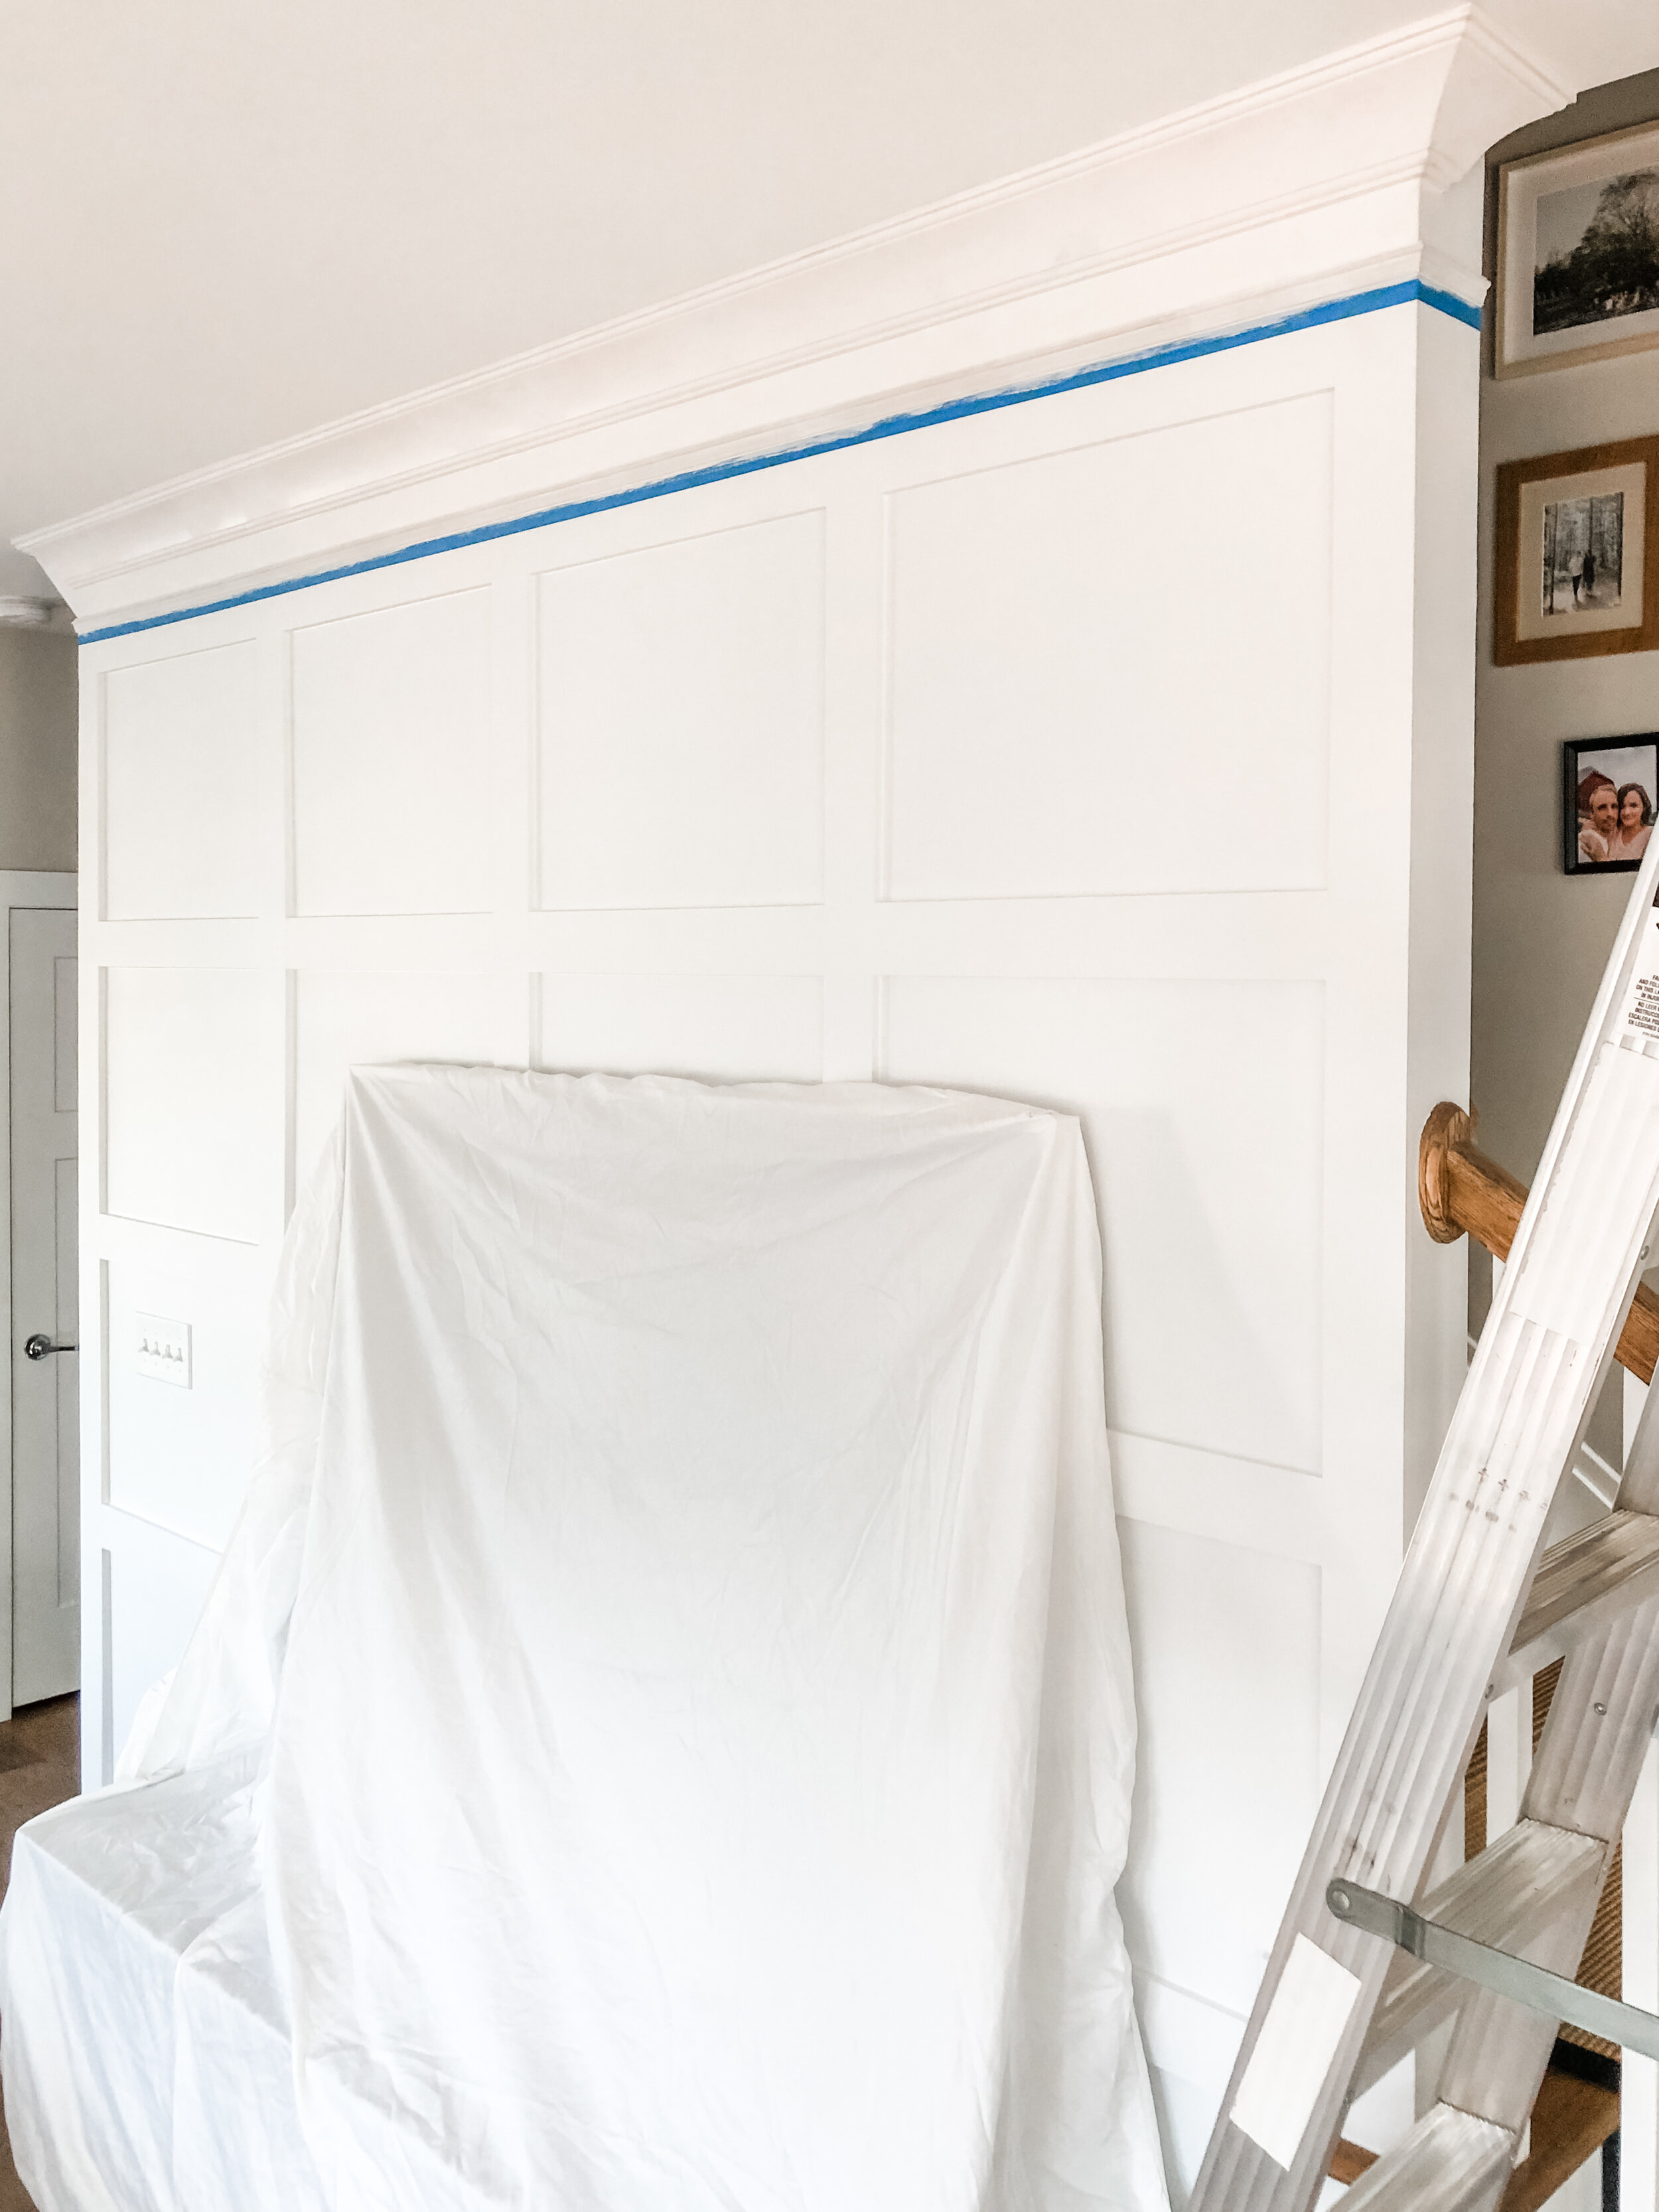
I caulked all the gaps on the wall
Next up—my favorite step—primer!! I love seeing how quickly the room brightens up
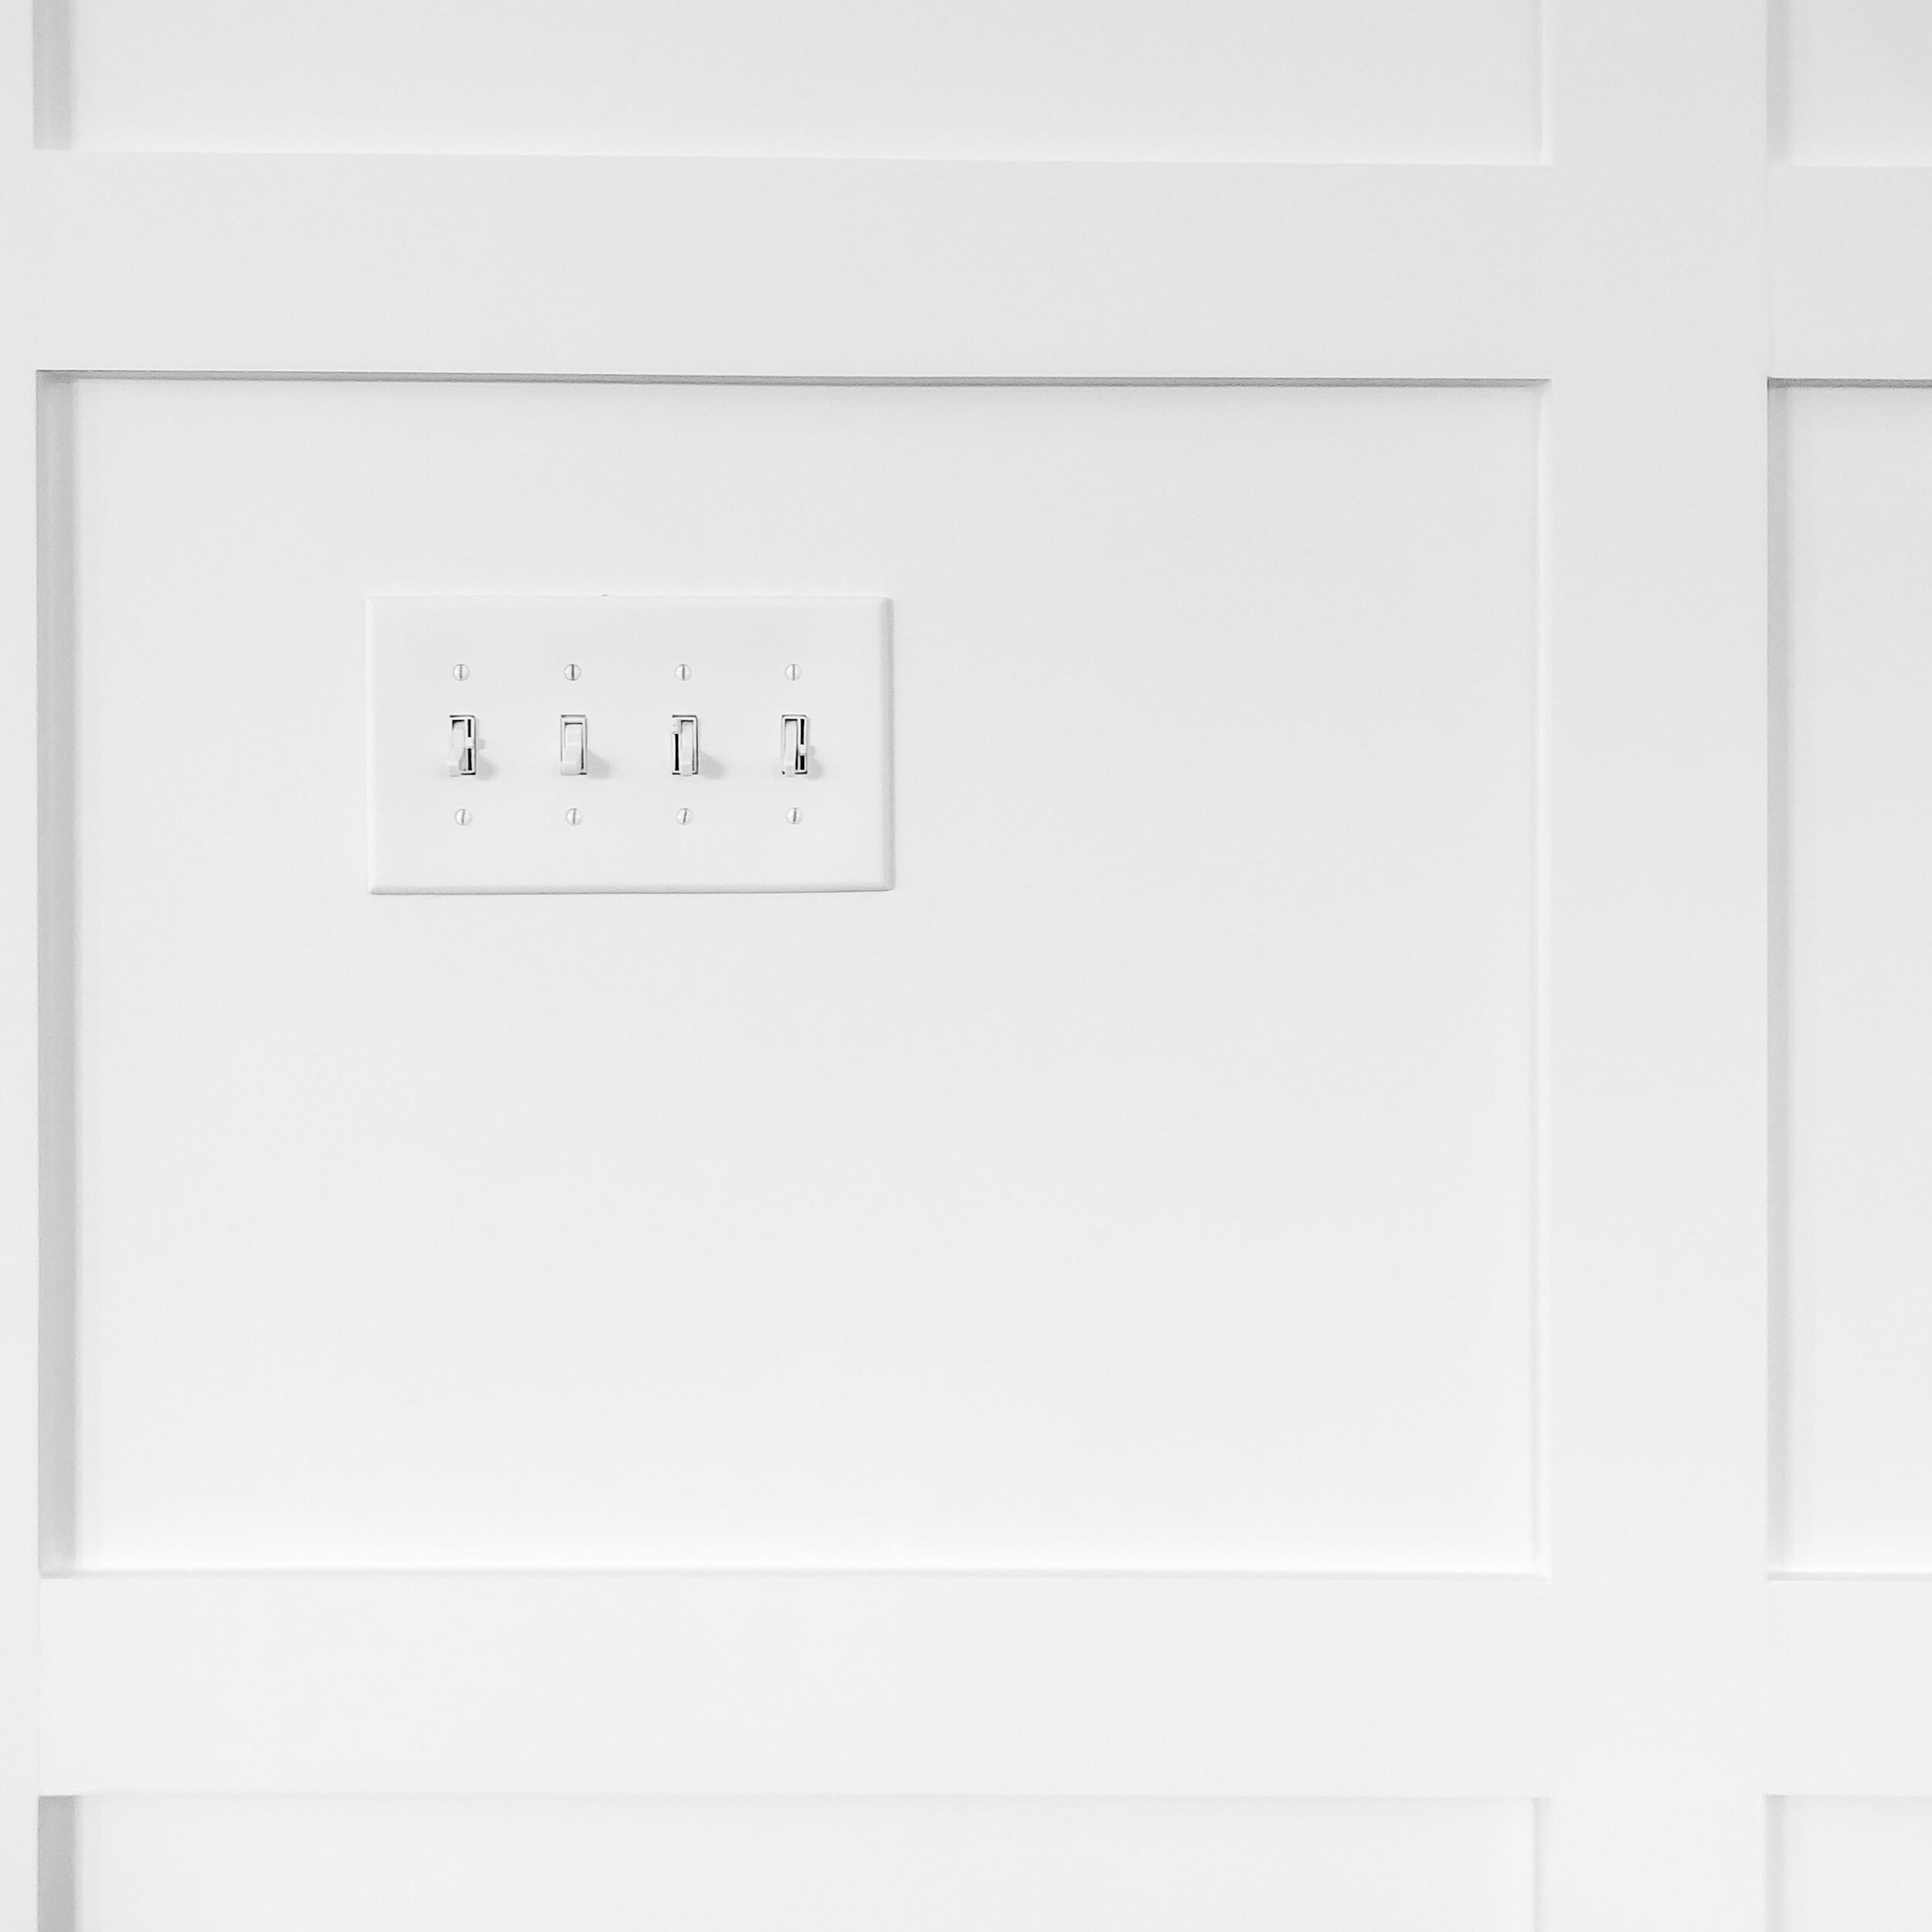
Next, I used a 1.5-inch angled brush, a 4-inch roller and a standard 12-inch roller to paint two coats of Sherwin Williams Extra White in matte on the boxes and wall
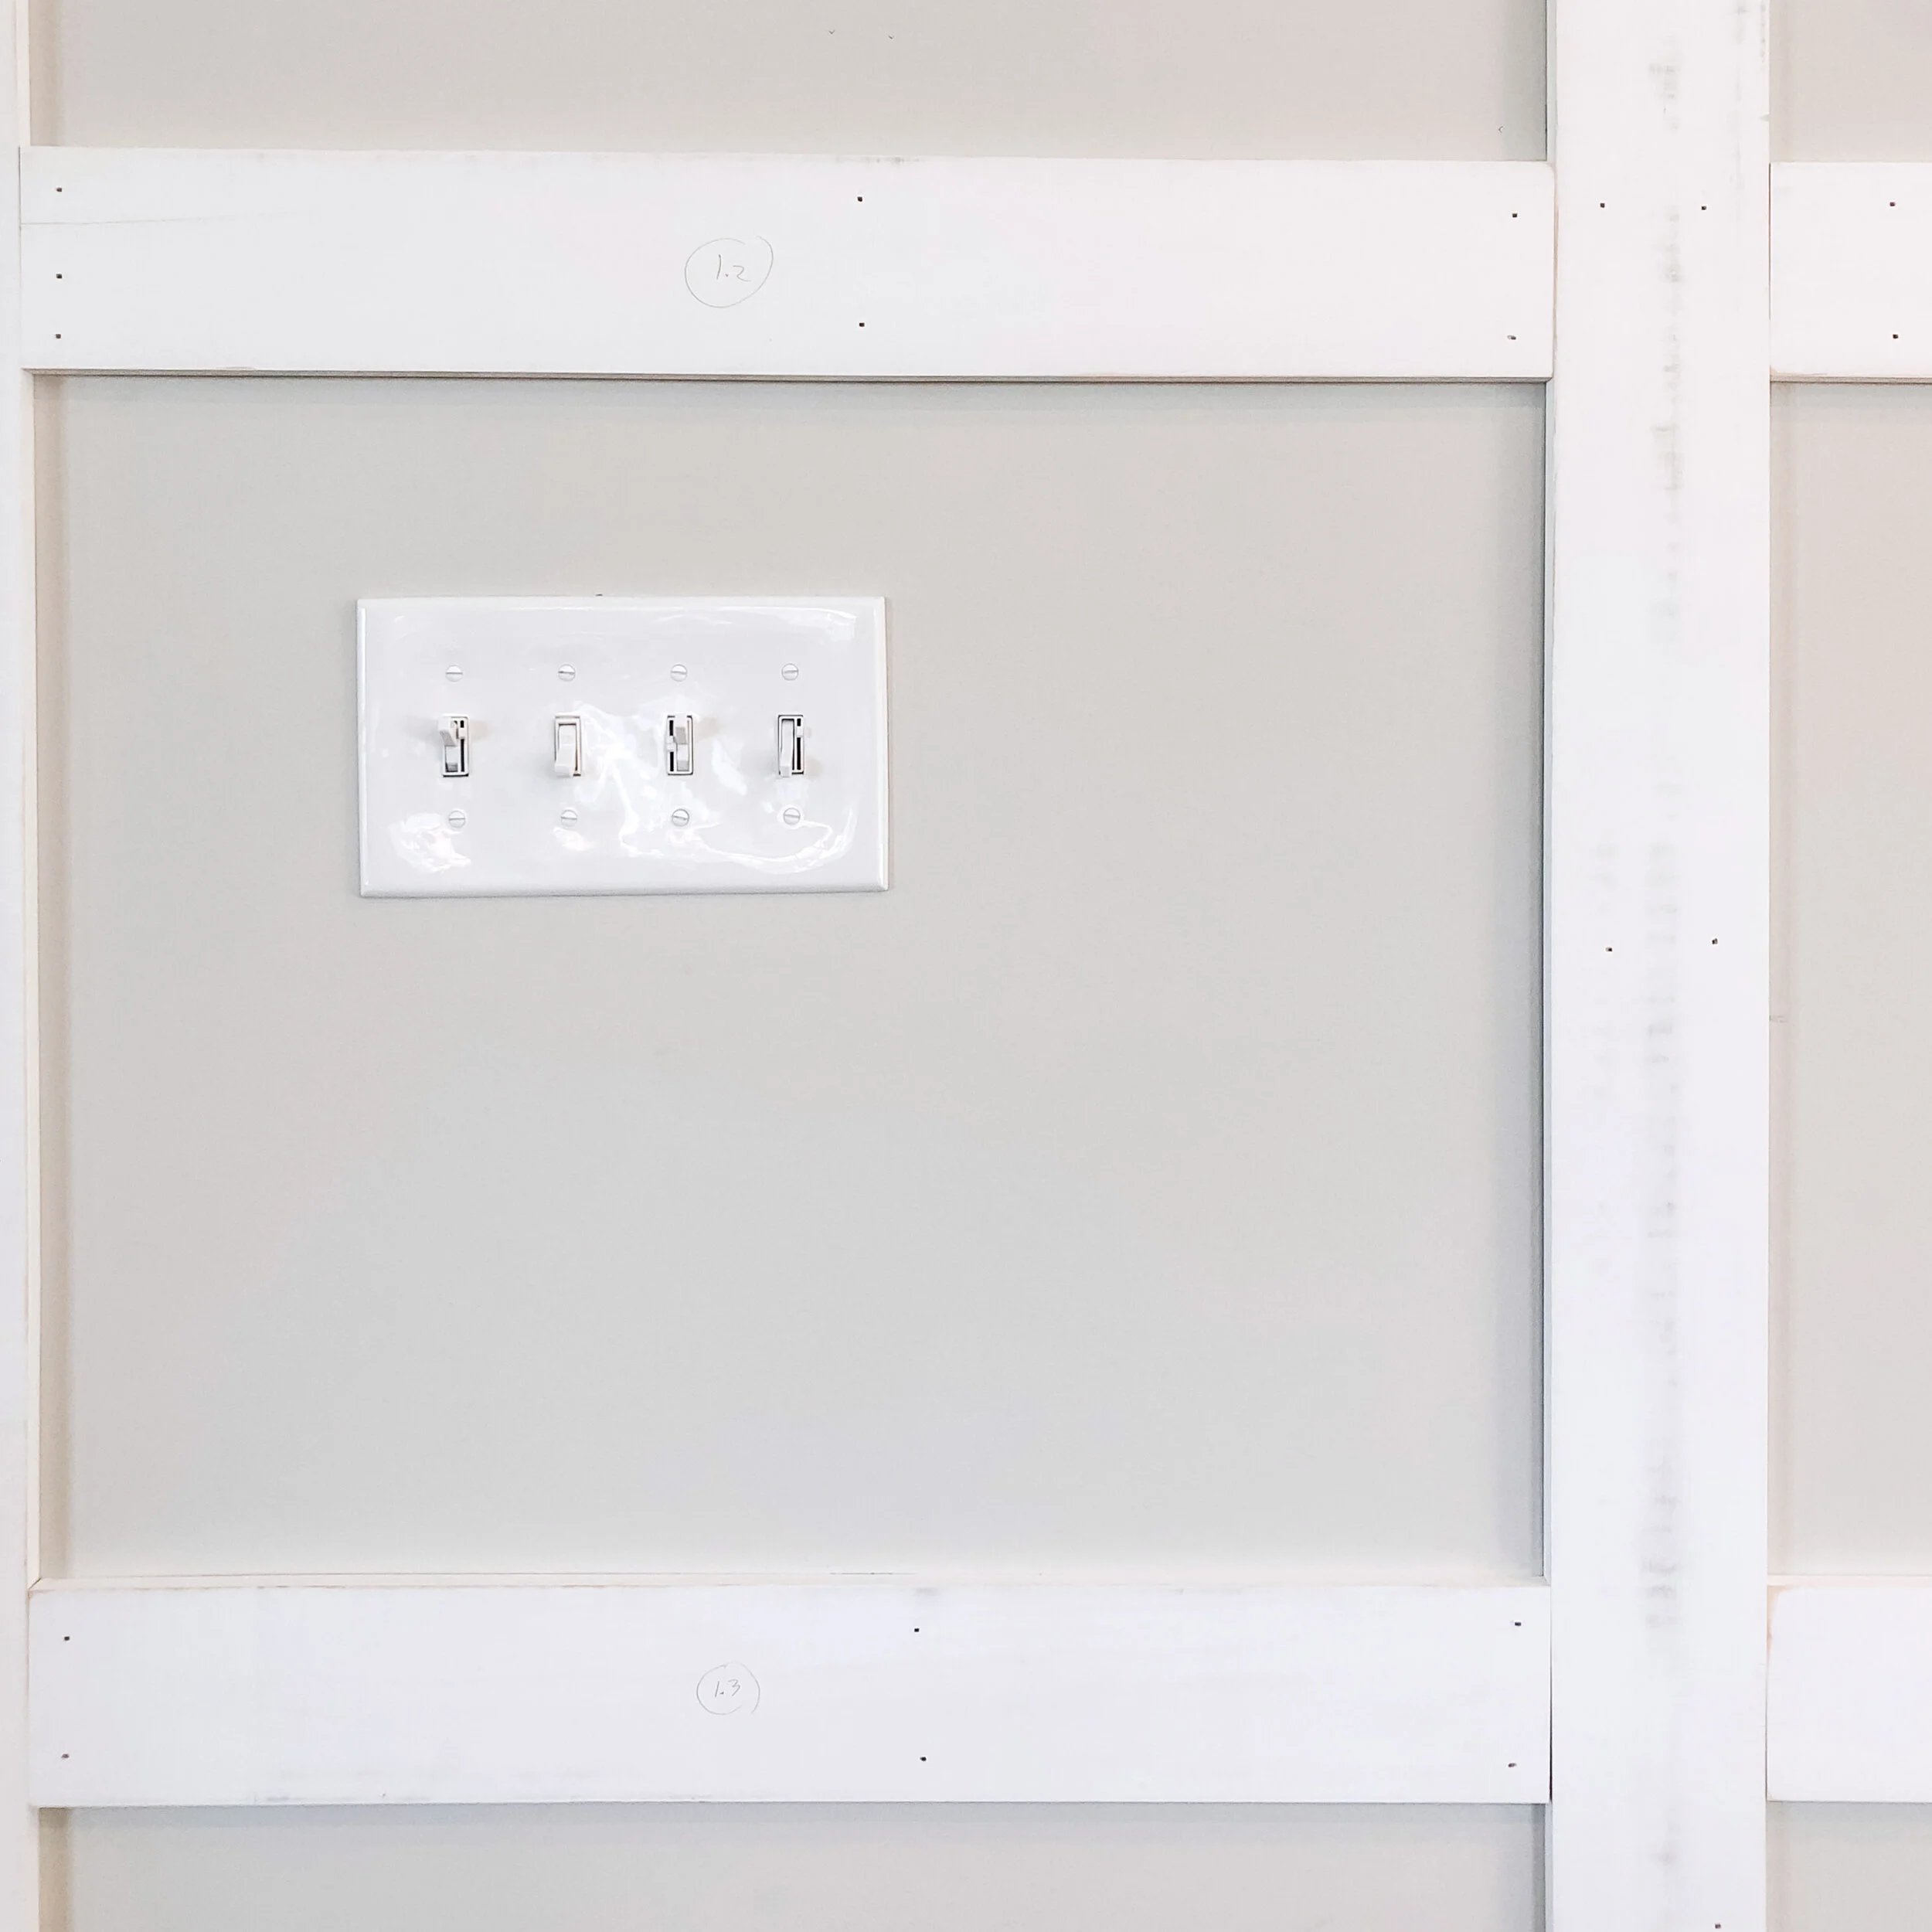
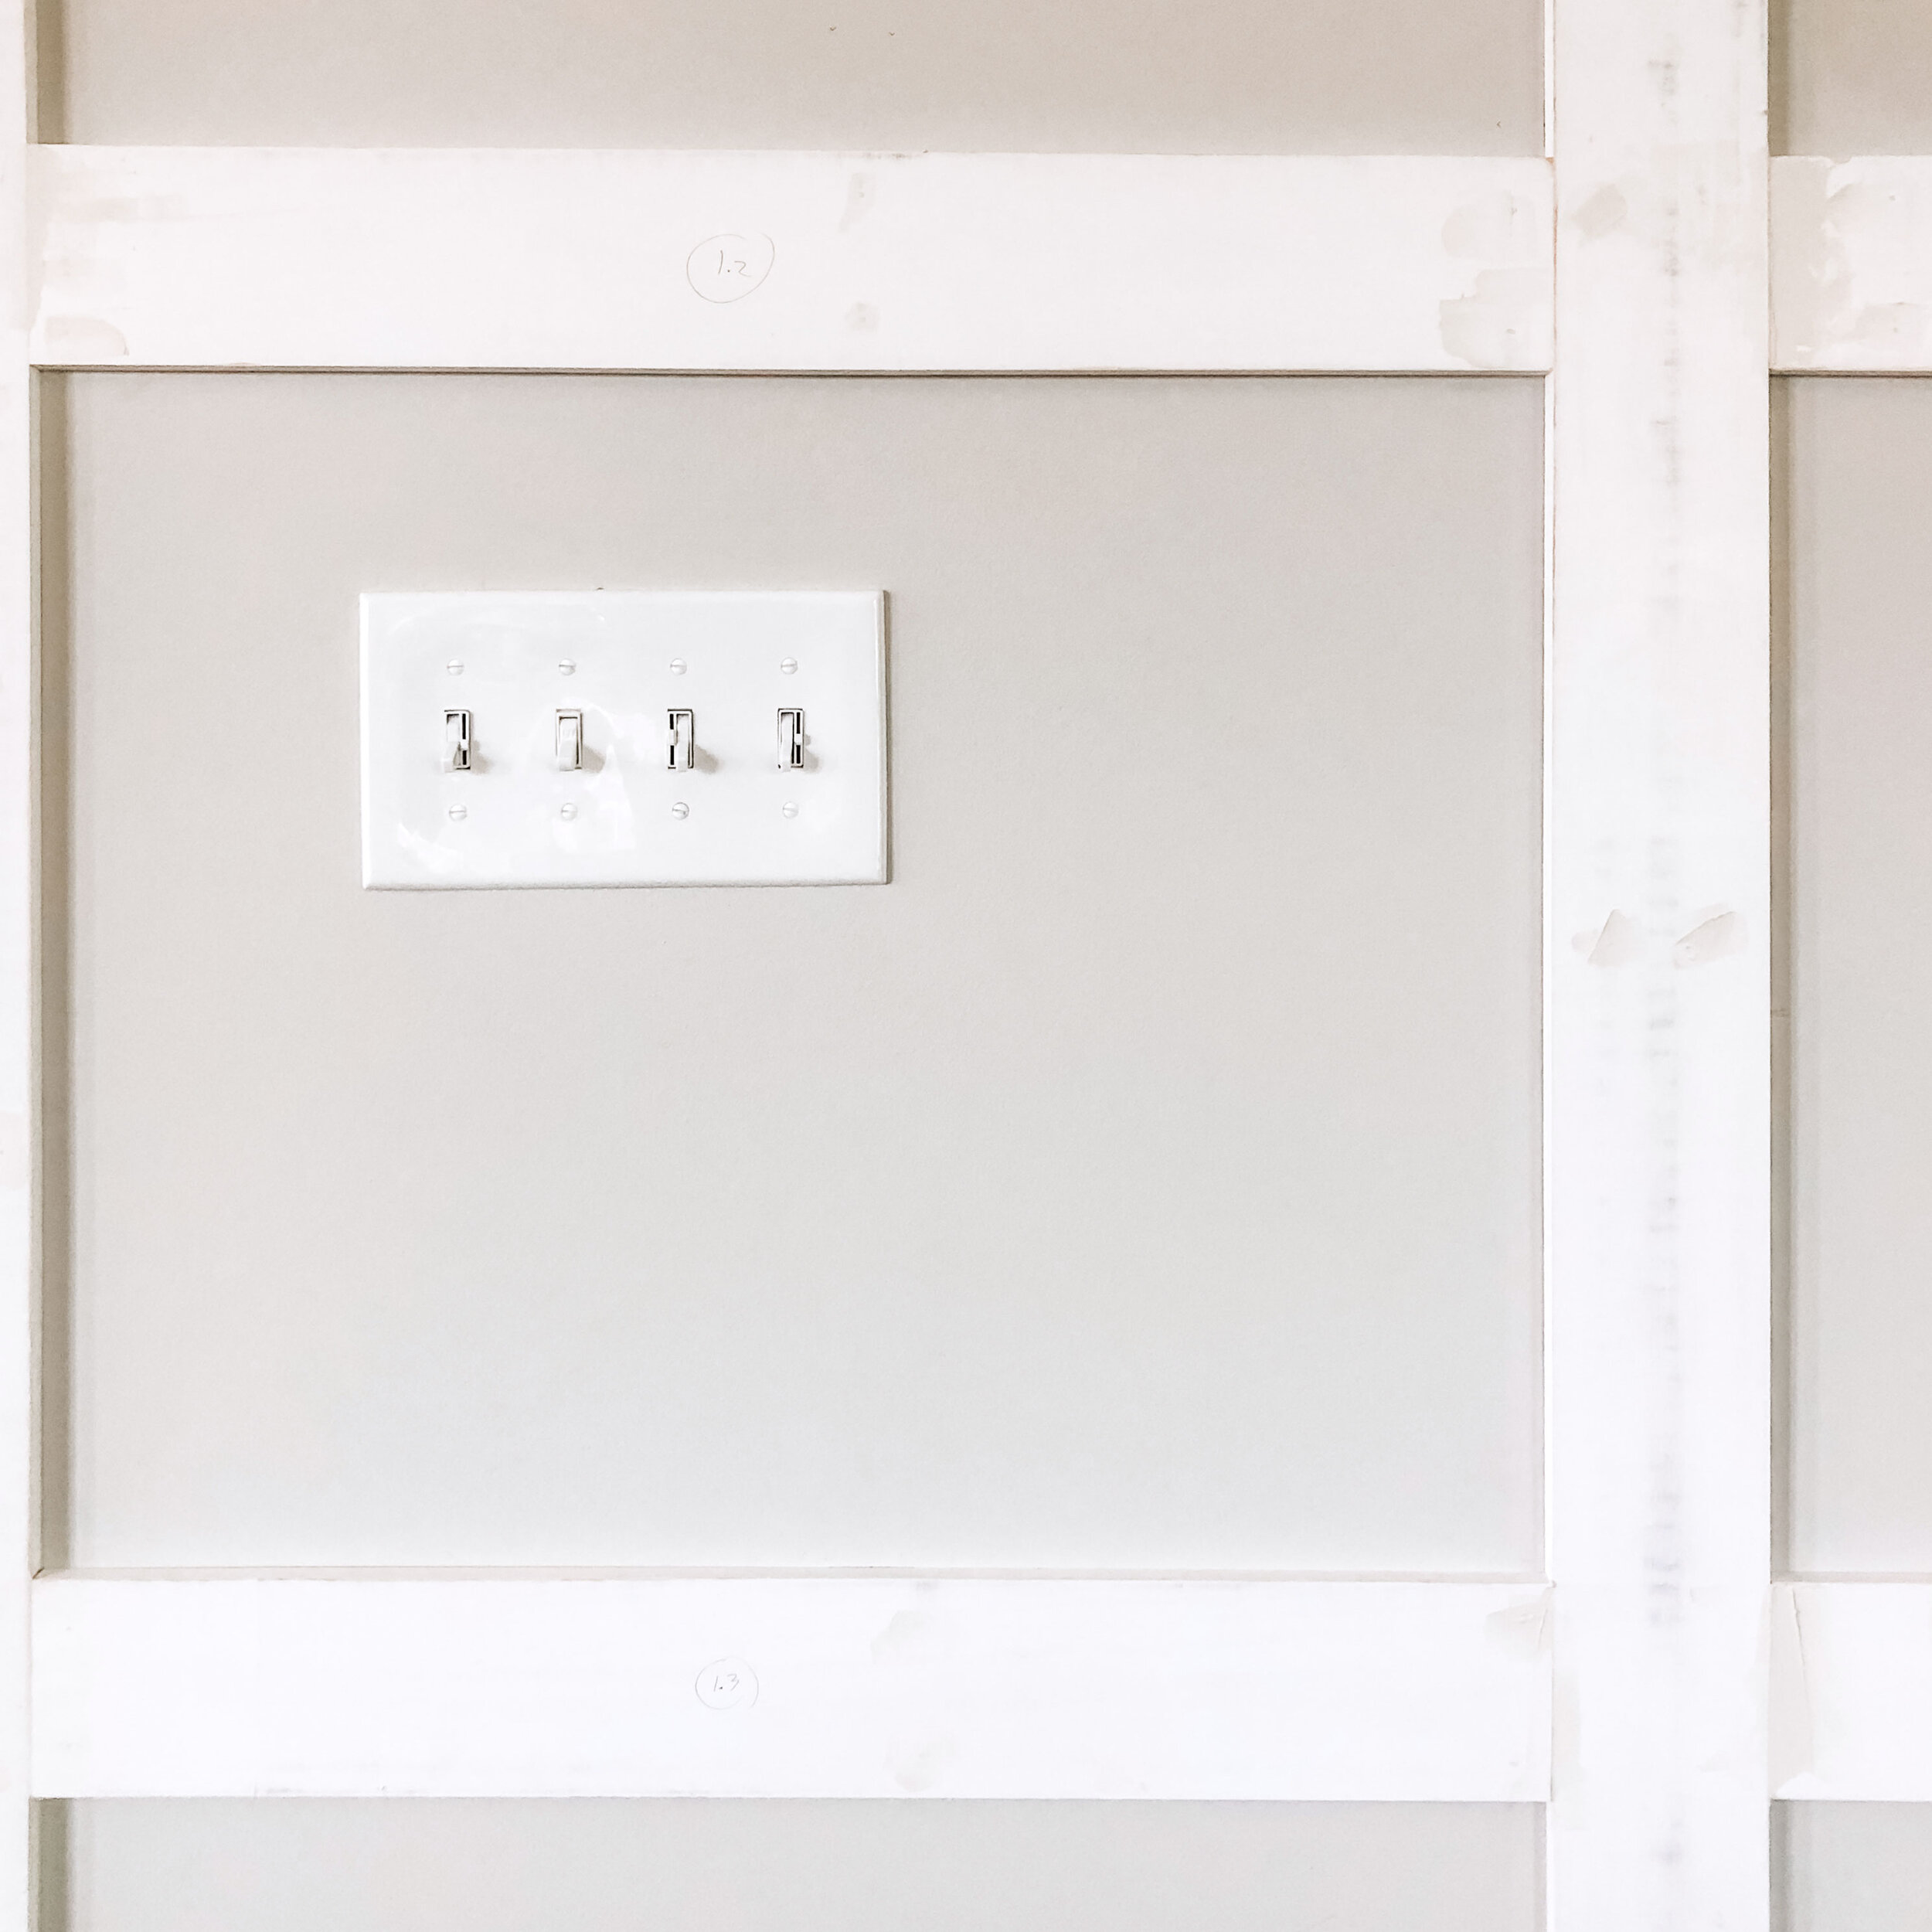
I also decided to paint our switch plate and outlet covers—two coats of the same paint help them feel a little more substantial and less plastic looking

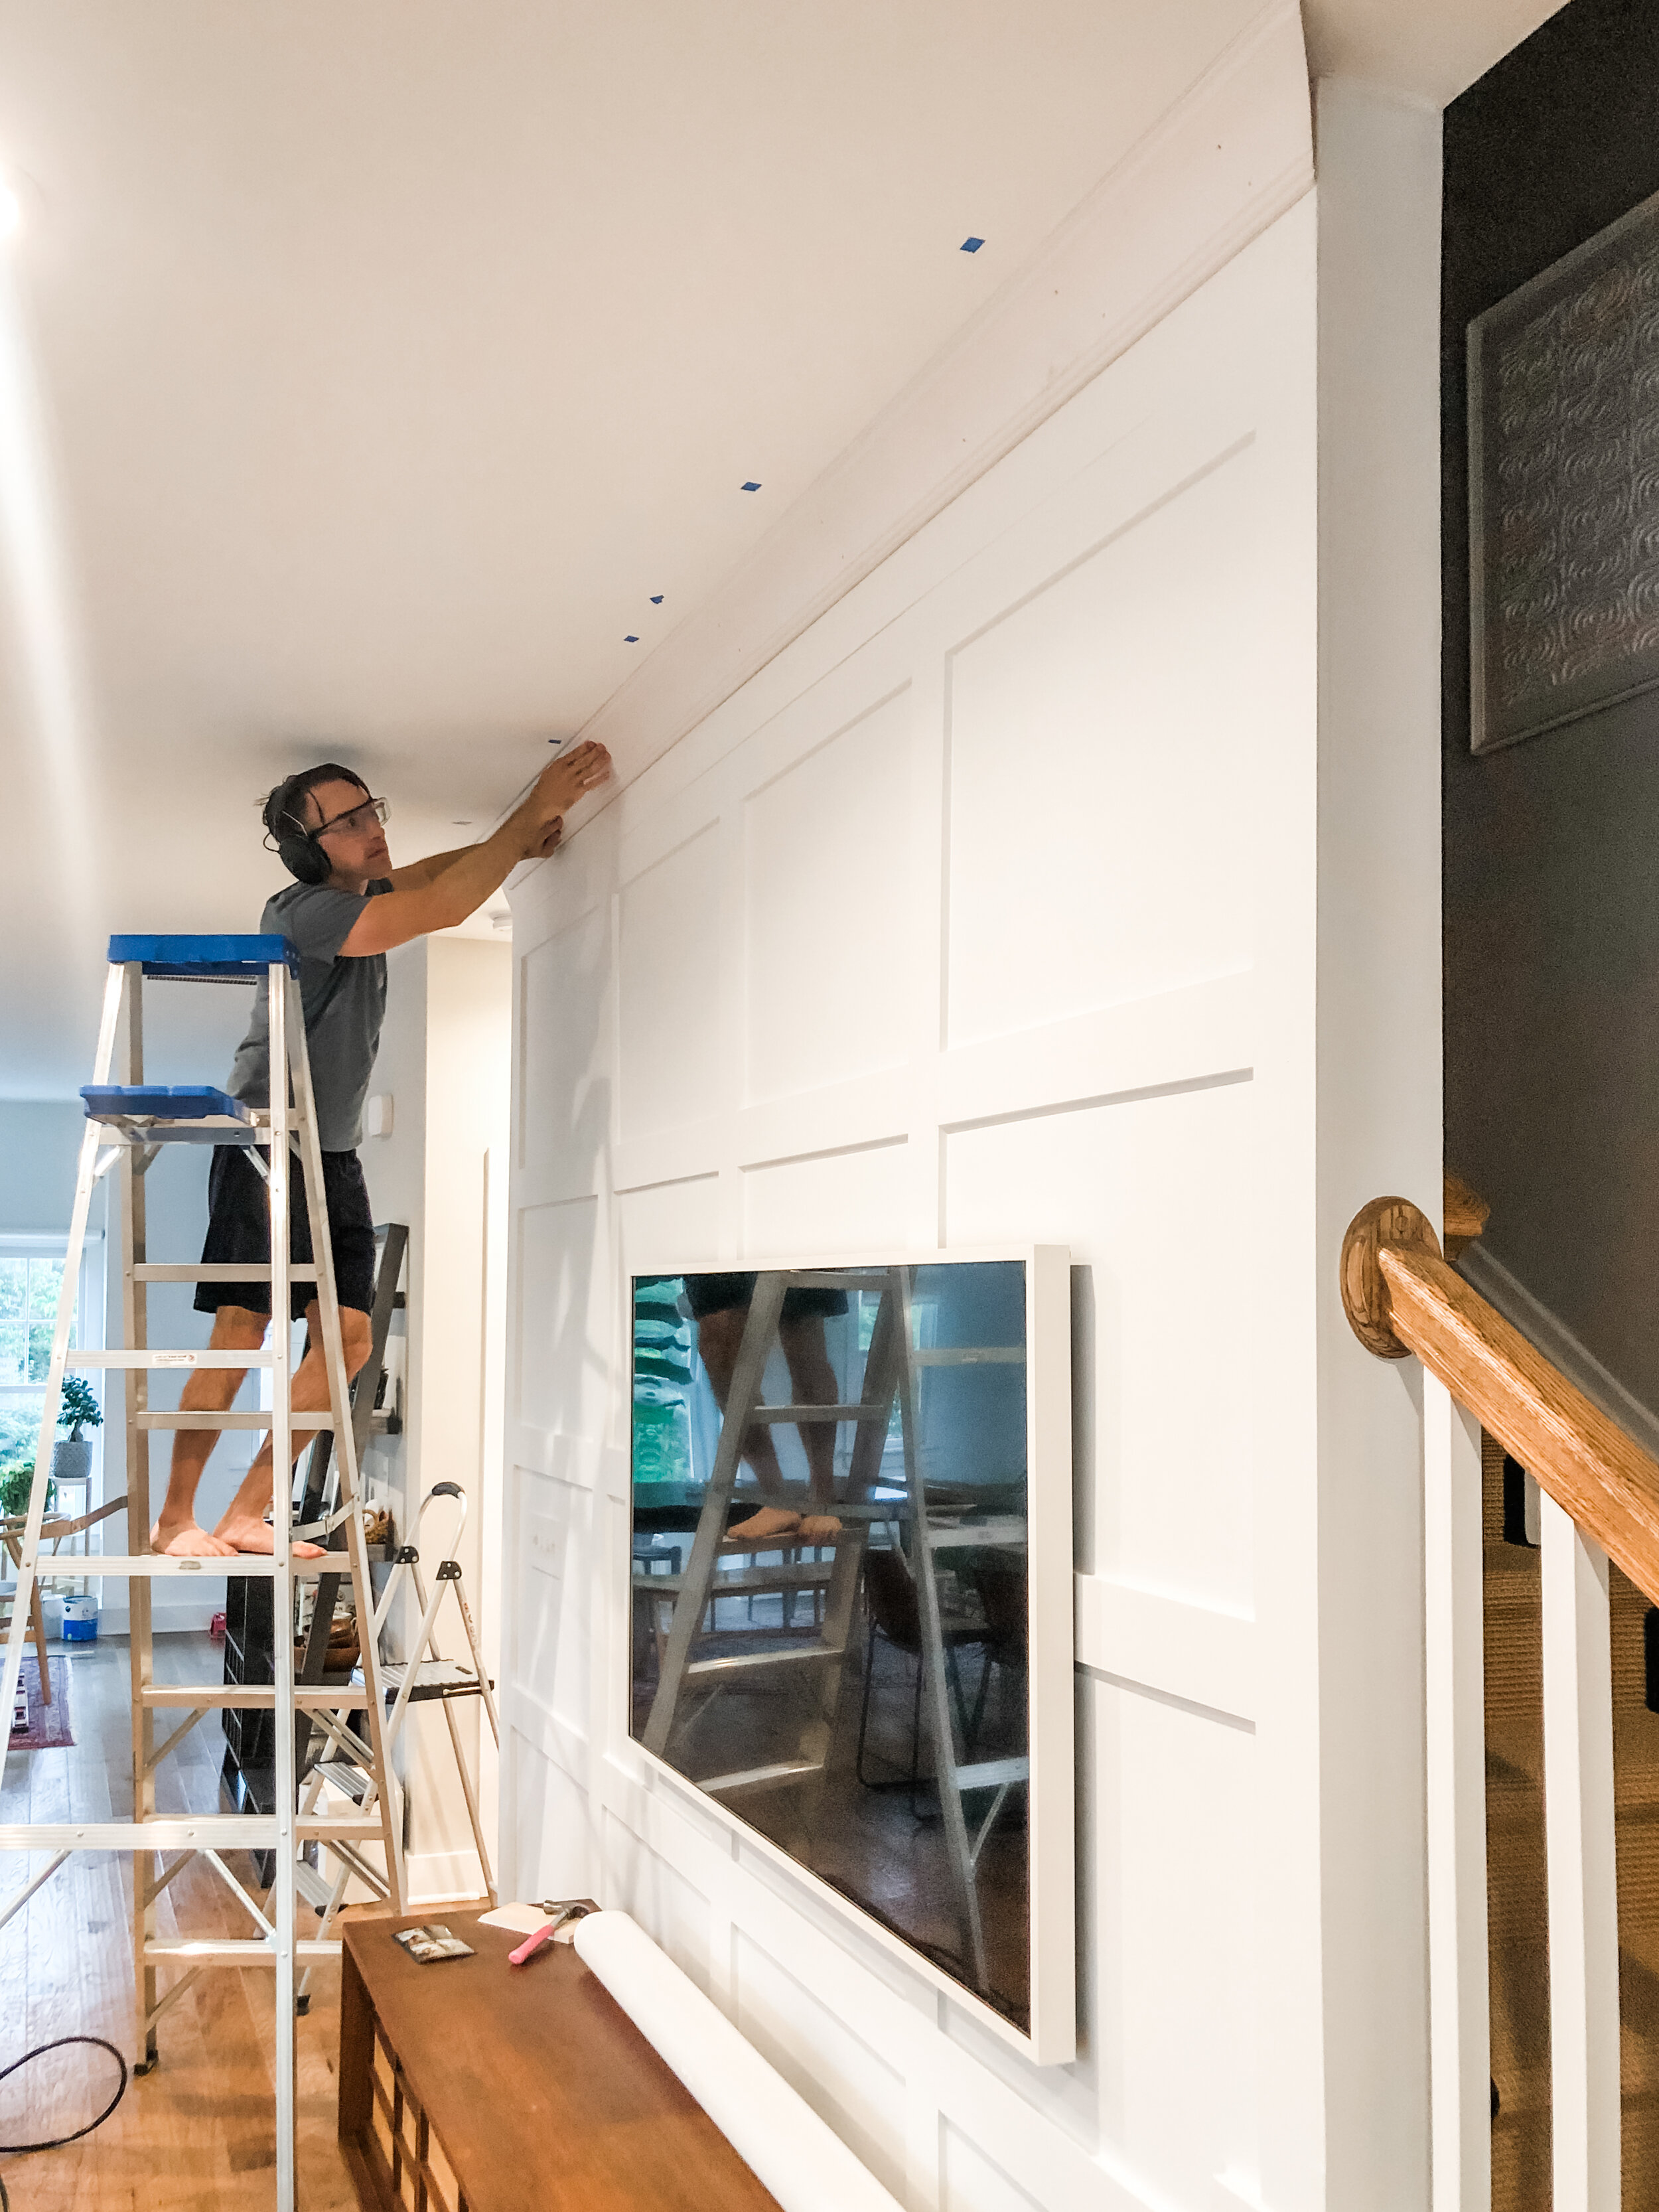
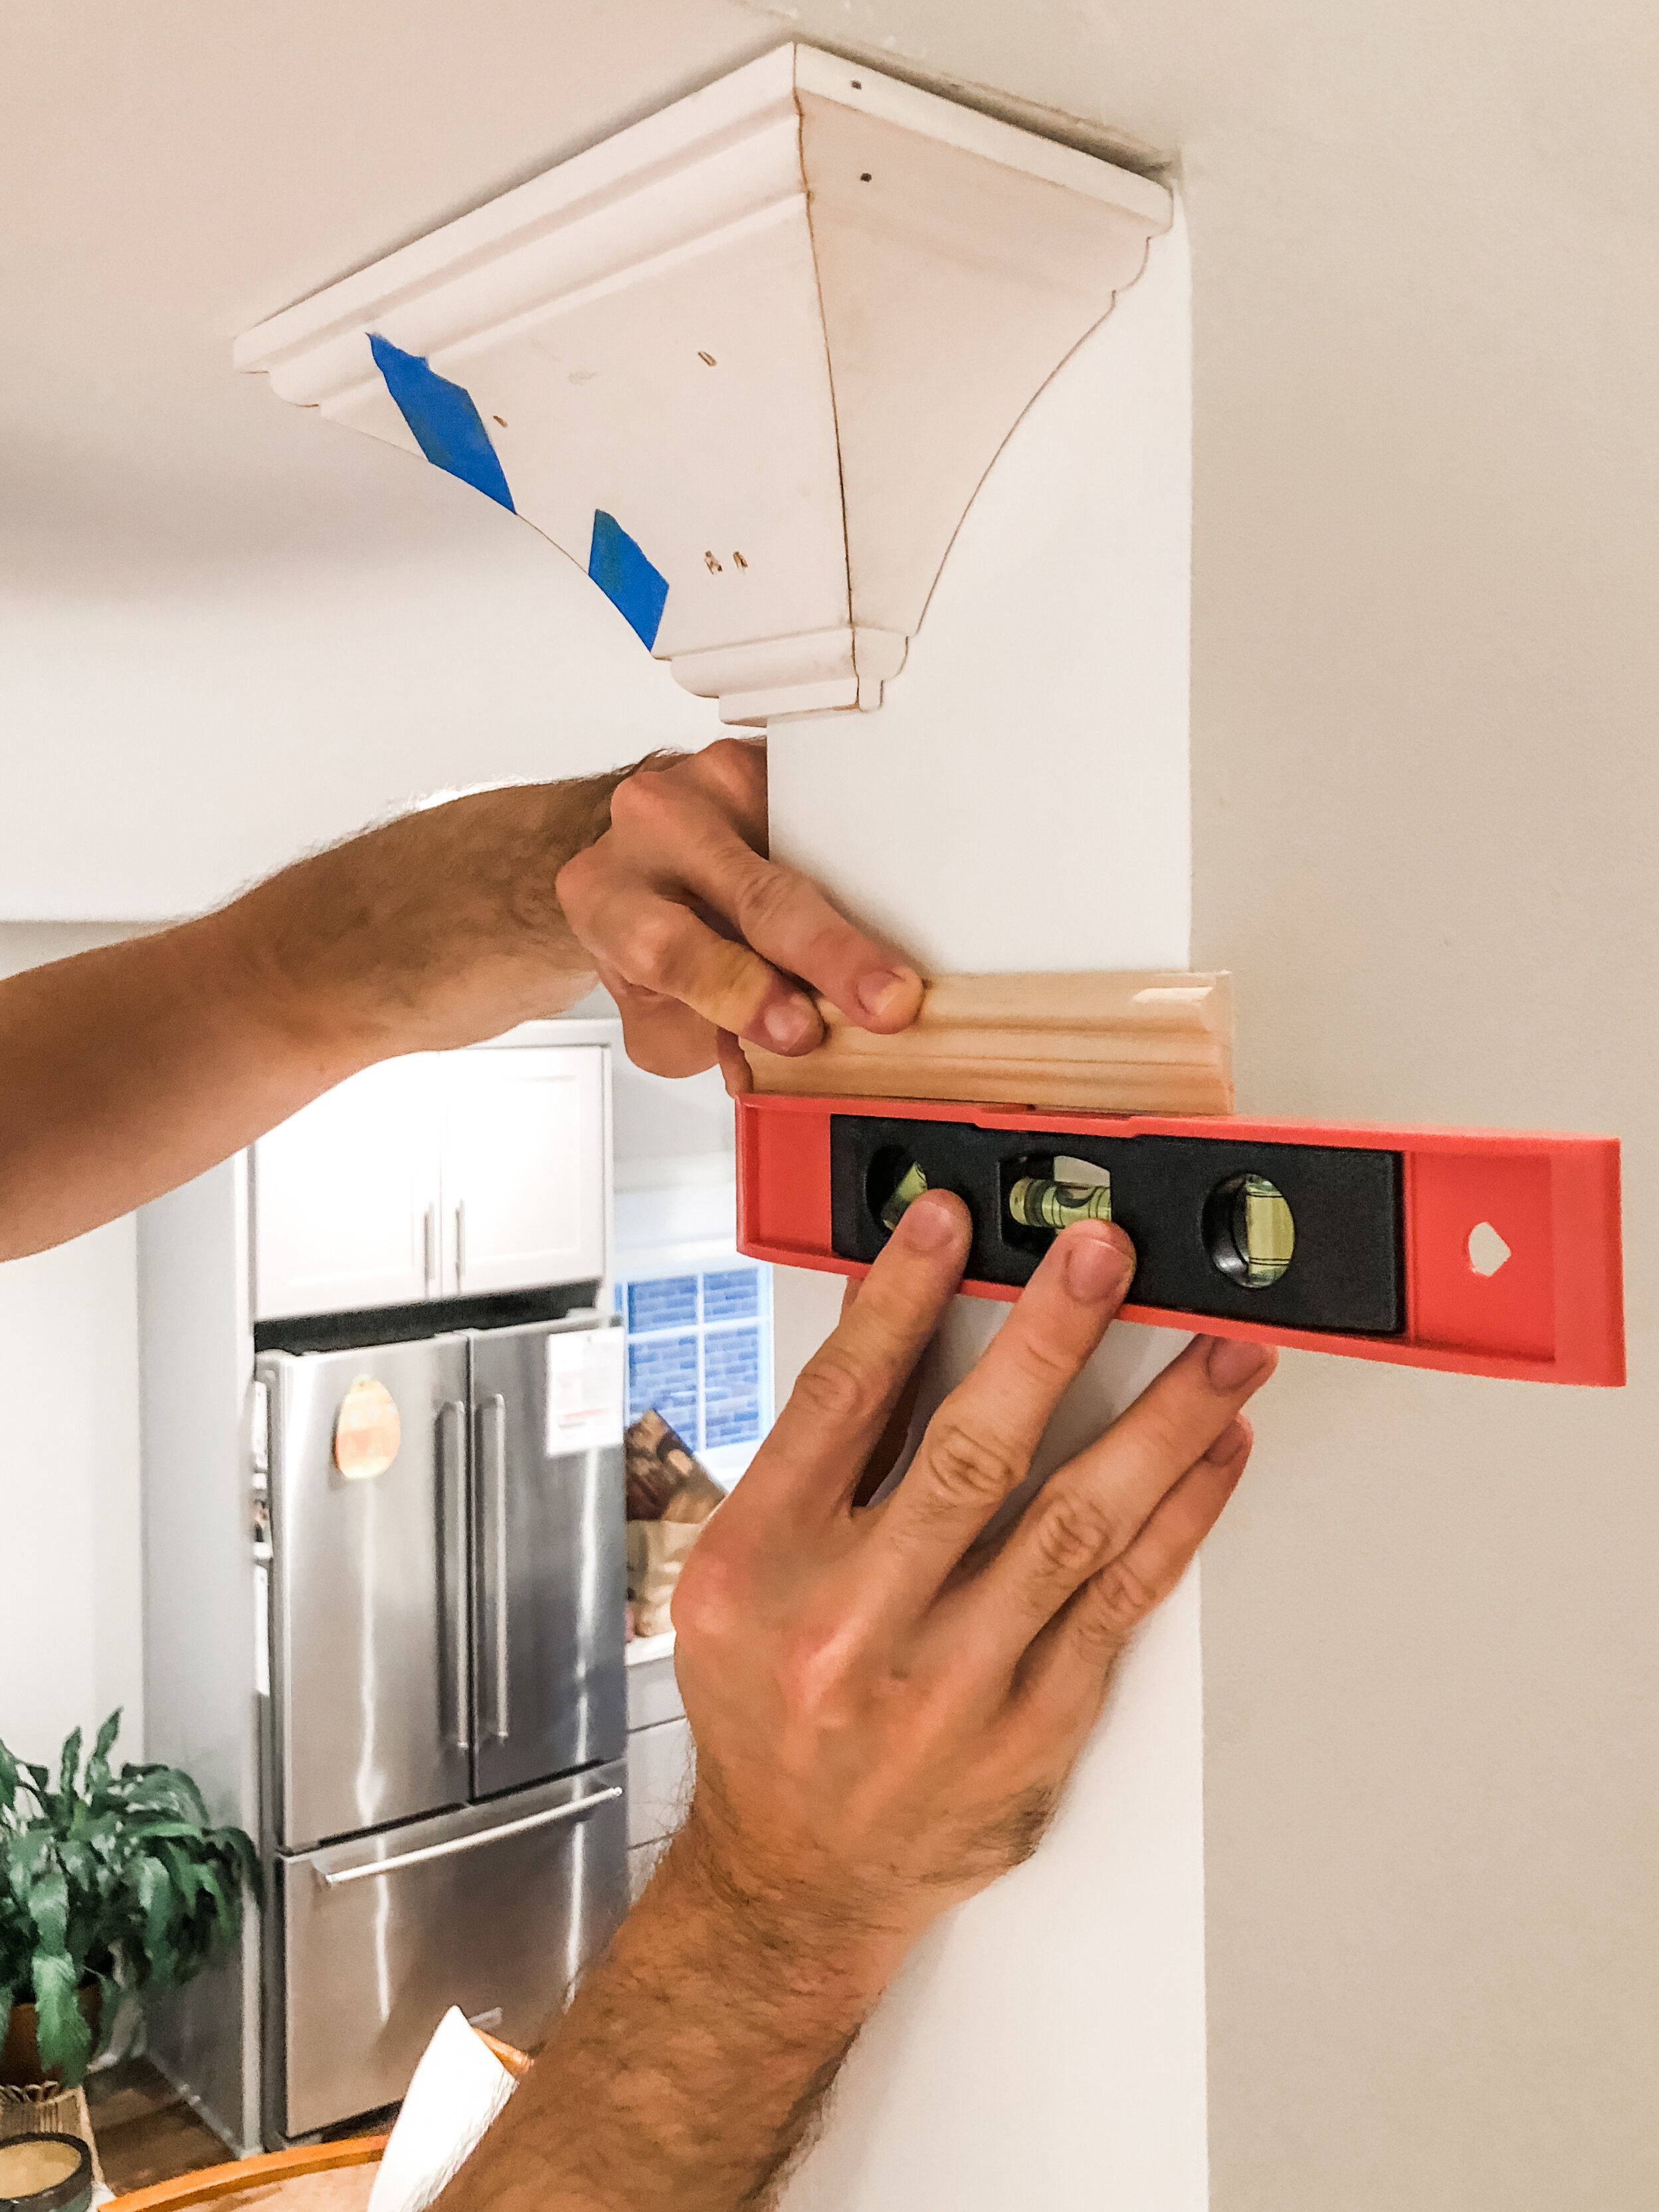
Using a nail gun, Andrew put up the crown moulding and the decorative trim piece—he even wrapped the crown and trim around both little walls!
He filled the nail holes and sanded them smooth
I caulked the double crown moulding seams and primed the raw wood trim
Lastly, I painted the double crown and baseboard in a satin finish
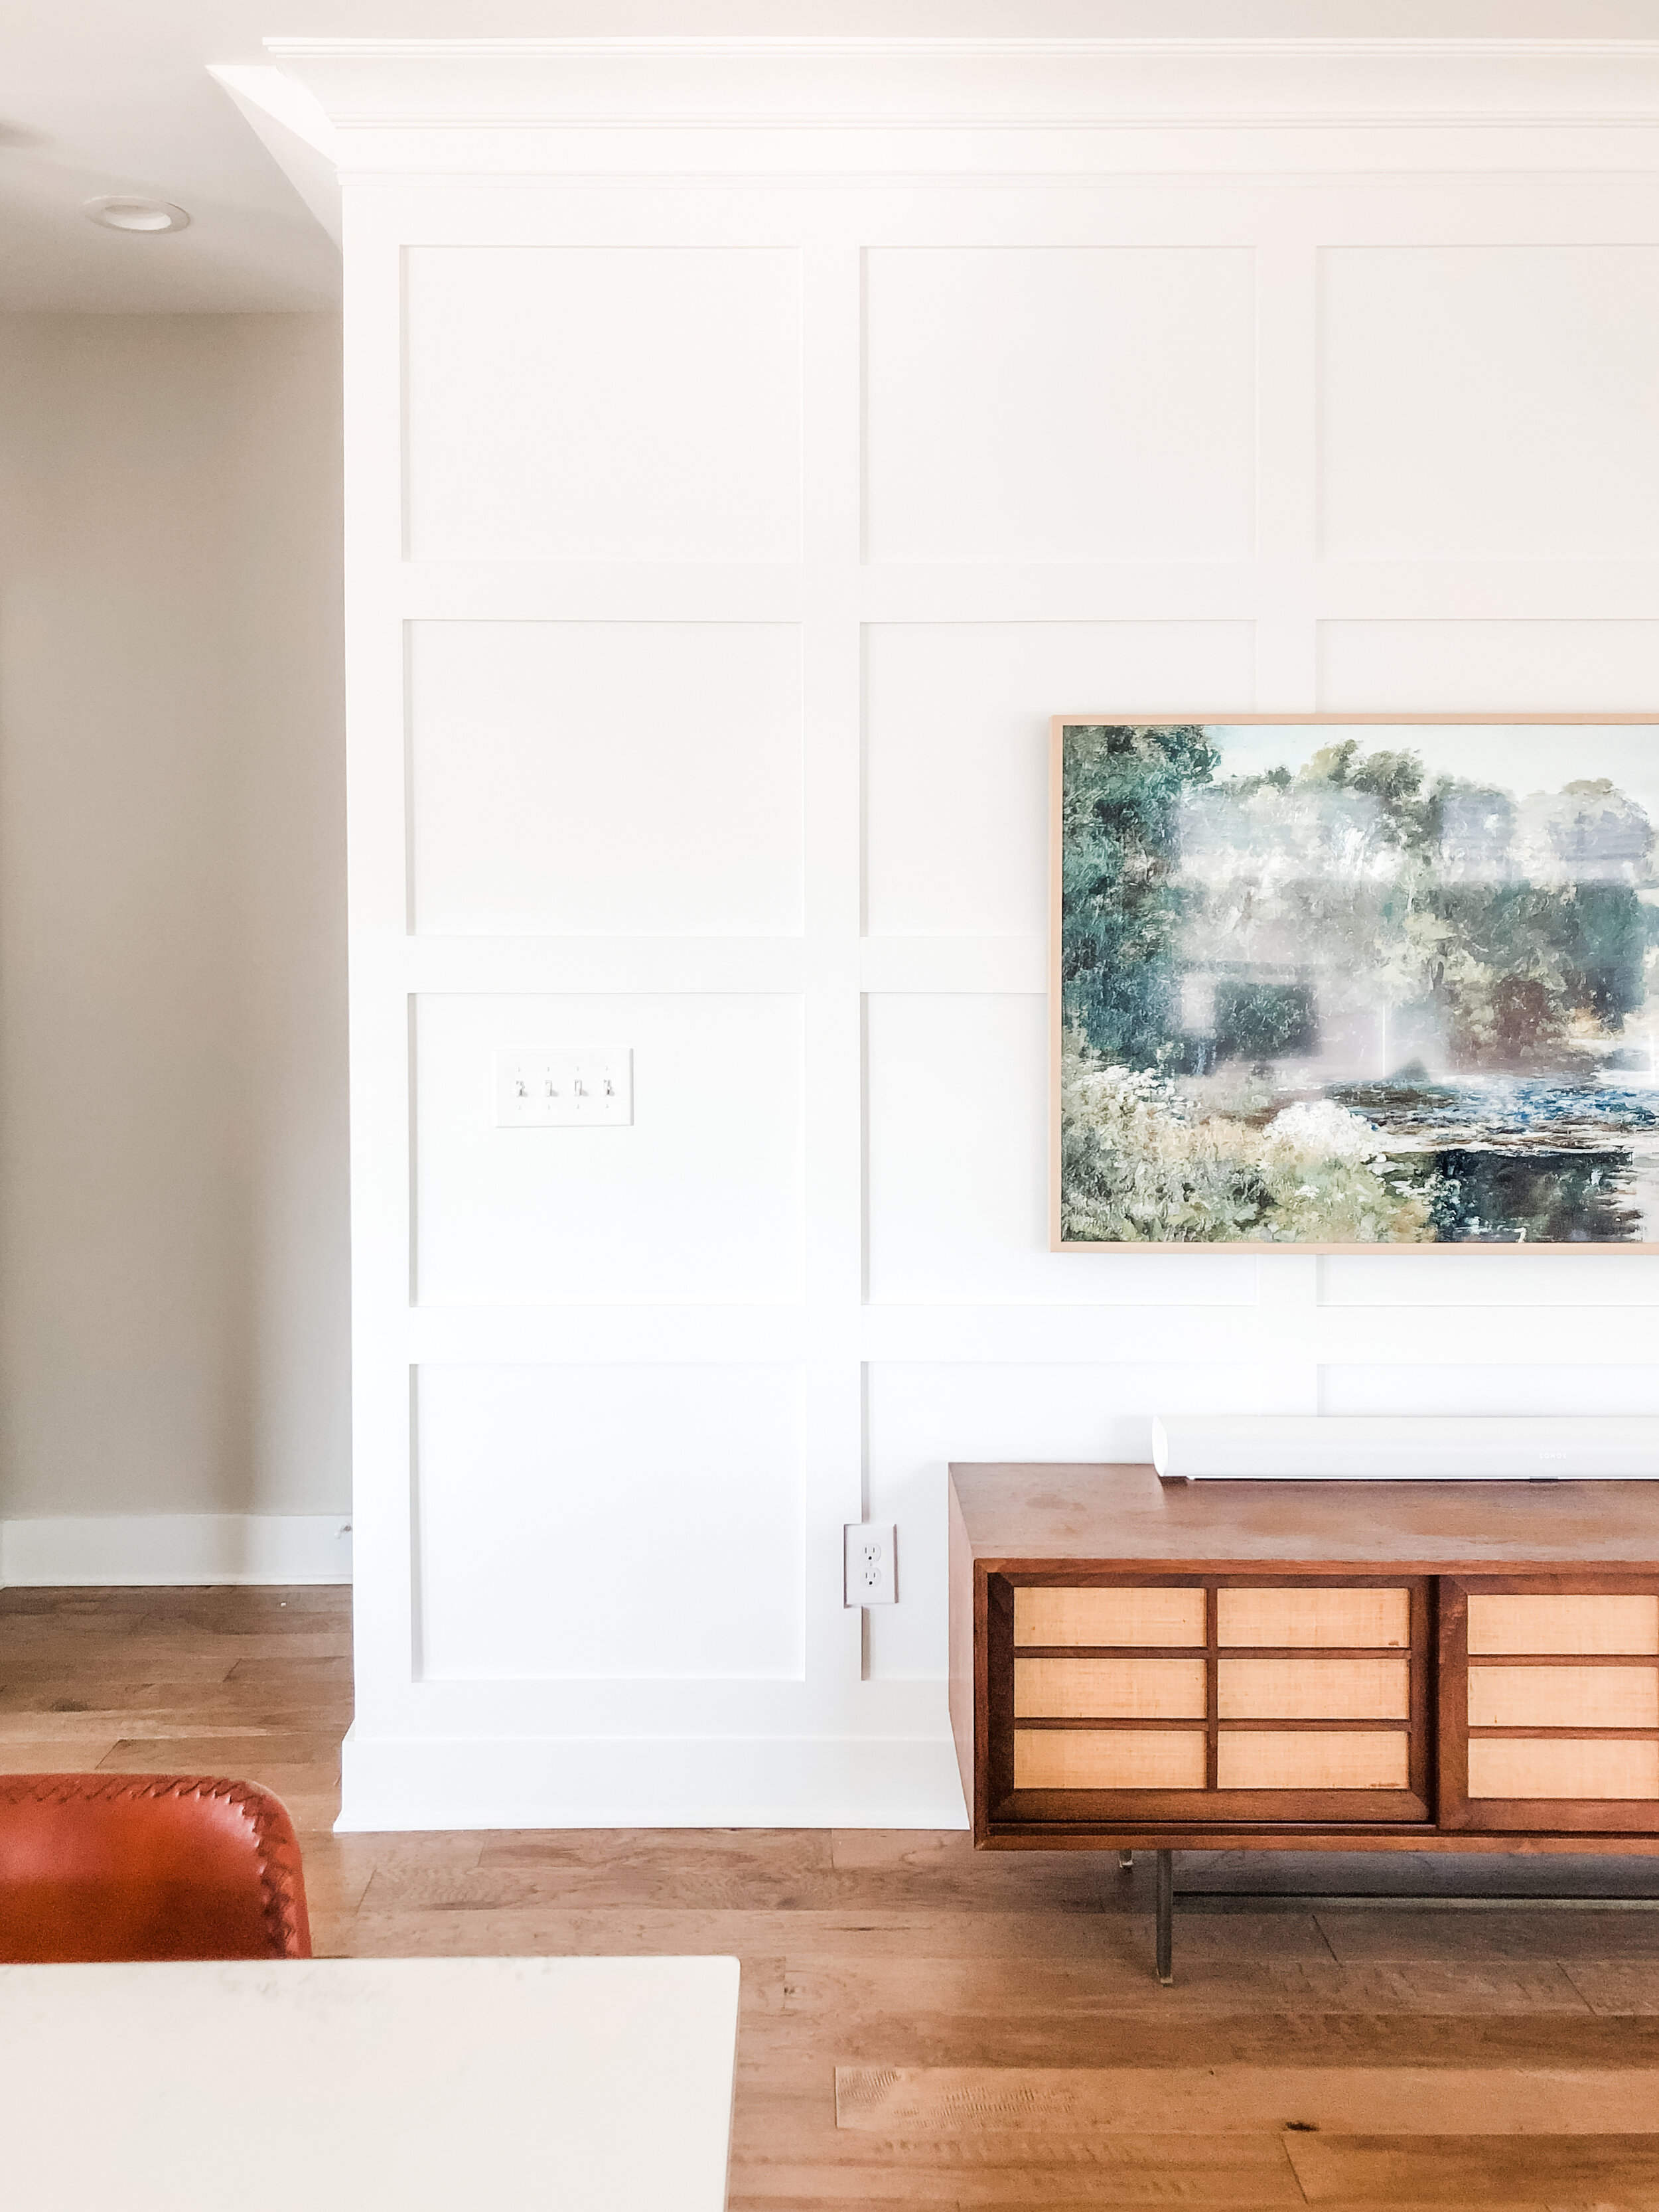
The After
We’re thrilled with how easy (apart from measuring everything a billion times and still making mistakes!) this project was to execute. Andrew unwinds with a good TV show and he desperately wanted to knock this project out quickly. We finished this project in three weekends—which is record speed for us. Now, back to our regularly scheduled programming (Mare of Easttown!) and with a beautiful wall to look at!
At the last minute, I ended up buying the light wood bezel for the TV to help it stand out and I am so glad I did! Fun fact: we have a 2018 model of this TV and I bought the 2020 version of the bezel and it fit just fine. The Samsung website and Amazon both listed this bezel as only compatible with the 2020 TV, but sooo happy this was not the case!
The Side-by-side

Sources: wall color: Sherwin Williams Extra White | Matte; trim color: Benjamin Moore Advance | Satin color matched to Extra White; console: vintage, similar; surround sound; frame TV; light wood bezel