Owner's Closet Transformation with IKEA's PAX System
After two years of living with wire racks and zero hidden storage… we’ve finally upgraded to a high-end looking closet on a budget.
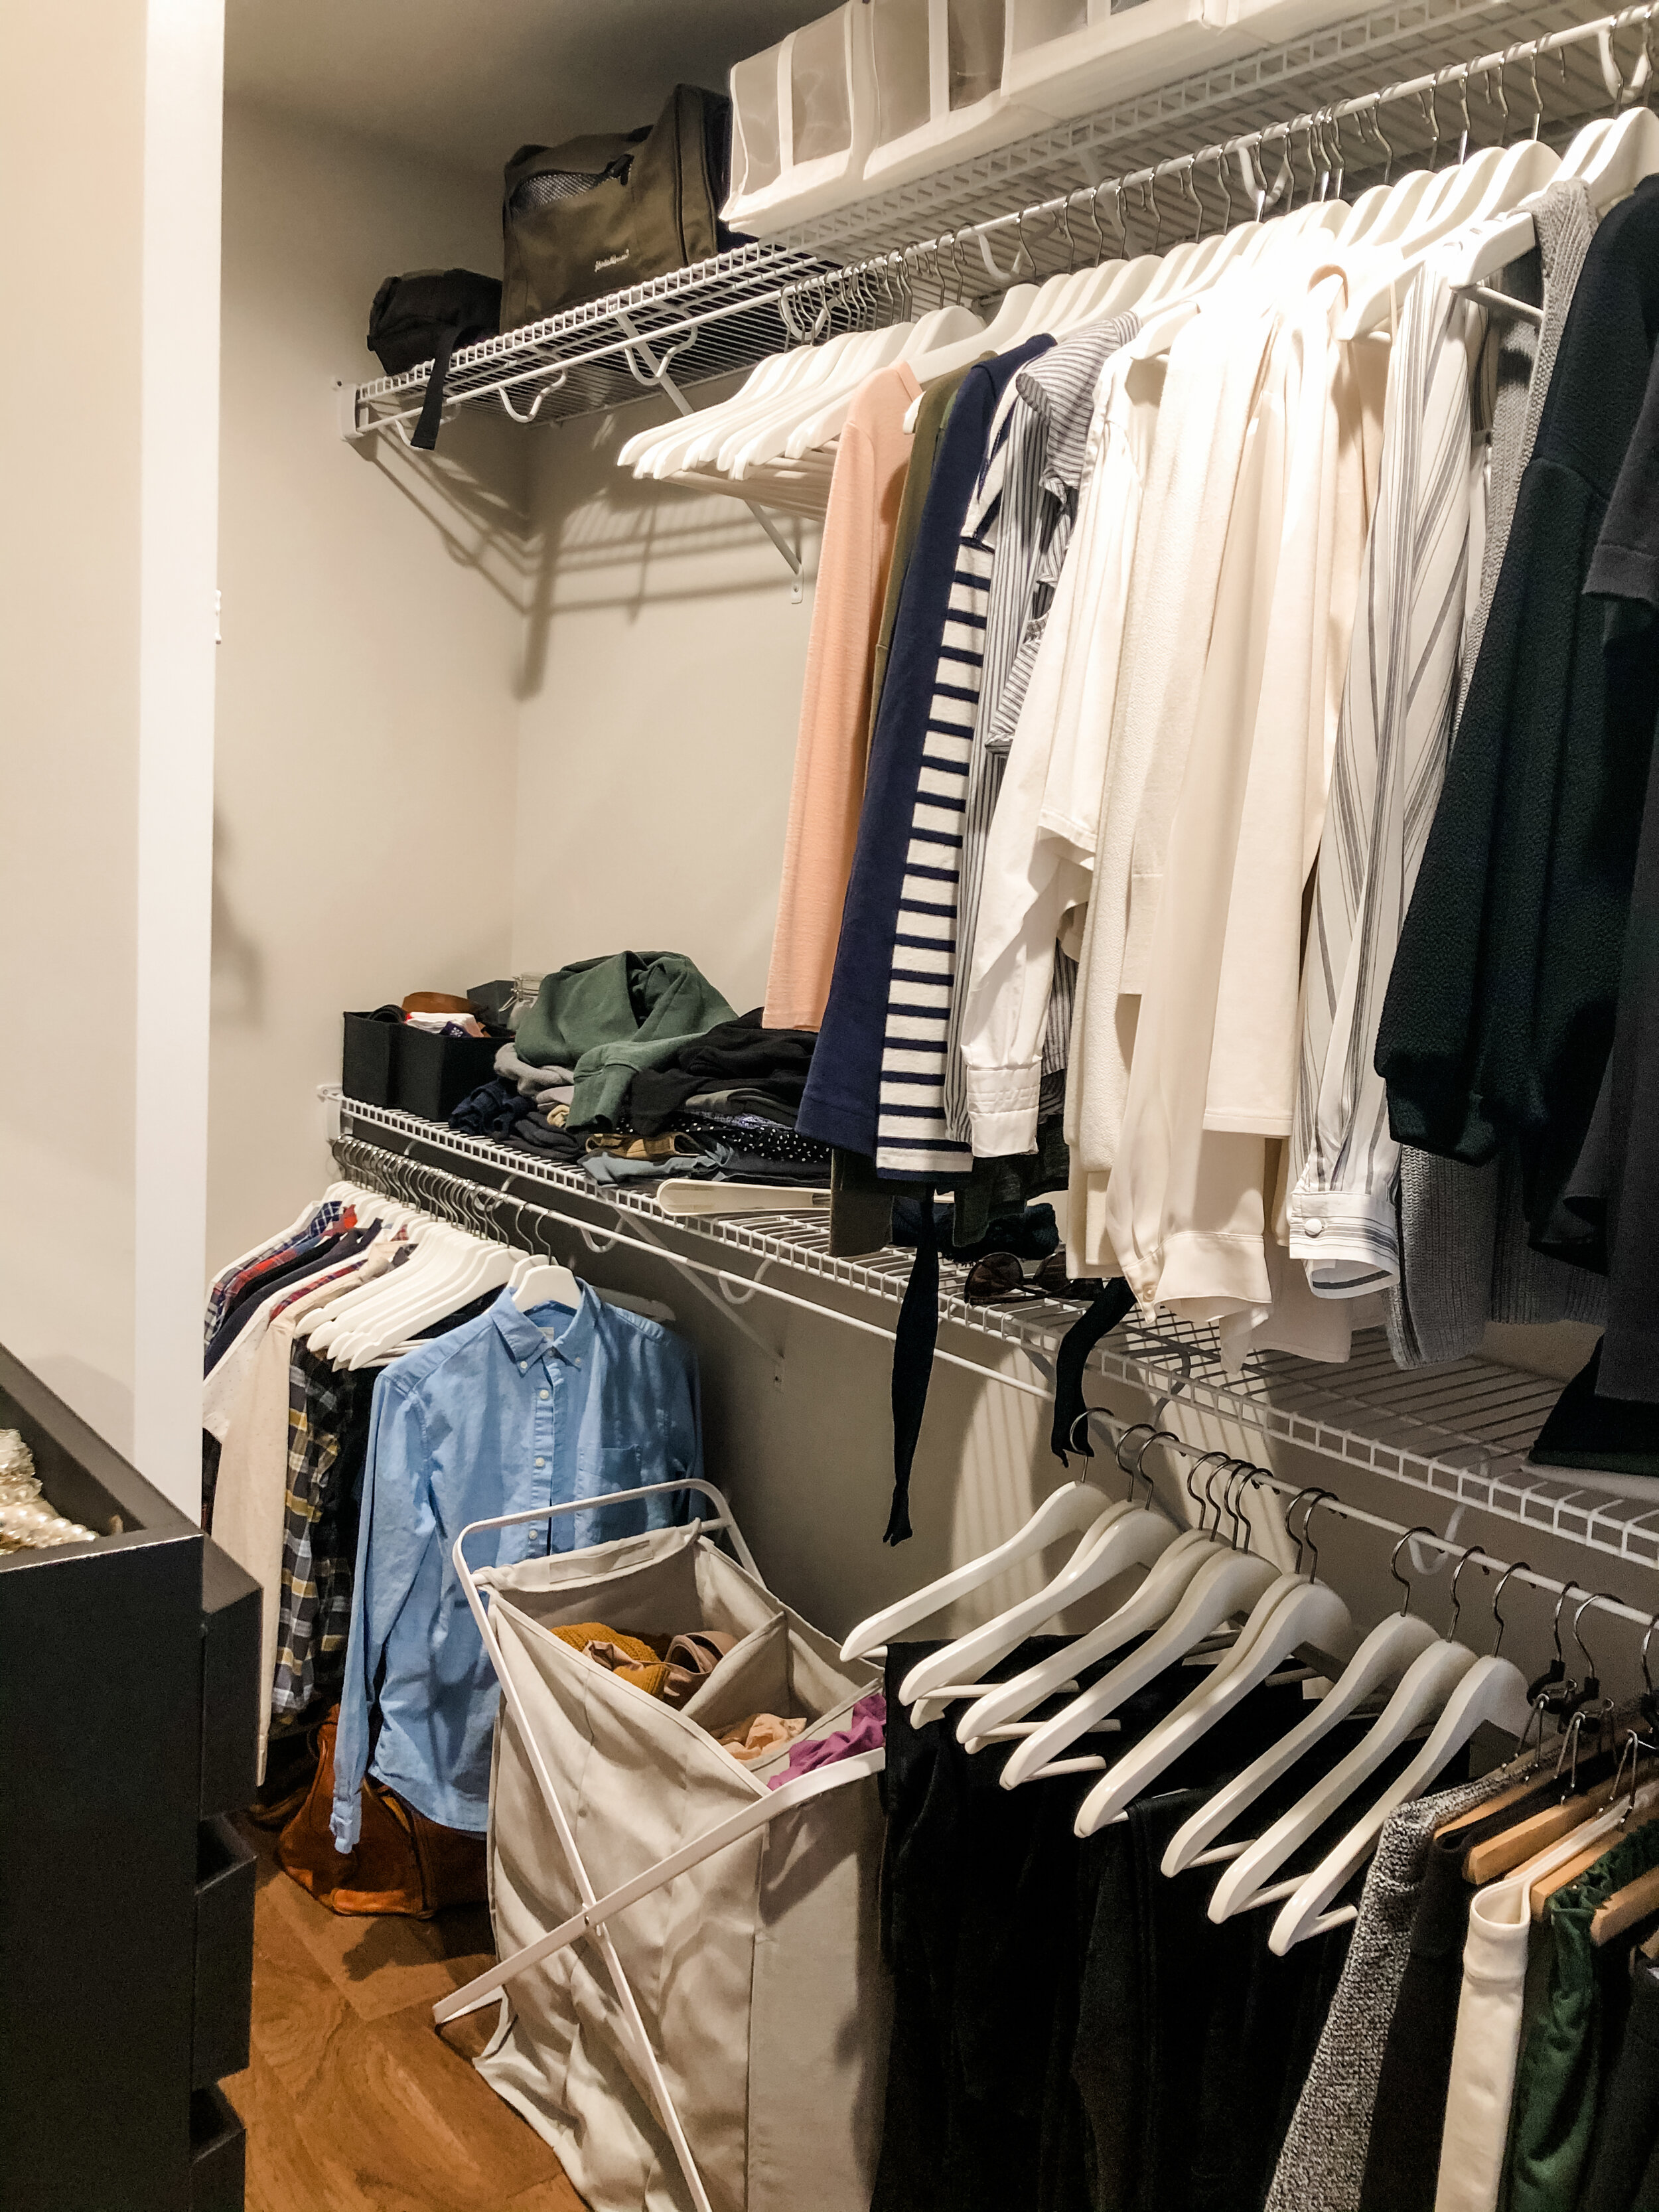
When Andrew and I made selections for our new-build townhouse, we opted out of upgrading the closets knowing we could tackle that ourselves later on. Well... two years went by and clothes were toppling over the white wire racks and stressing me out! I was desperate to tackle this project.
I contacted a national custom closet company to start... but that ended just as quickly. The sticker shock was real—over $5k for a 55 square foot closet. And this quote included the cheapest materials, only three drawers and open shelving... Eeek! No thank you!
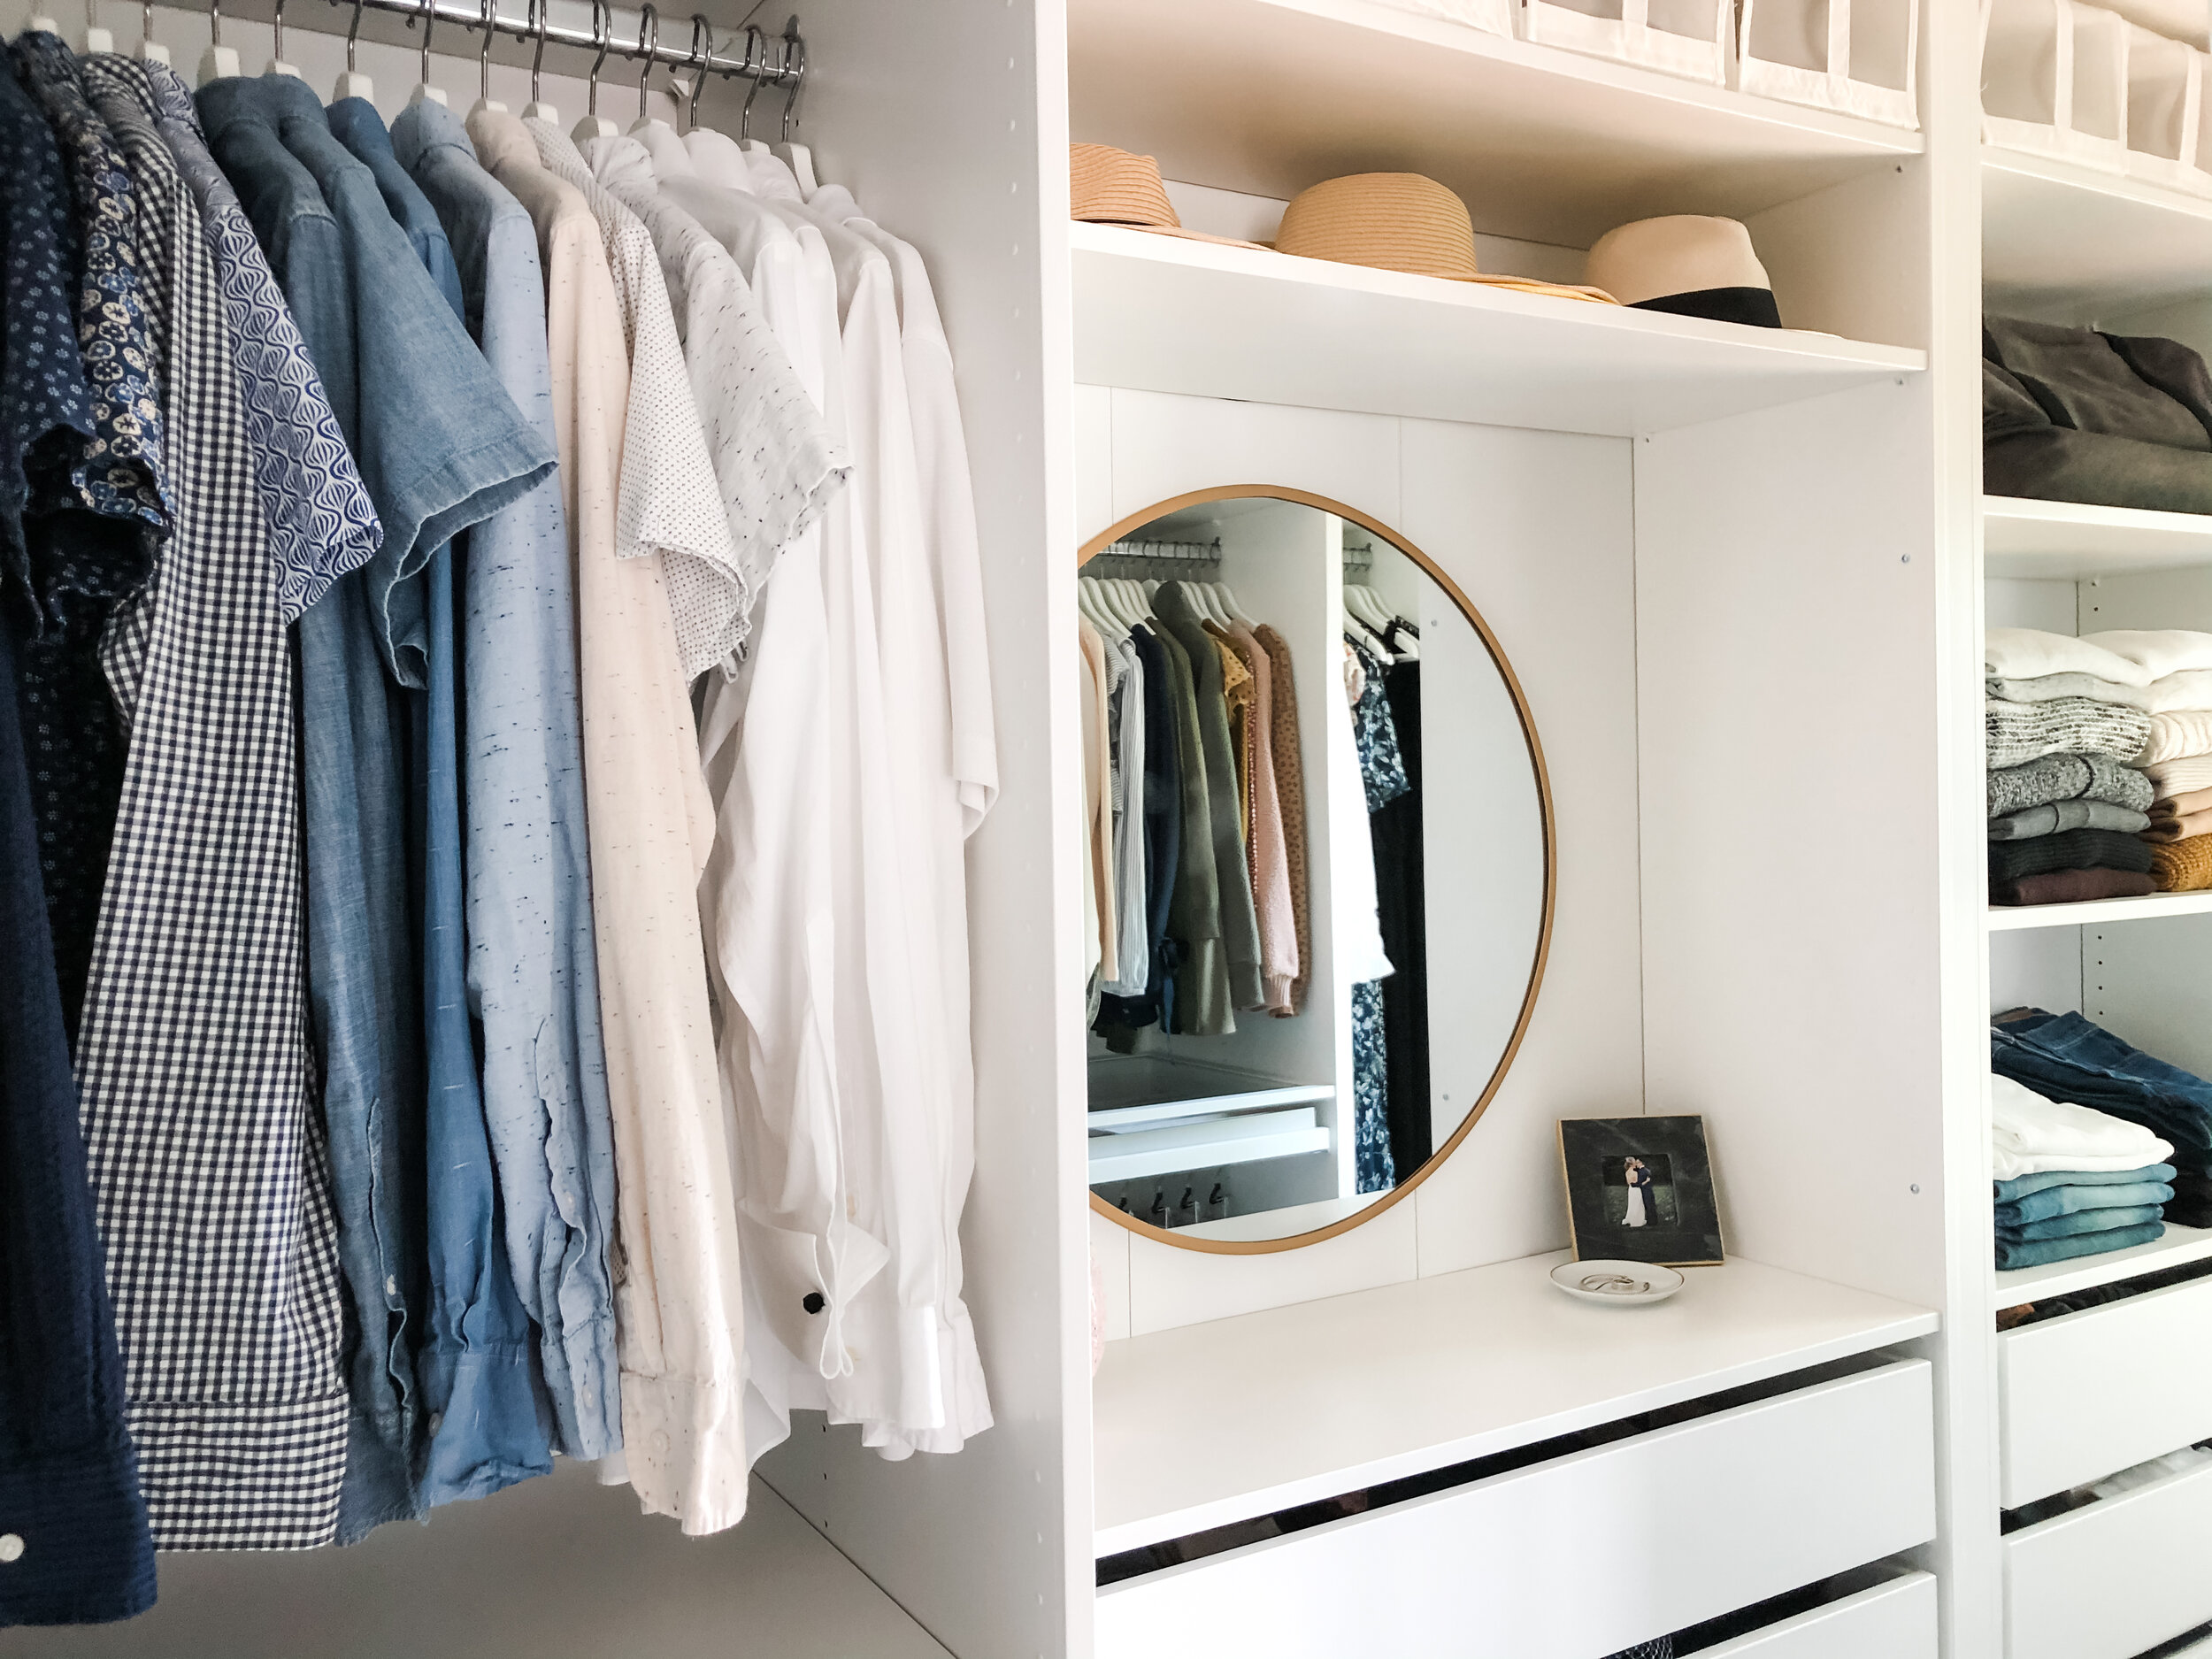
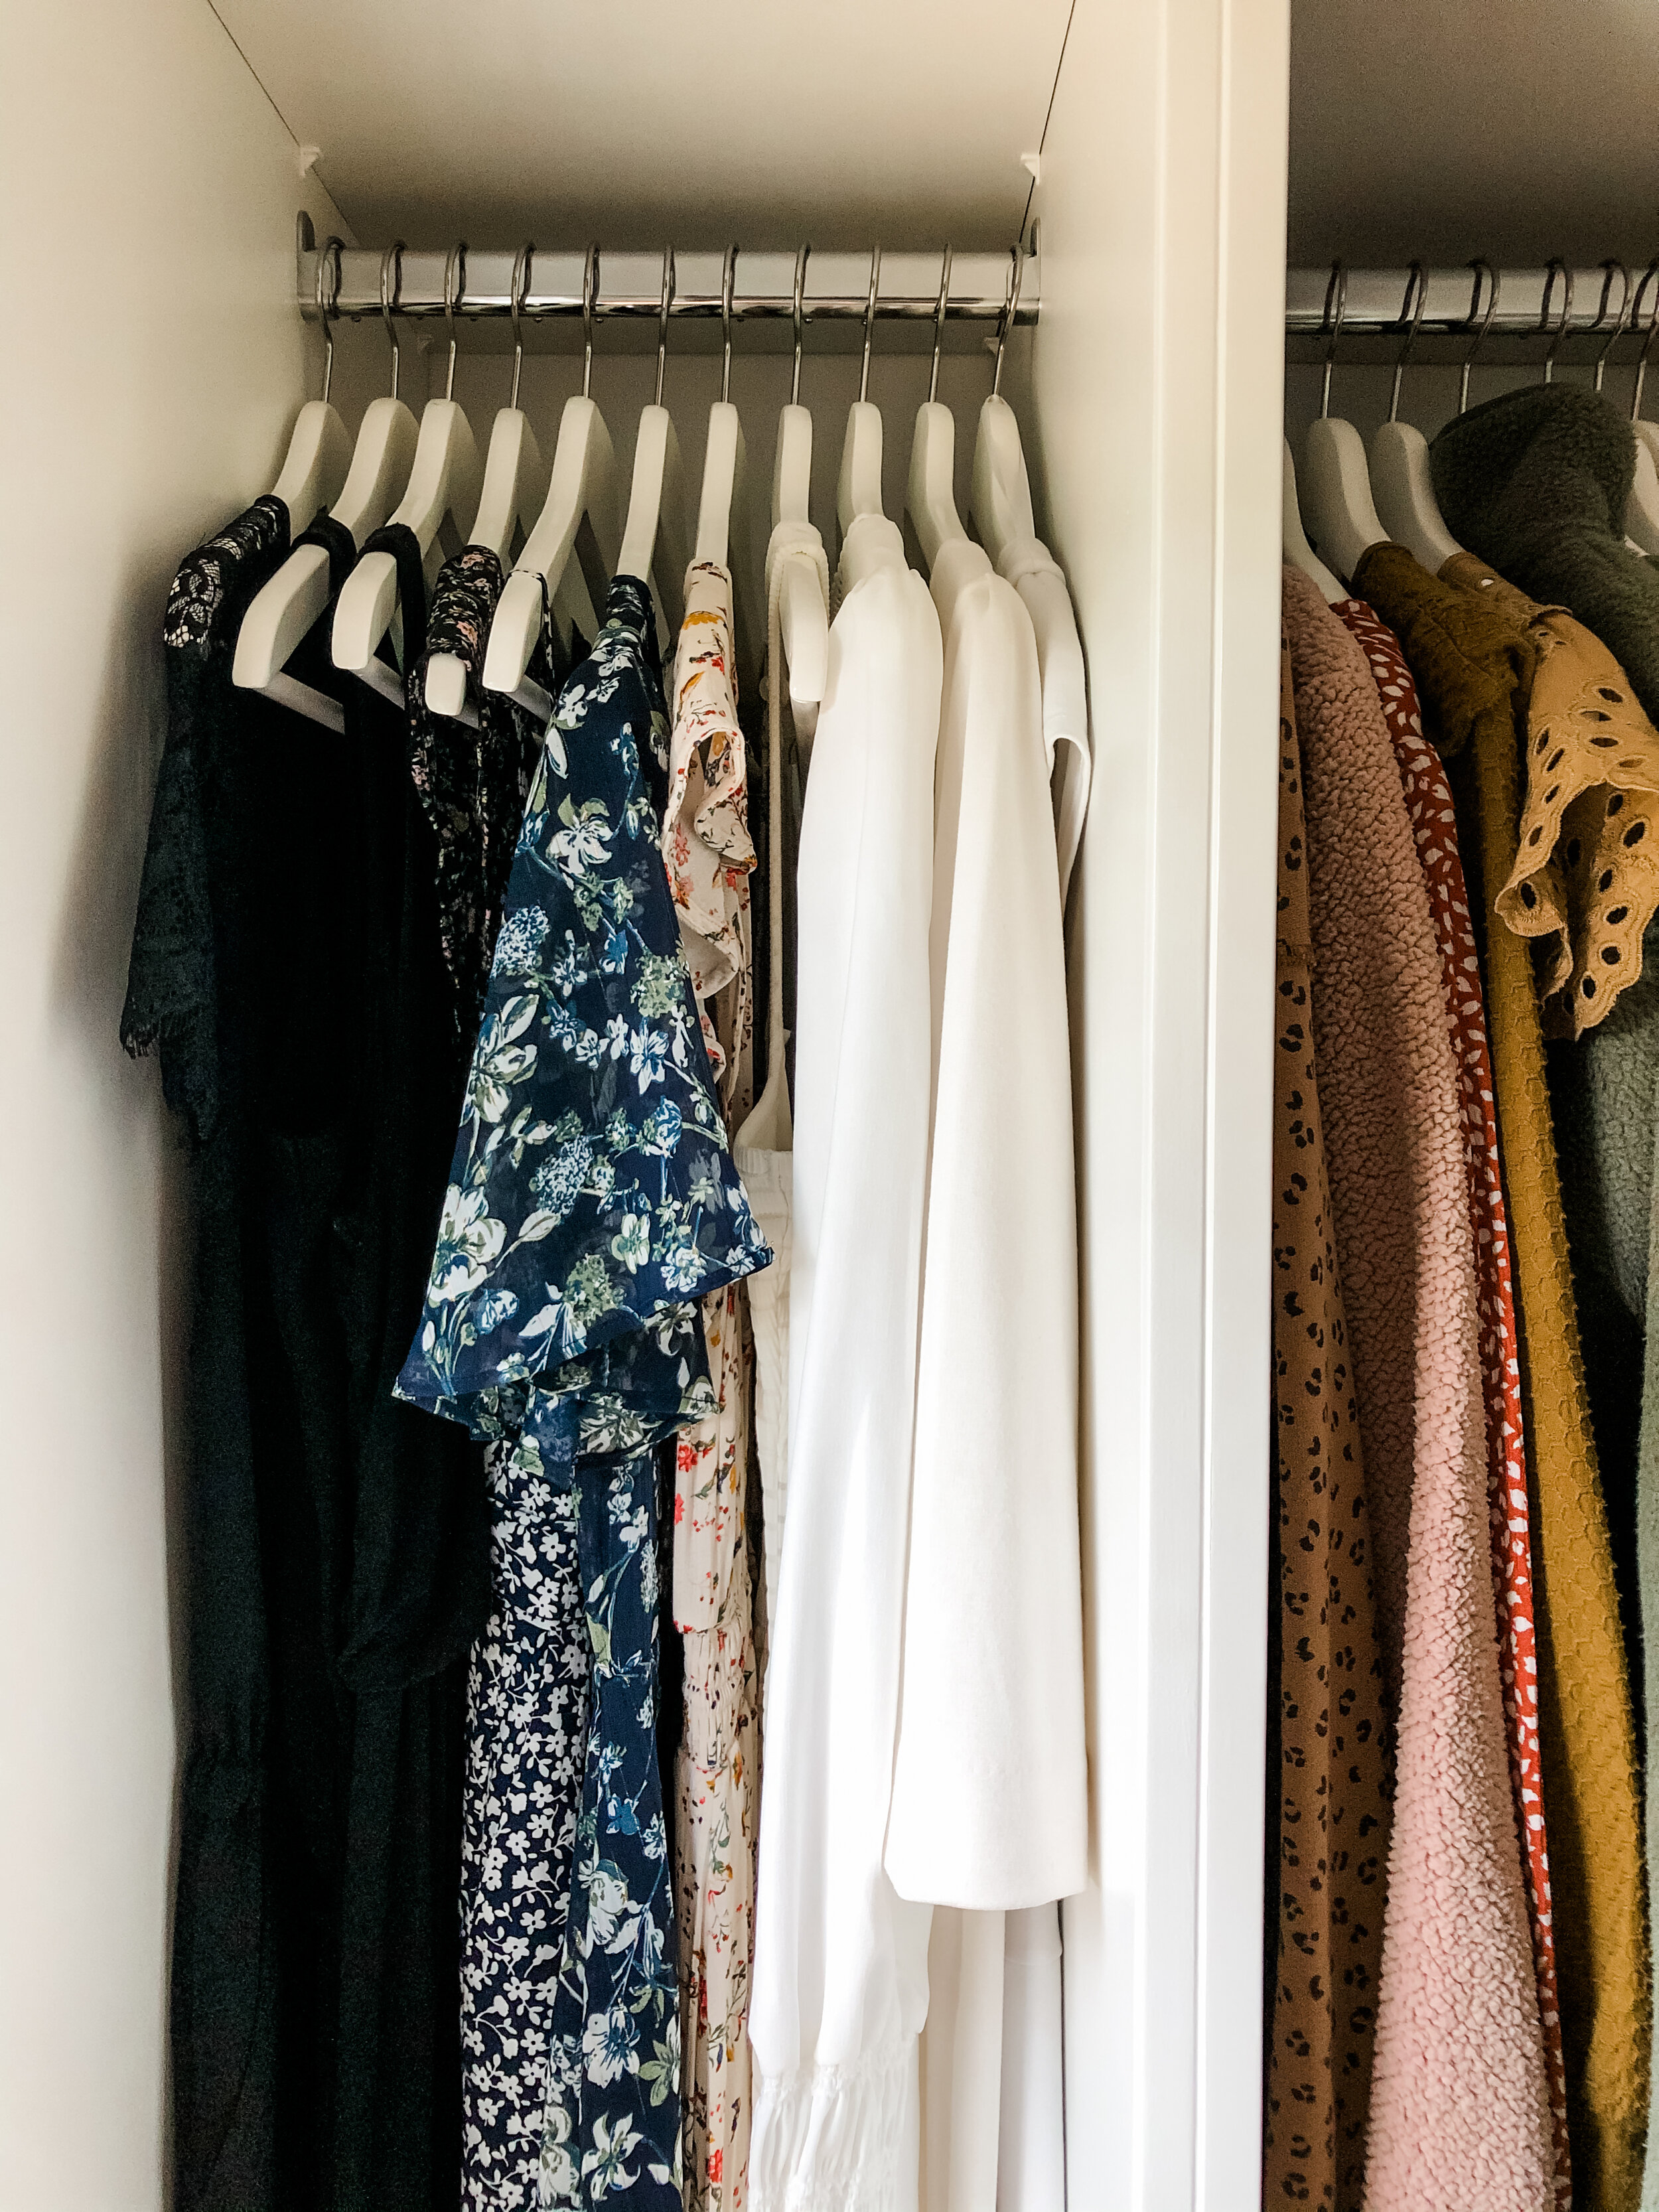
Next, I did what I probably should have done in the first place... I opened Pinterest. I had my answer in just one search—IKEA's Pax wardrobe. Everyone was using it!! I played around with IKEA's online wardrobe tool which is so easy to use and extremely helpful when figuring out what can fit in your space. Check out my closet mock up and plans for what would go in each space below. Organization is essential!


After I presented Andrew my formal proposal, he approved the project plans, agreed to become our in-house carpenter and off to IKEA we went! We decided to make two trips because Andrew didn't want our home to become a storage unit for unused materials and it also wasn't the best idea to store materials made from particle board in a garage that isn't climate controlled.
Now, there were two things that ended up making this project in particular quite tricky.
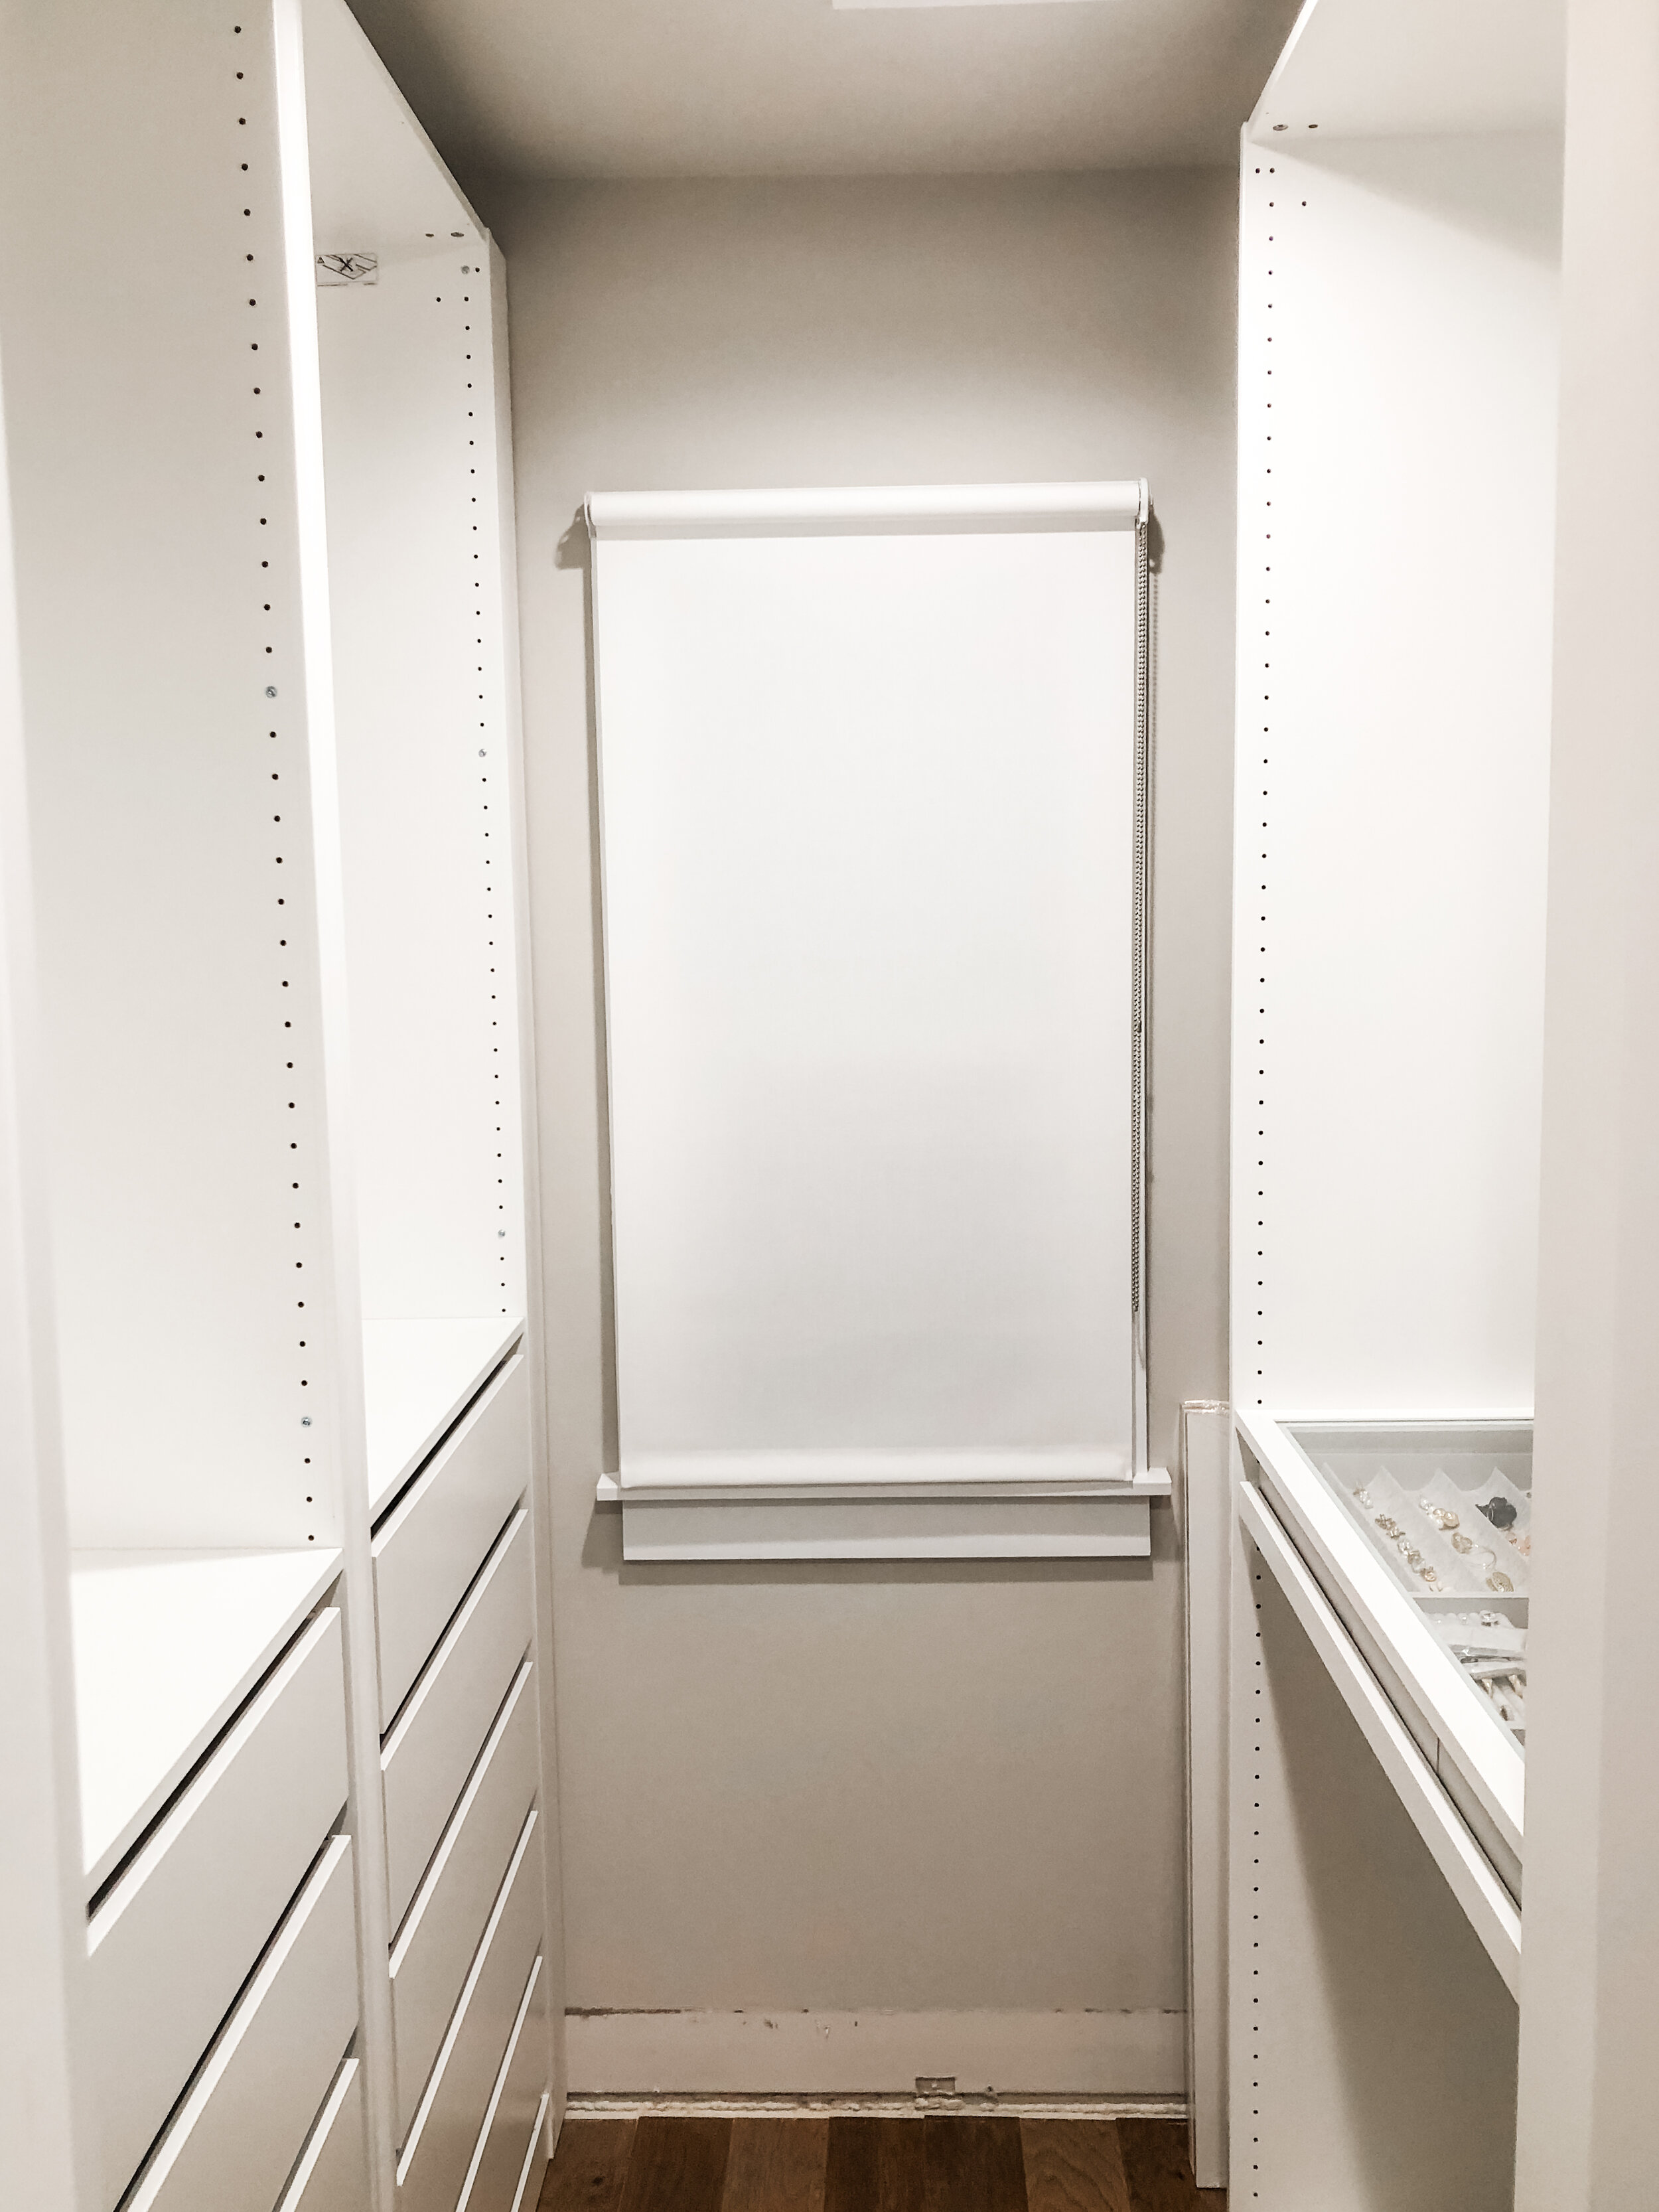
A global pandemic entered our lives between IKEA trips one and two. We did as much as we could with the materials we had but for obvious reasons, our closet reno hit a hard stop and we ended up living with our half-completed closet for the summer.
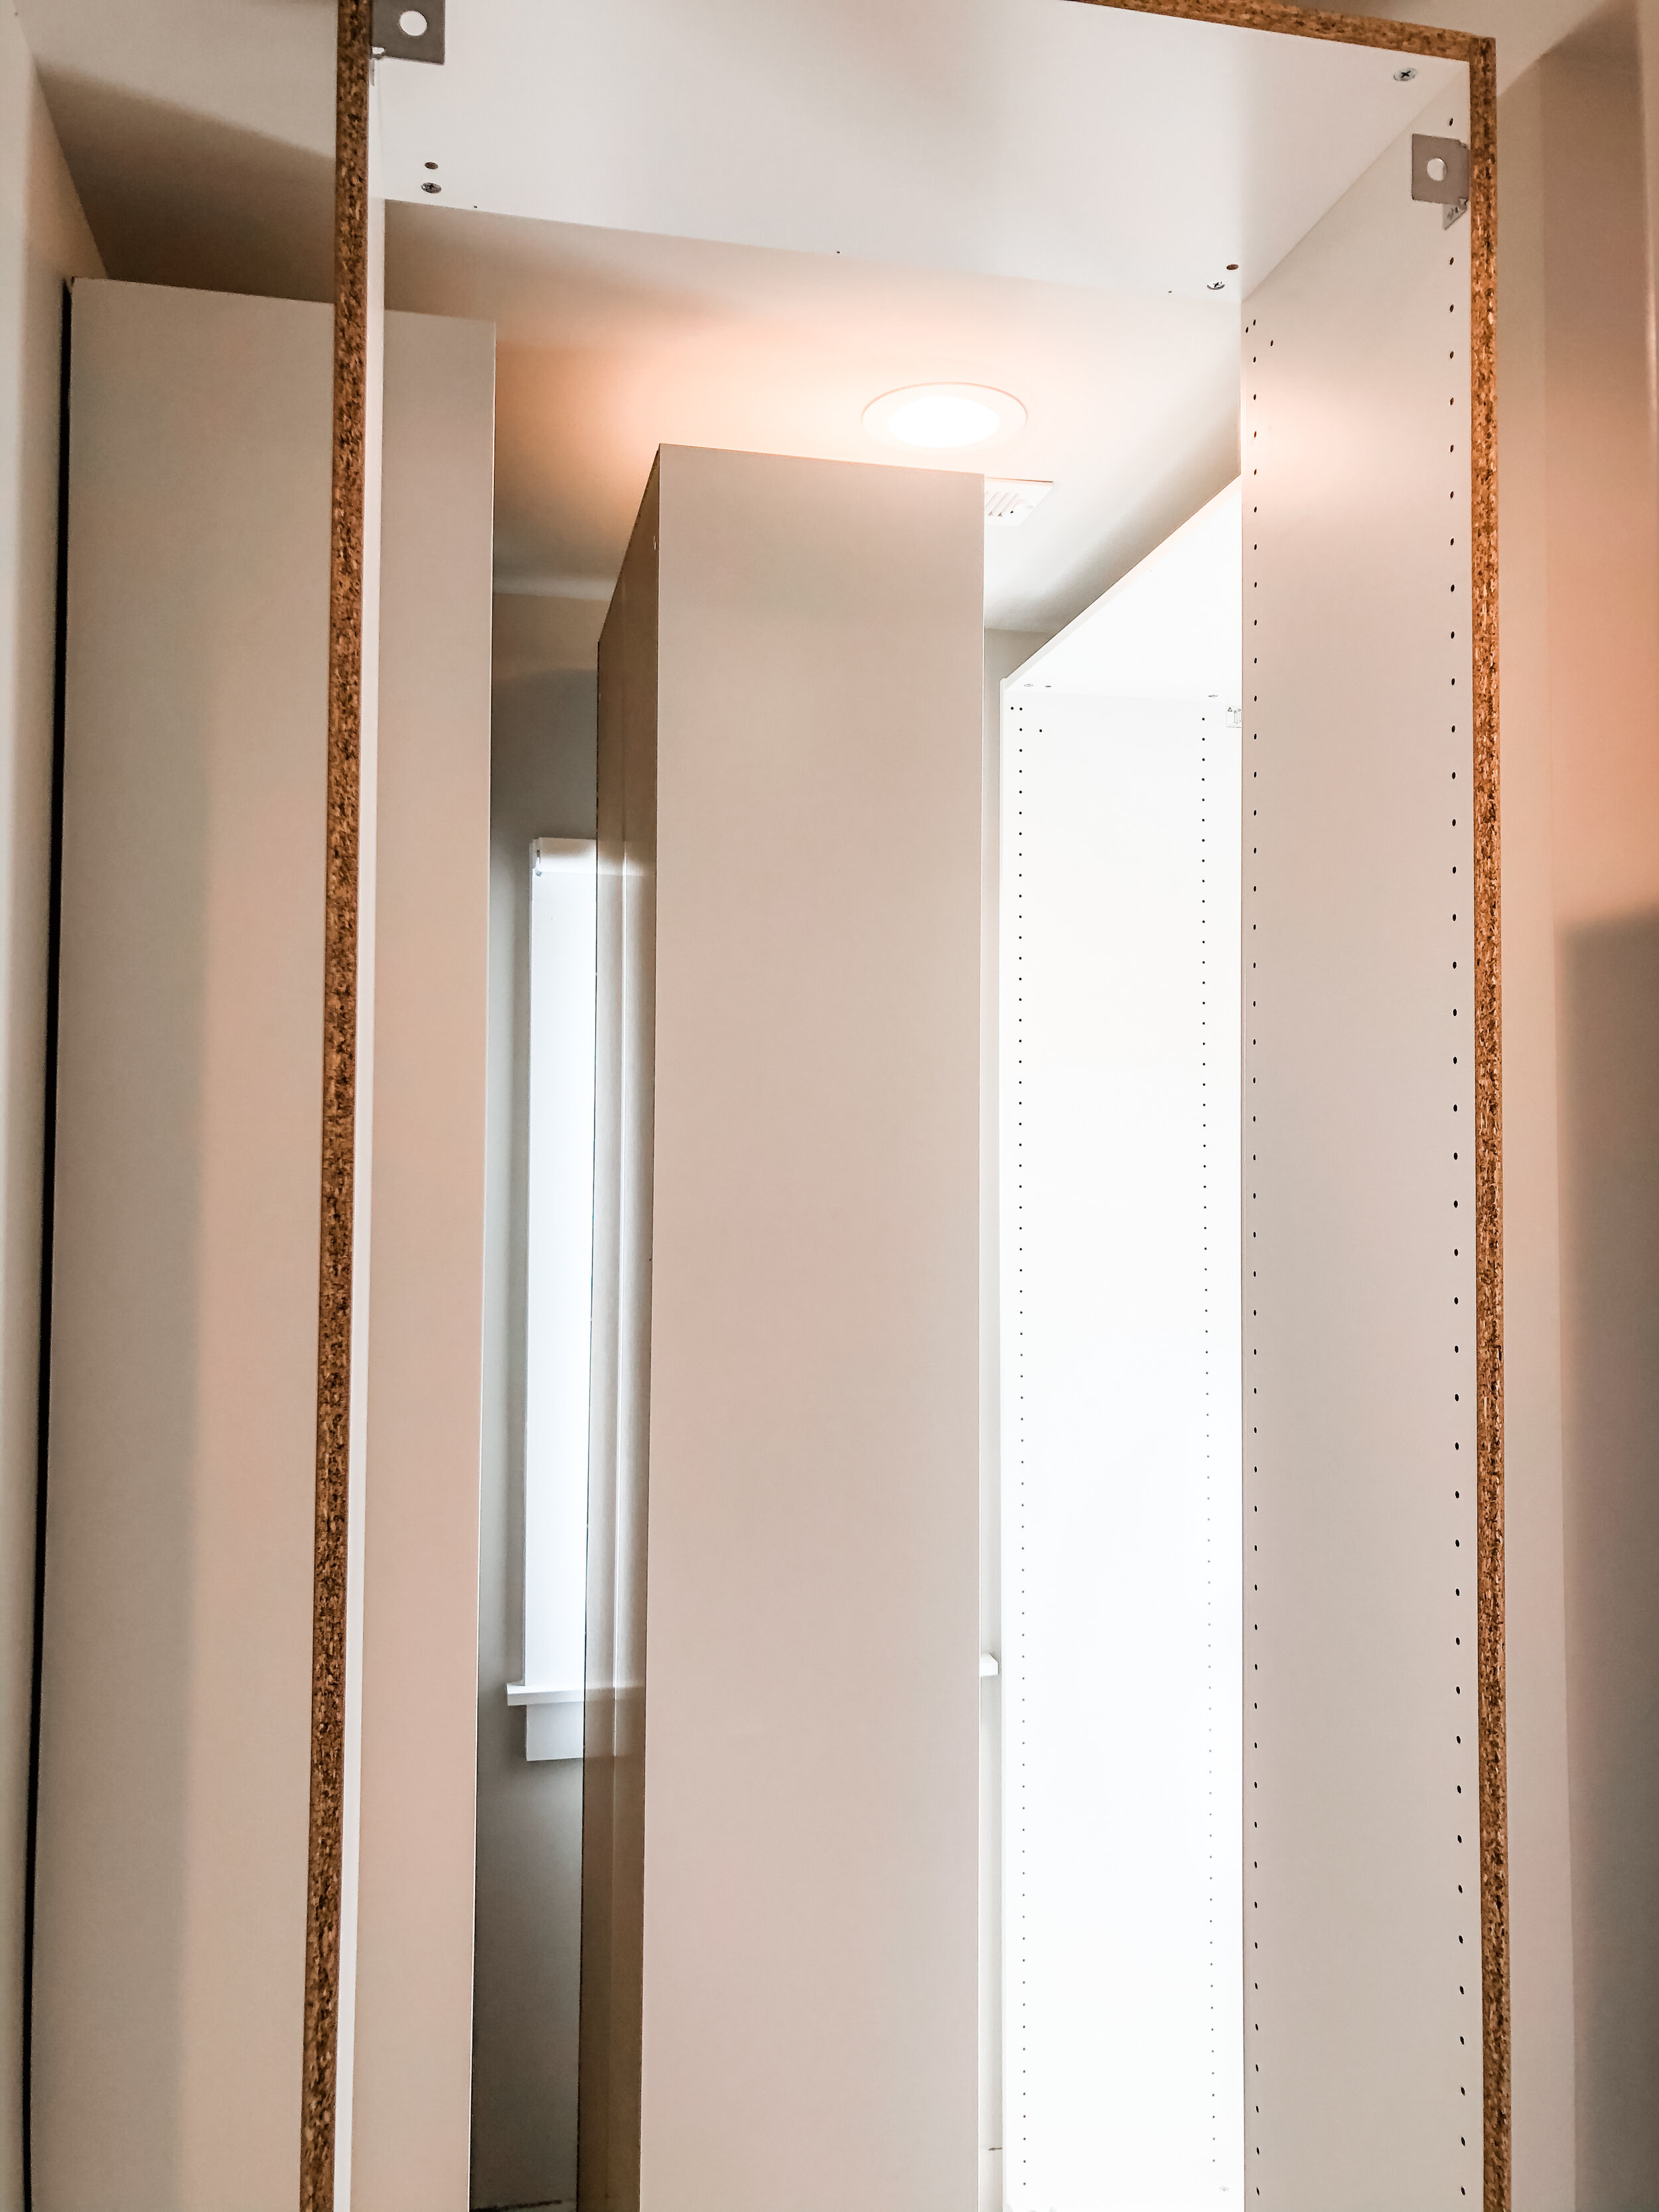
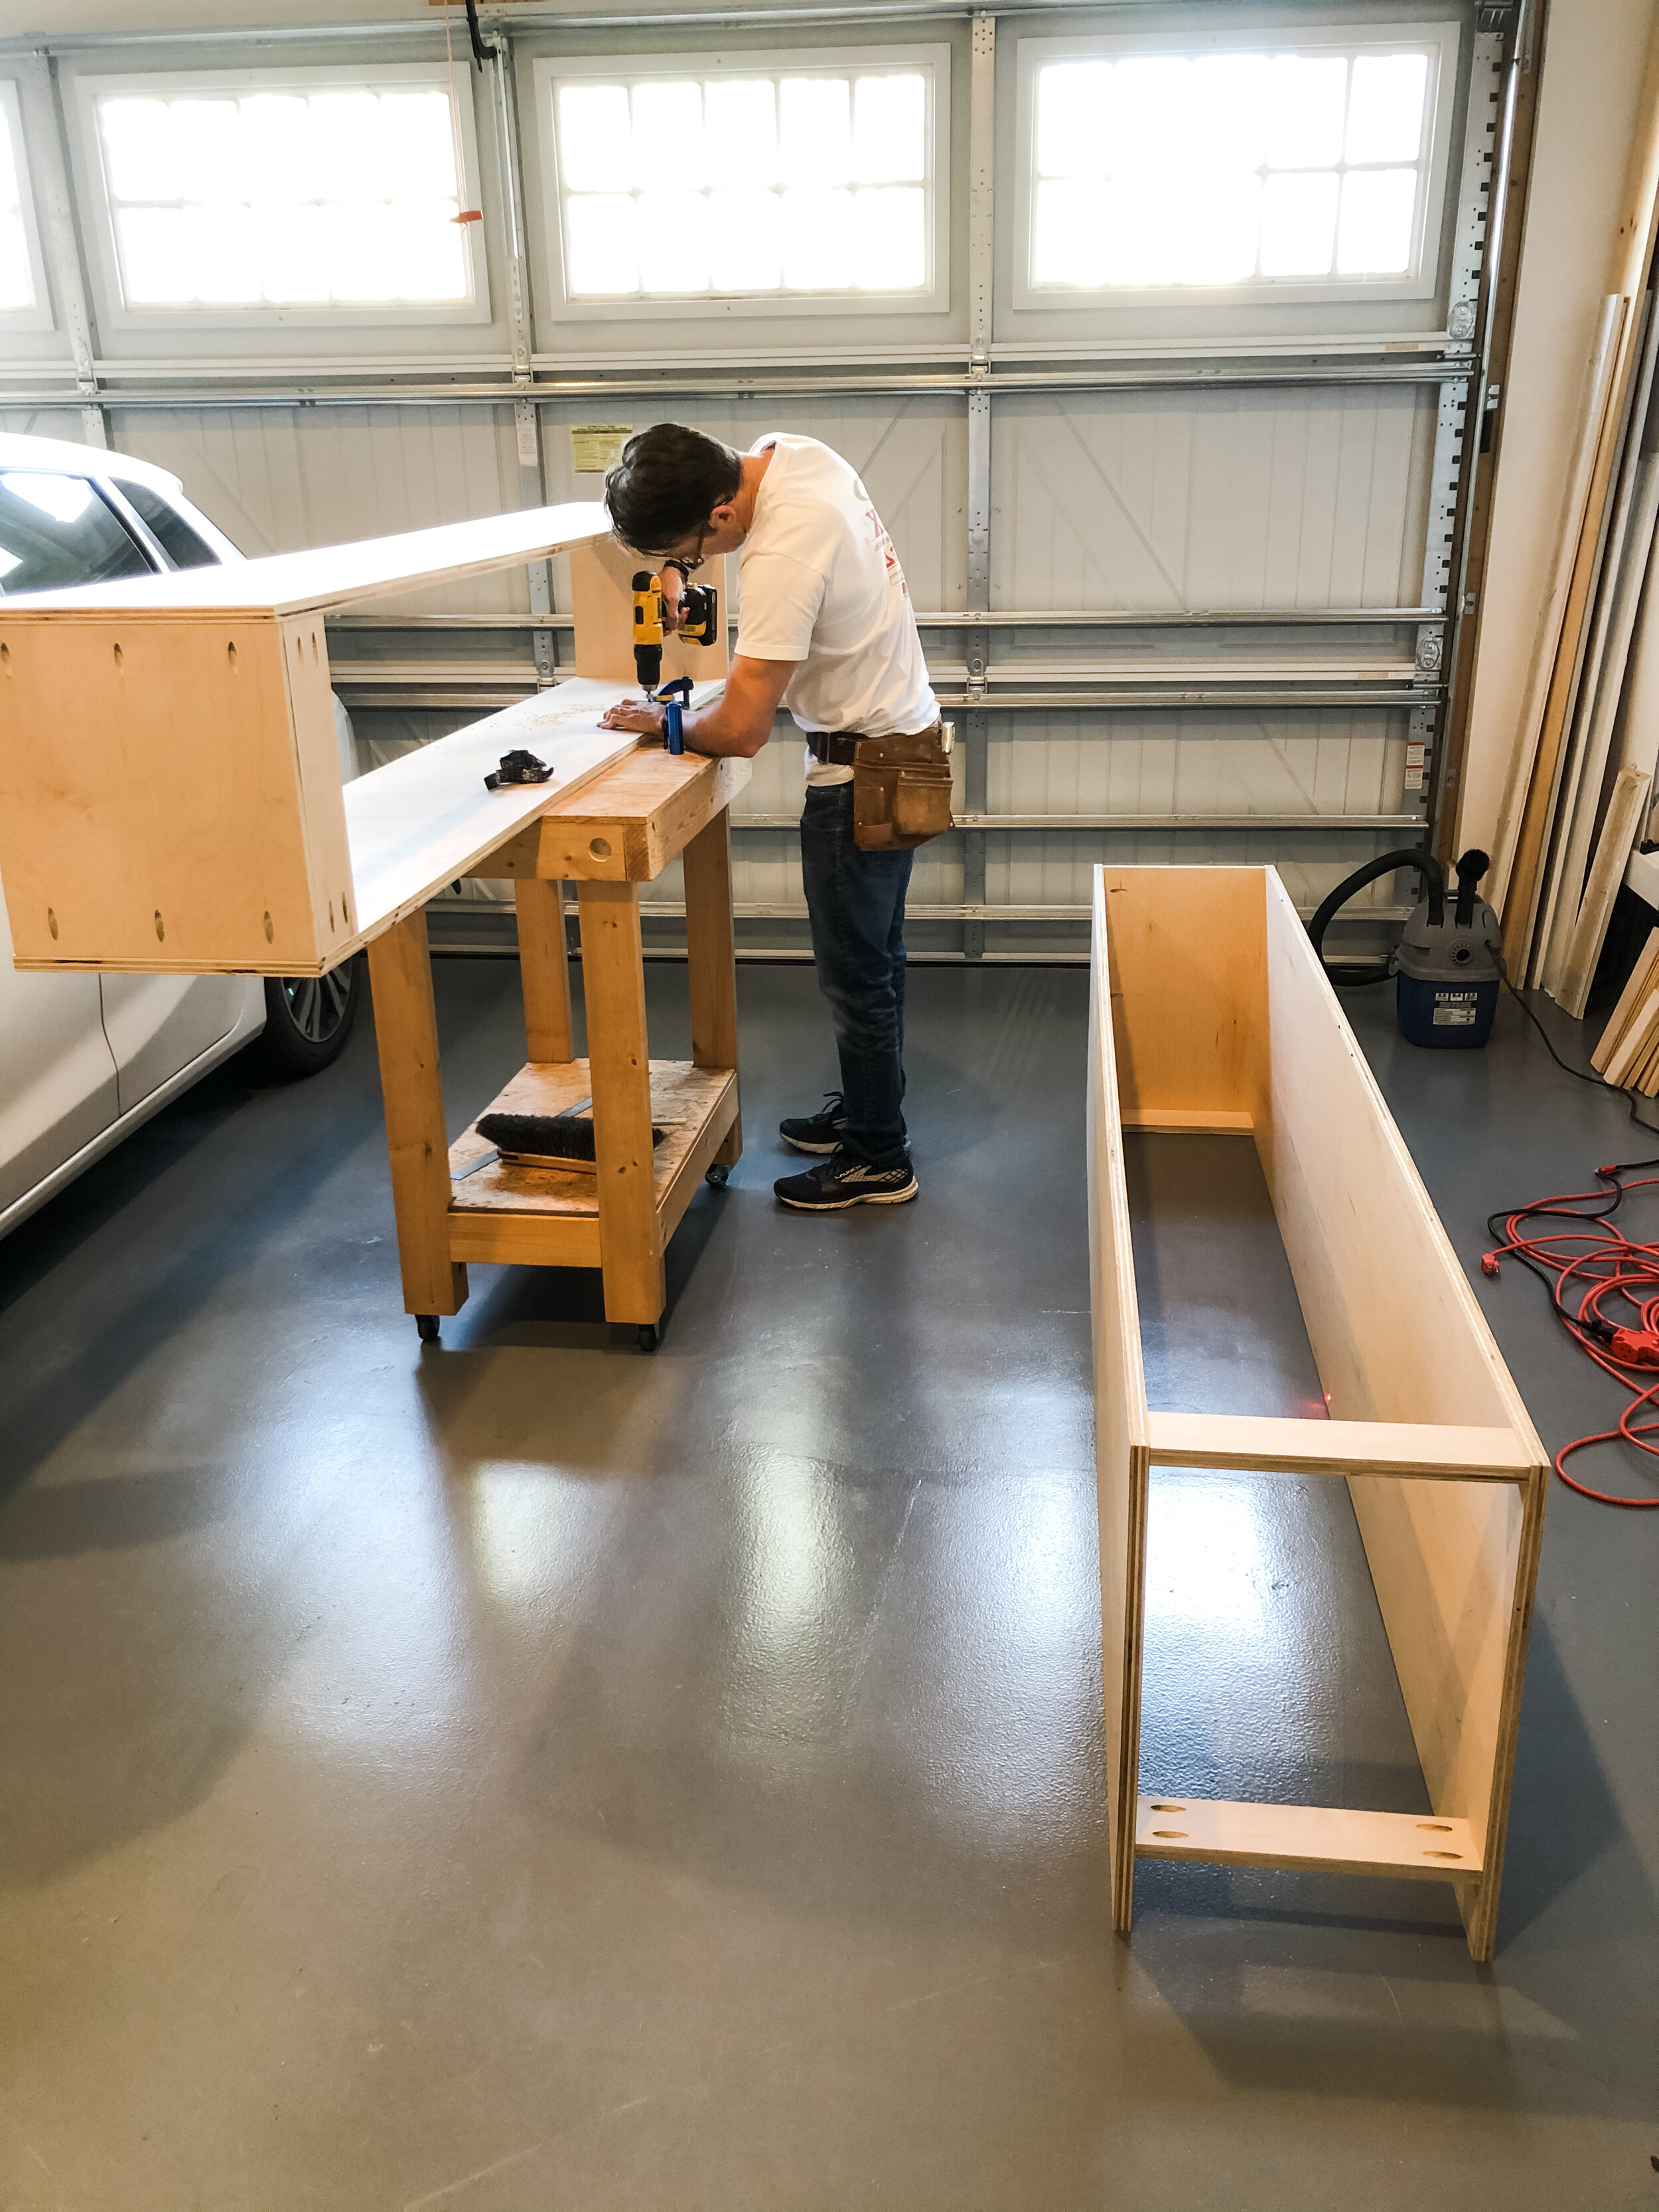
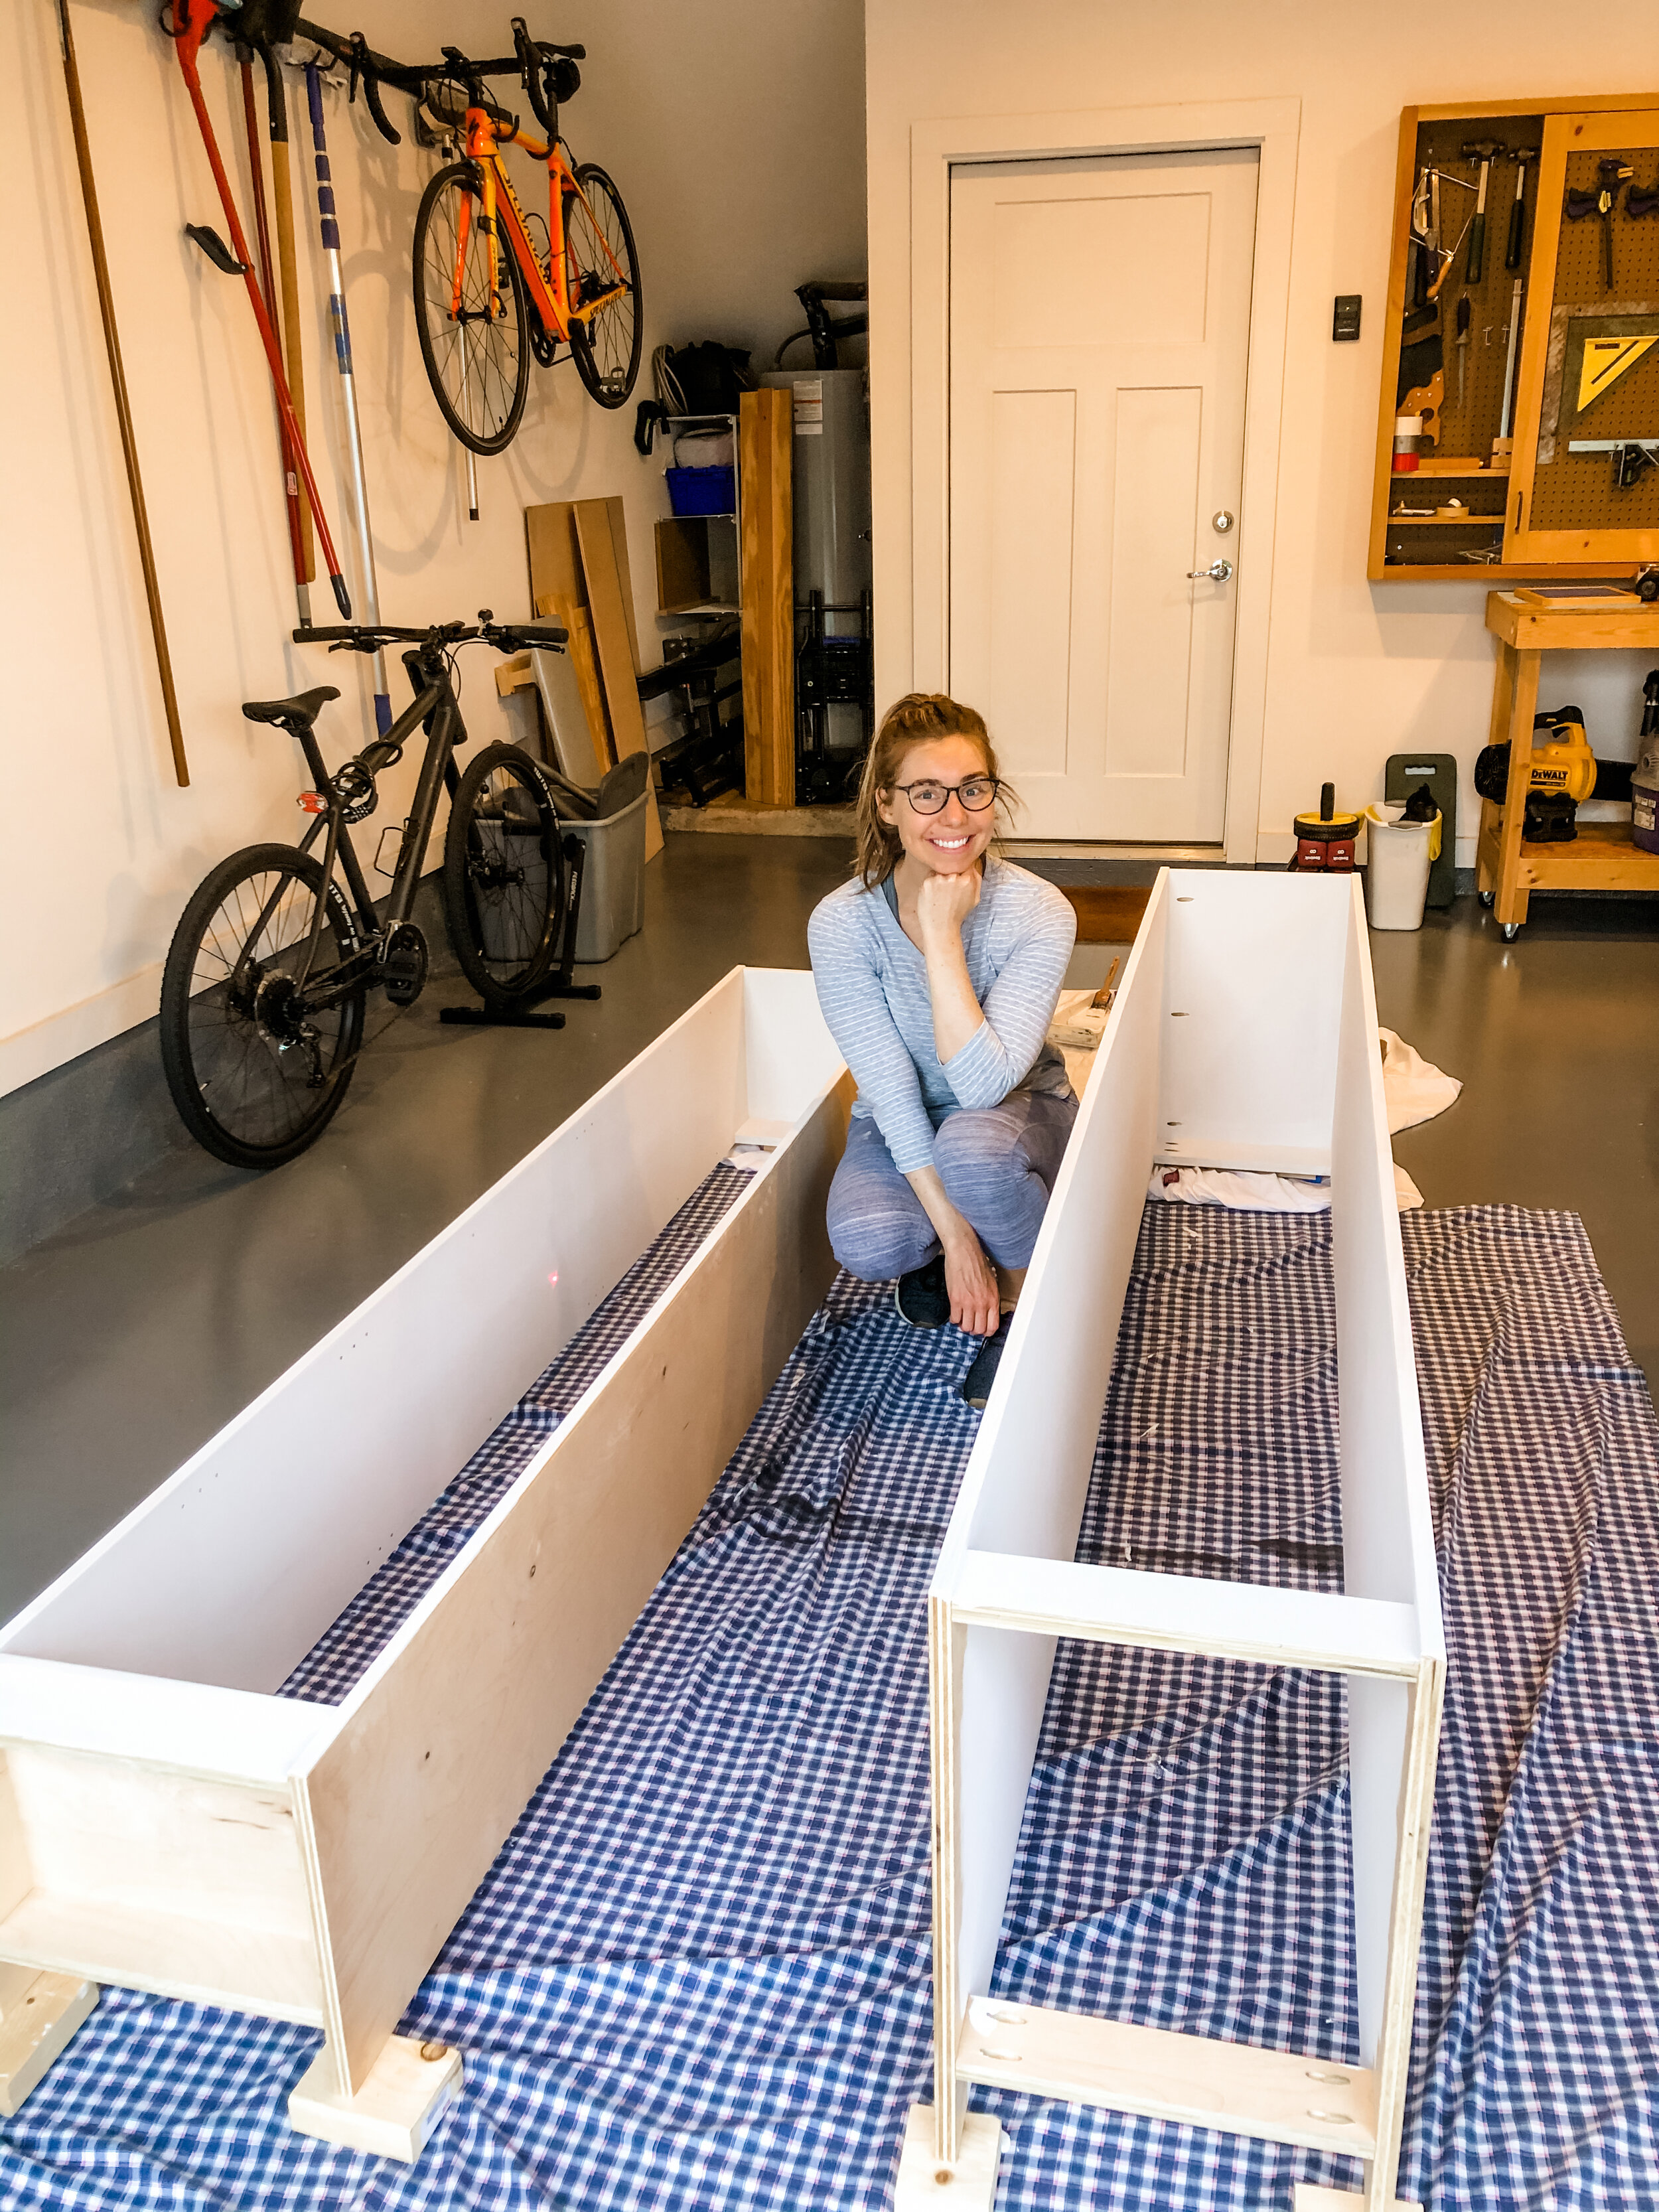
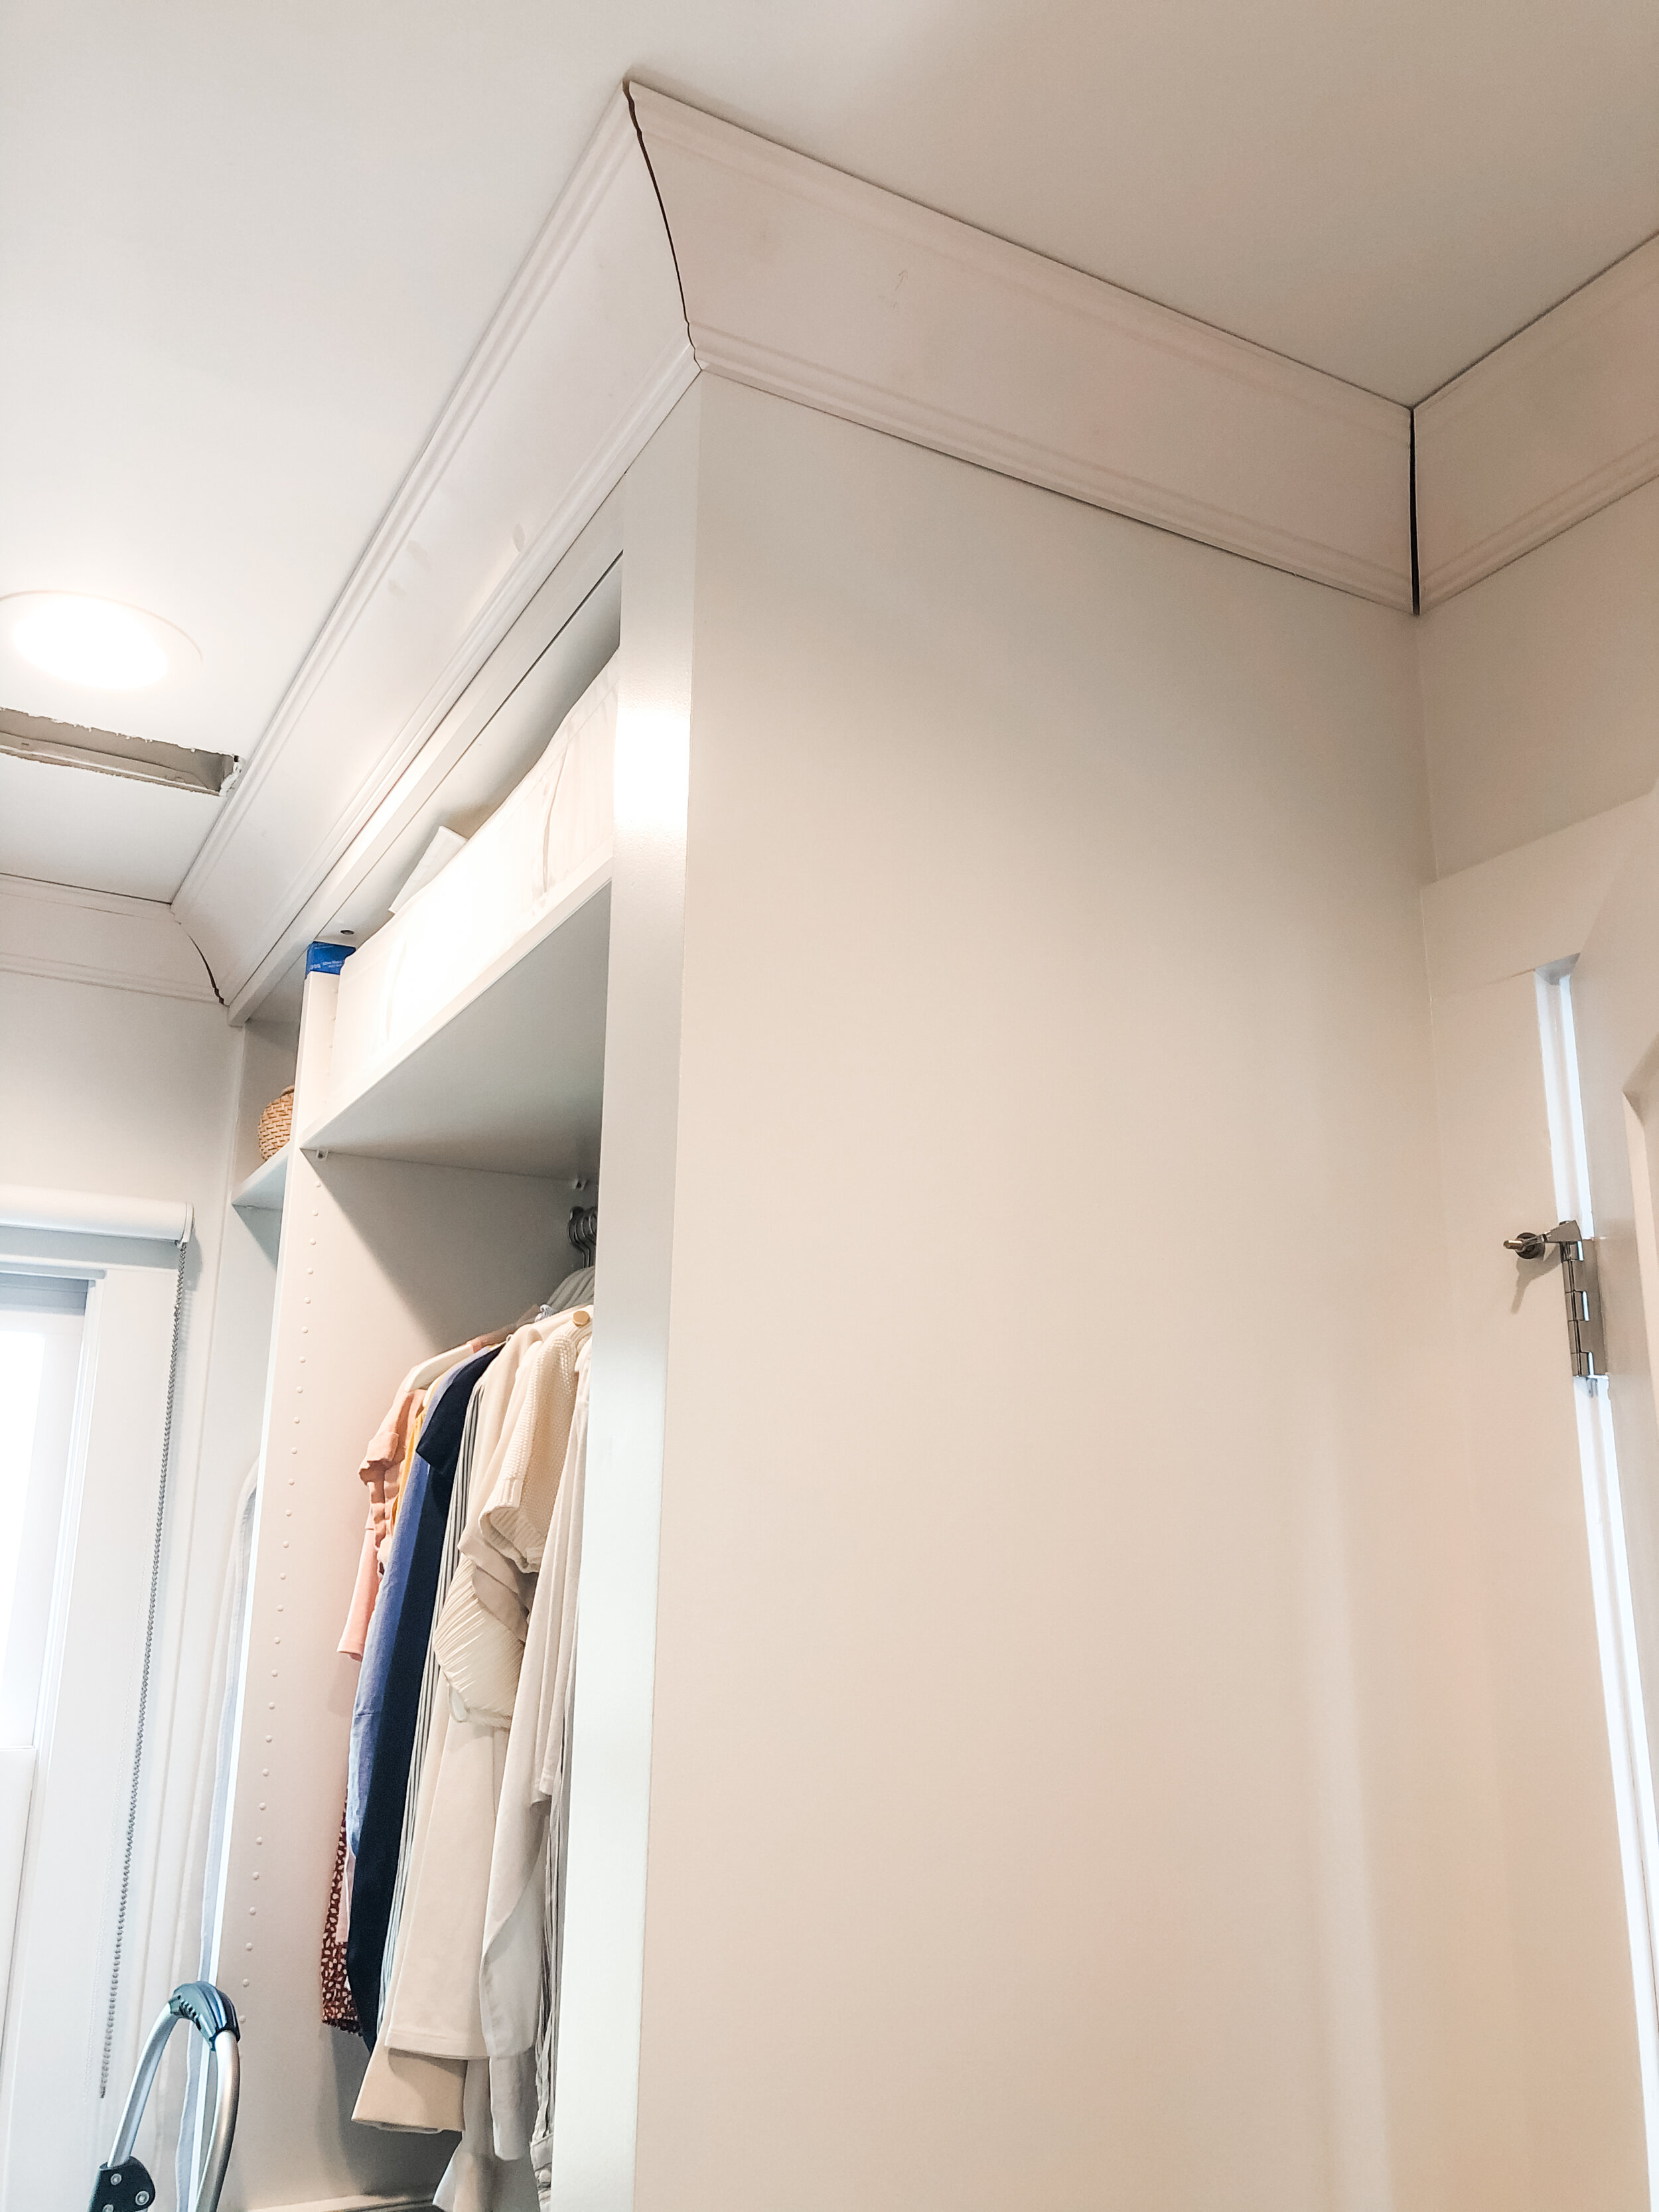
Our eight-foot ceilings meant we had to build the PAX frames in the closet. It was so tight and completely comical—we were basically playing a life-size game of Tetris! Thankfully we could at least put together the drawers outside of the closet while binge watching The Umbrella Academy.
The Step-by-step
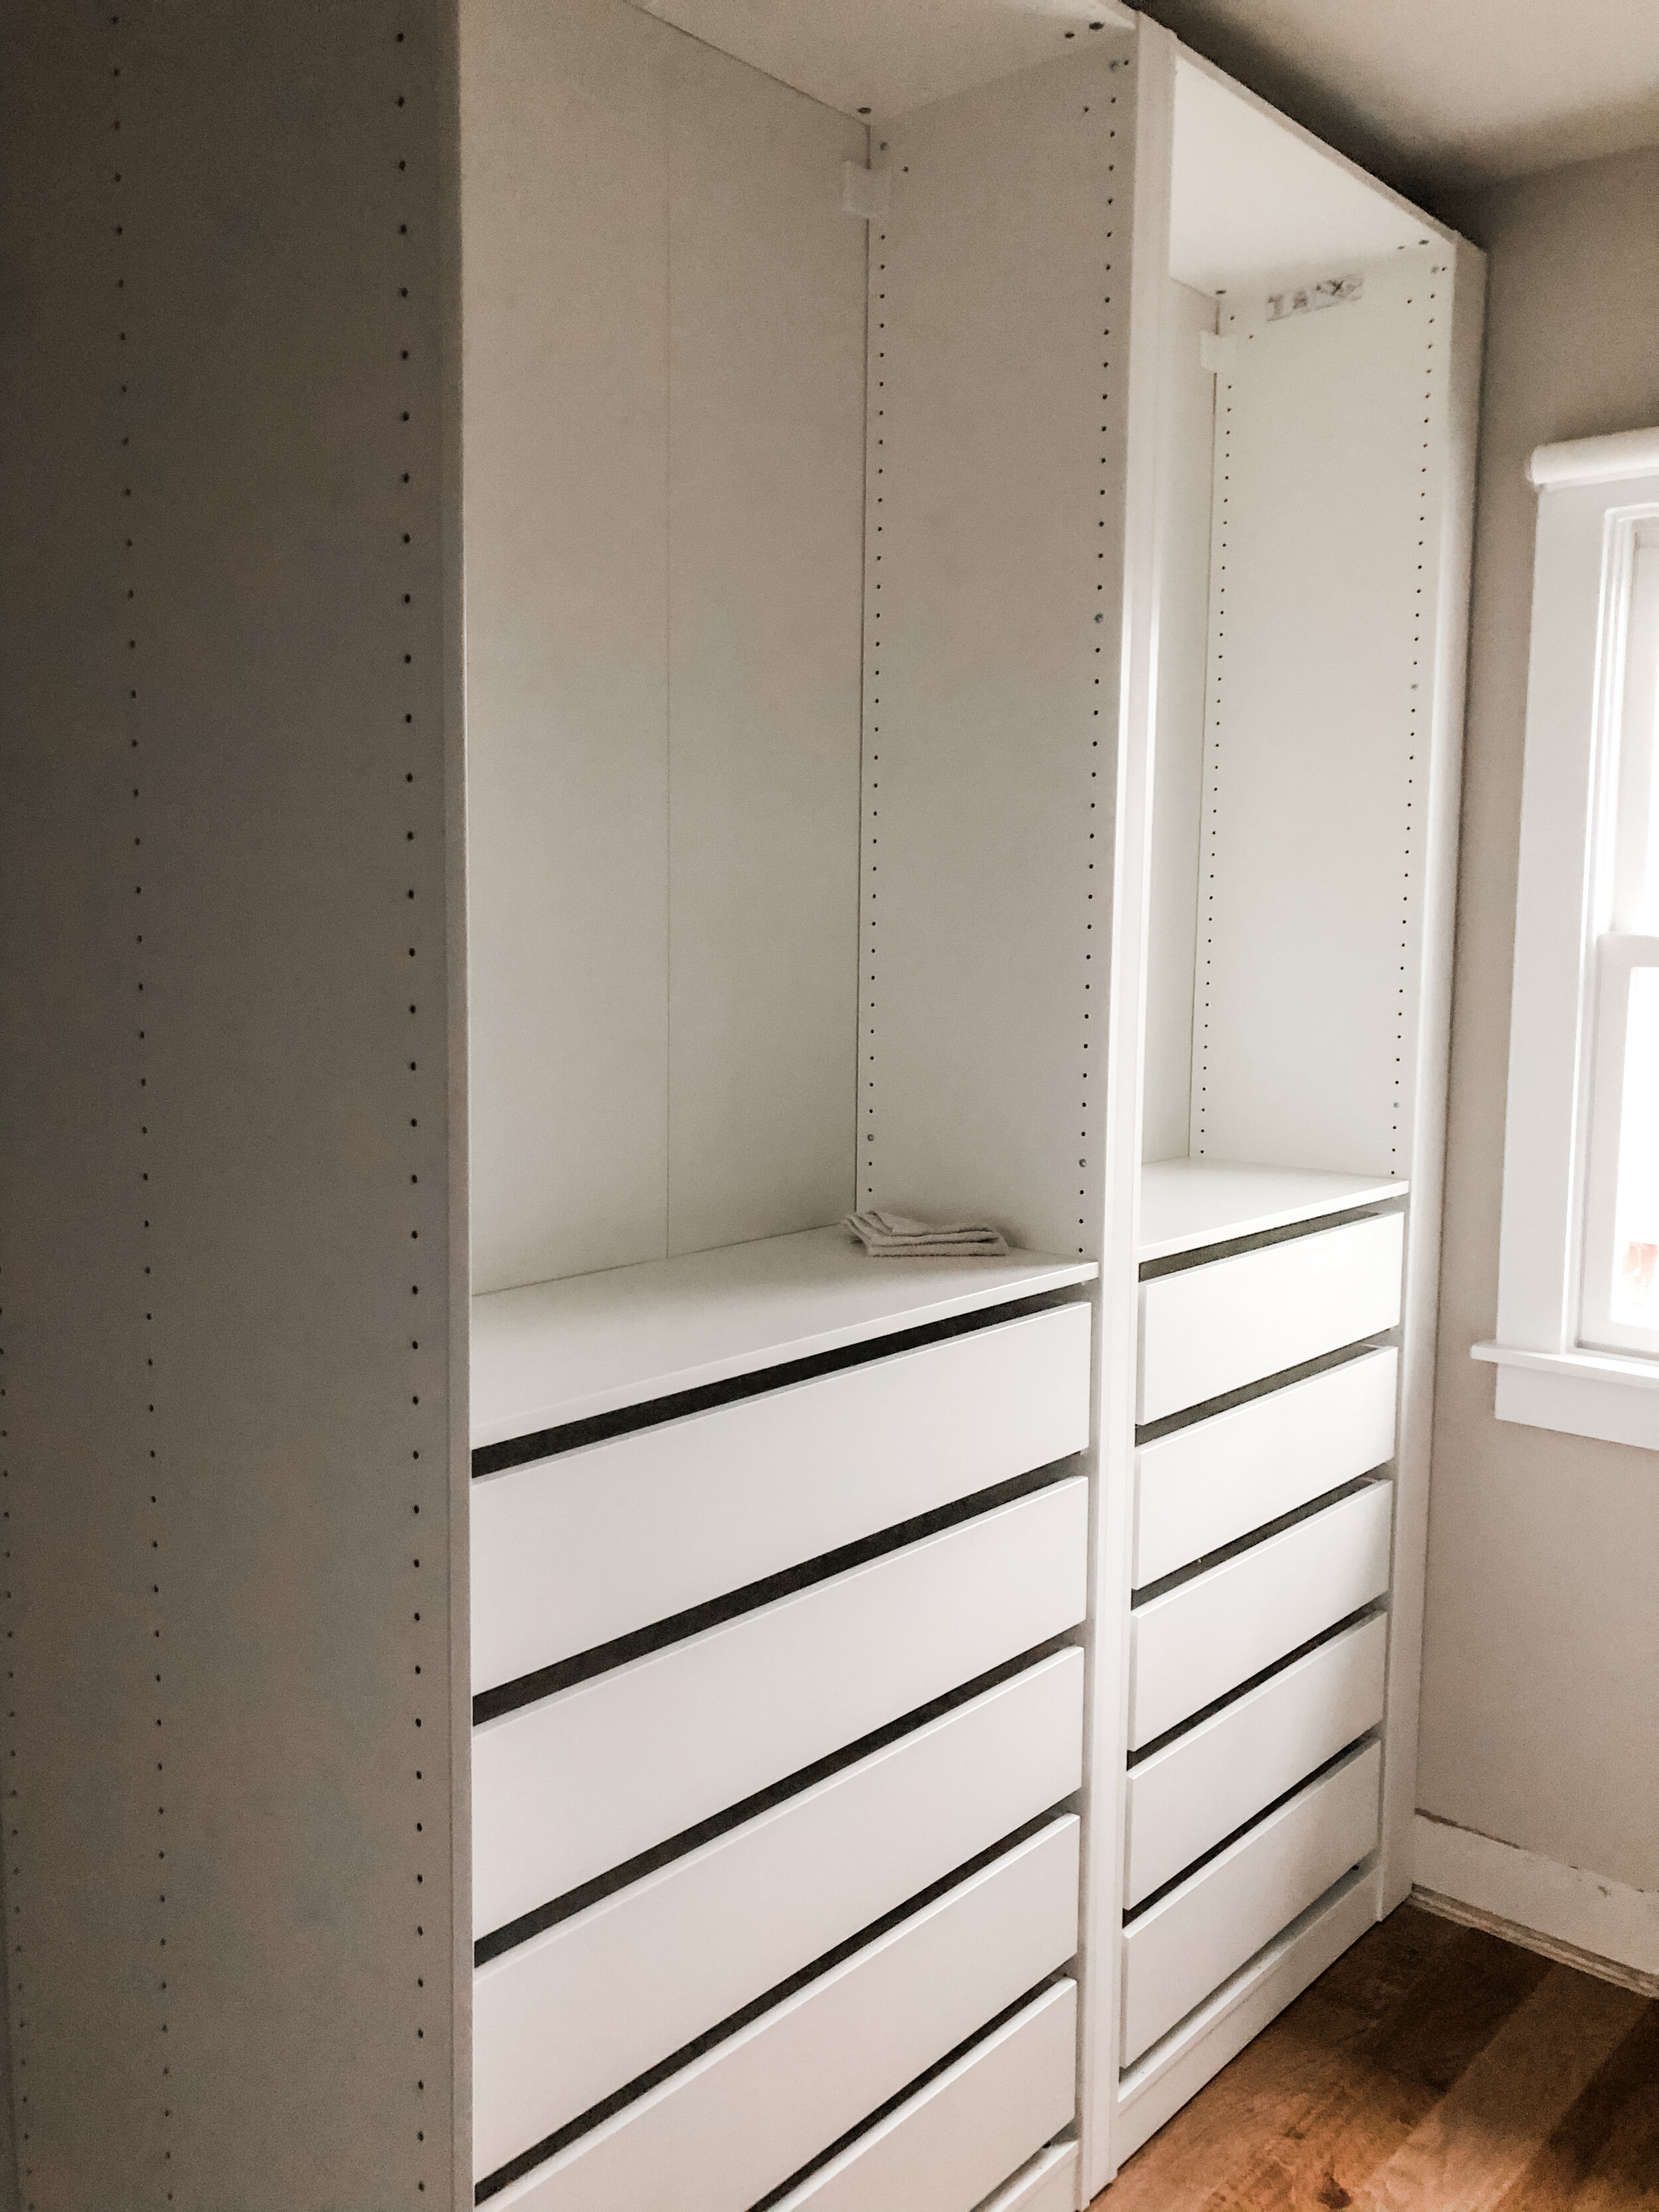
Andrew ripped out the white wire frames and patched the holes that could be seen through the custom frames he built. (Andrew built custom frames and shelves for two 15-inch wide nooks. IKEA's smallest unit is just shy of 20 inches wide. He looked into cutting down an IKEA frame to fit the space but ultimately decided to build the units himself.)
I took an IKEA shelf to Benjamin Moore for a color match so the custom built items would blend in seamlessly.
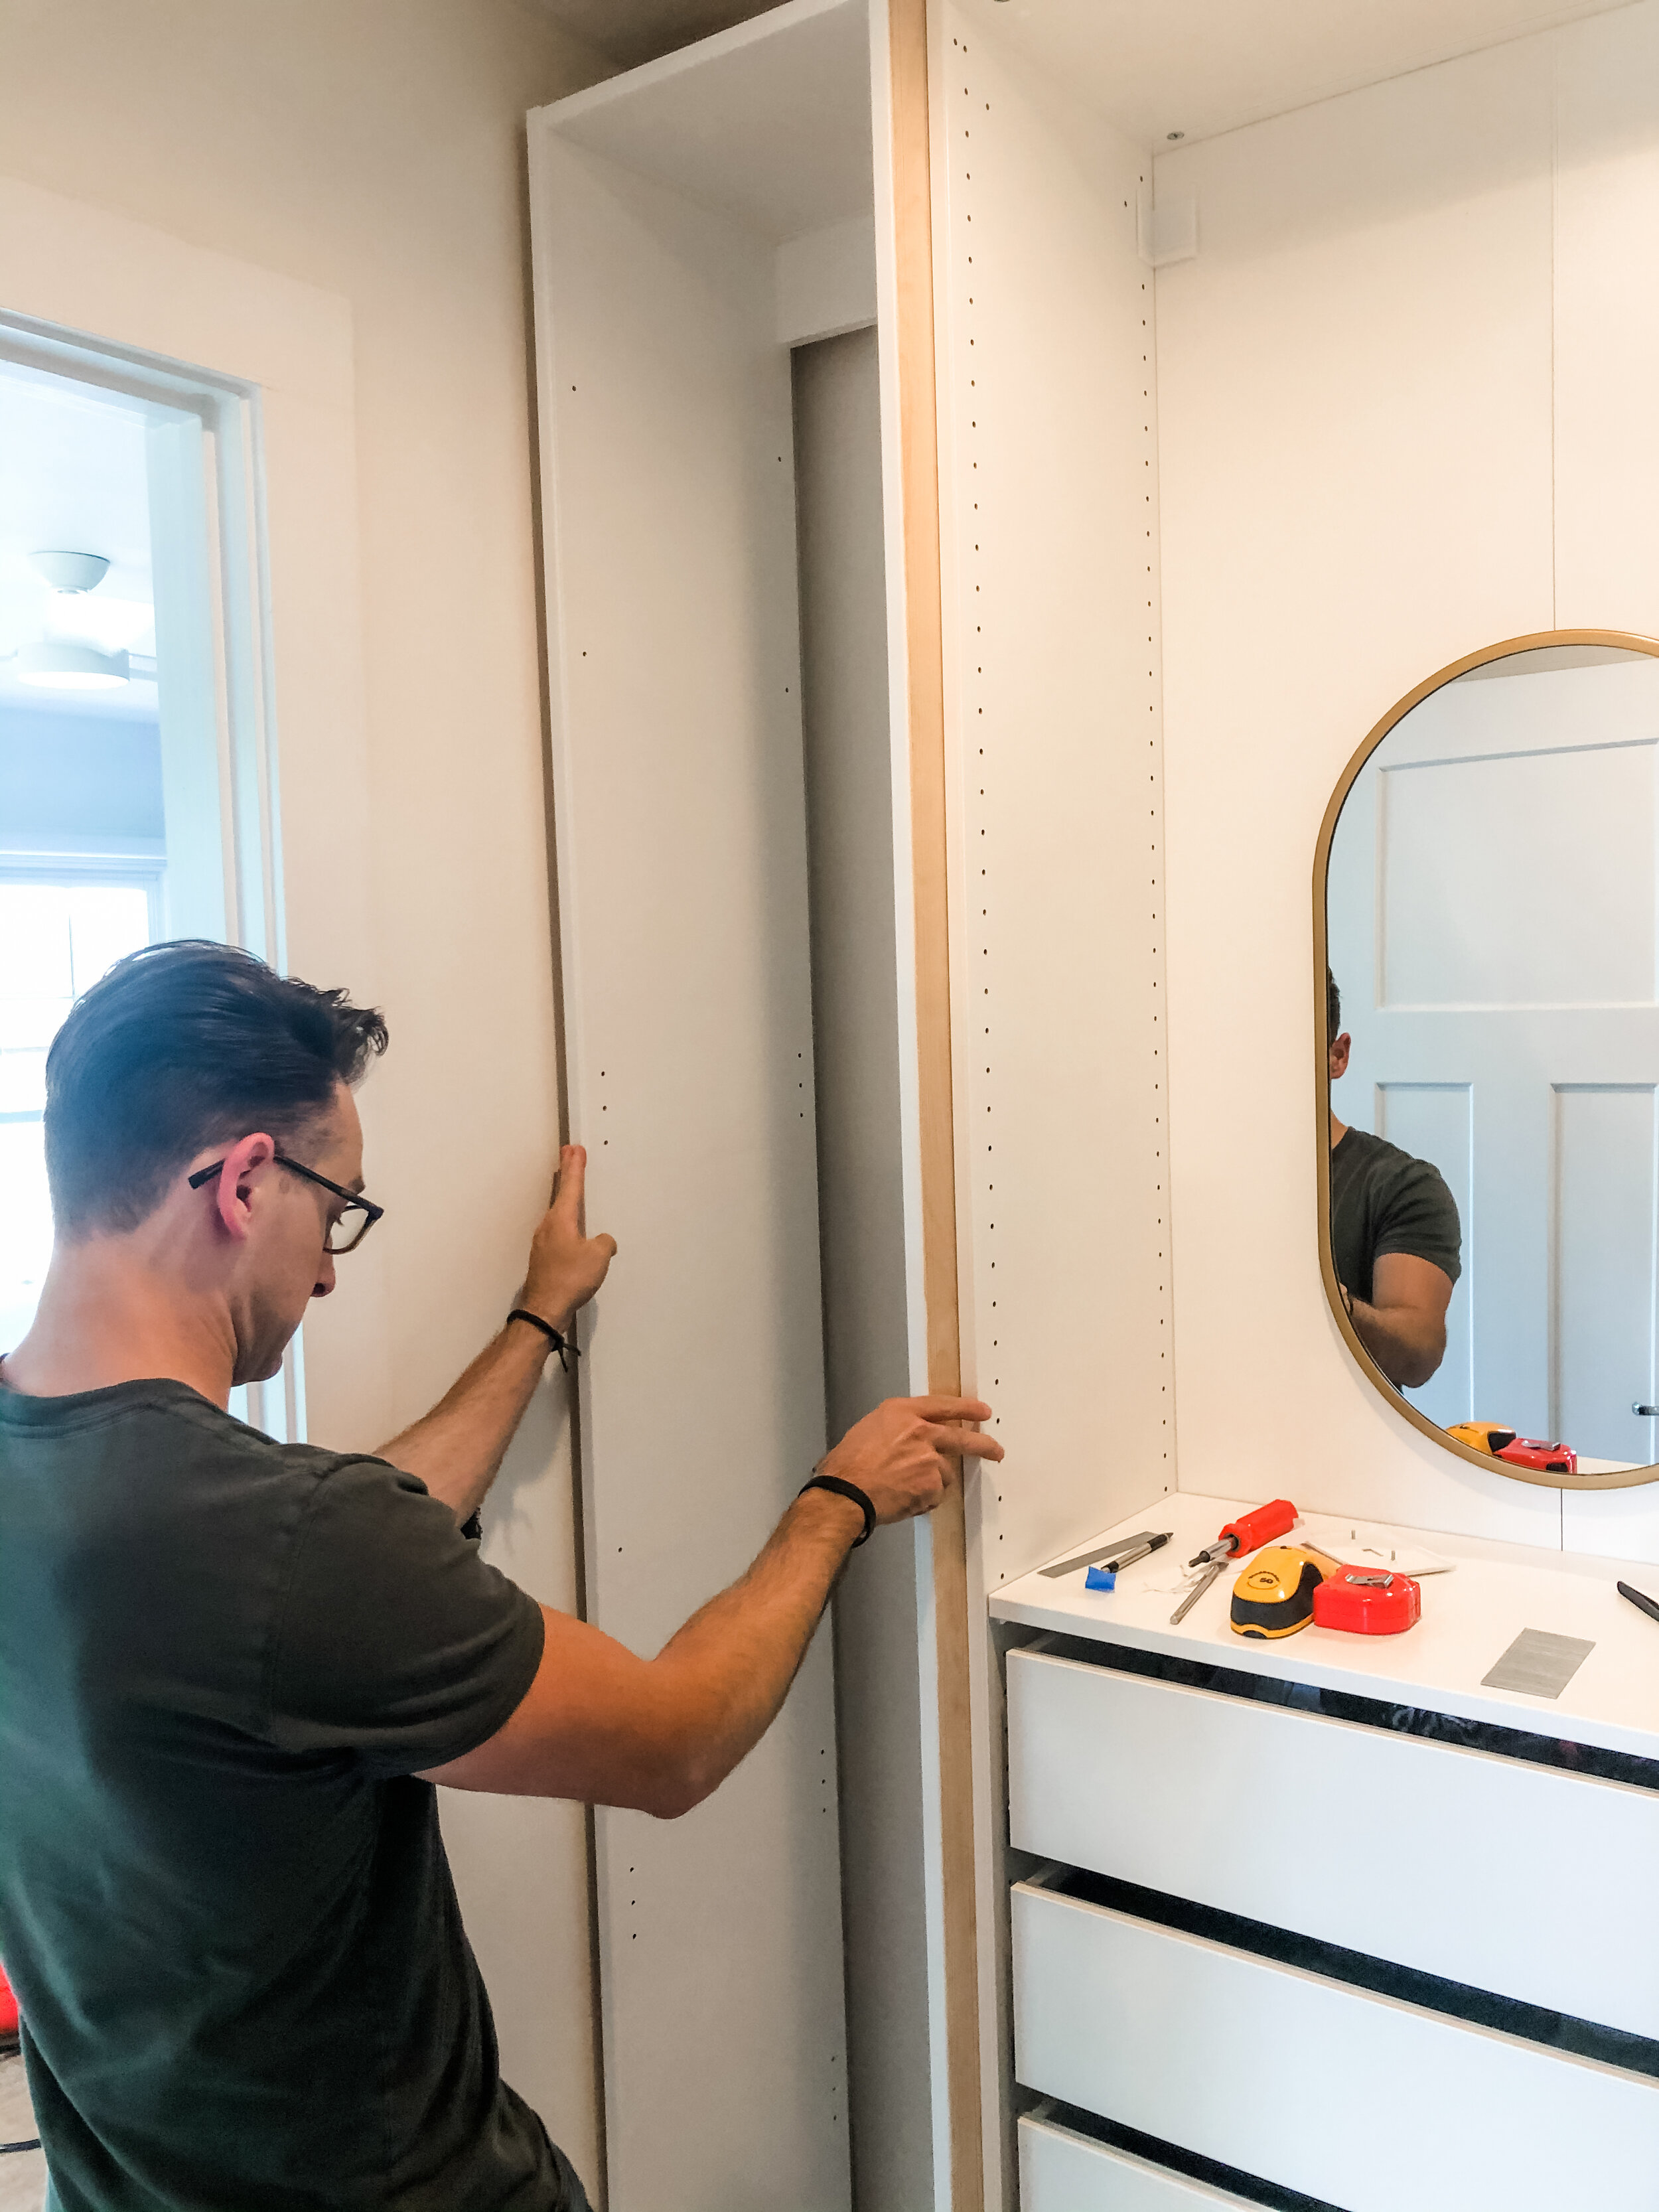
Andrew installed spacers between the units for the perfect fit along our wall (two 1x2 spacers and one 1x4 spacer).
He built the custom nook frames in one weekend and cut the shelves the next weekend.
Andrew glued screen trim to the frame and shelf fronts to mimic Ikea’s pieces.
He reinstalled the baseboard under the window between the IKEA frame and the custom frame (which is now home to my dresses).
I primed and painted one coat on the custom frames before installation and put the last coat on in the closet after caulking and filling the nail holes.
Since our crown was not tall enough to cover the top of the frames, Andrew installed 1x4's along the top.
Andrew added crown molding and I filled in the nail holes, sanded, caulked and painted.
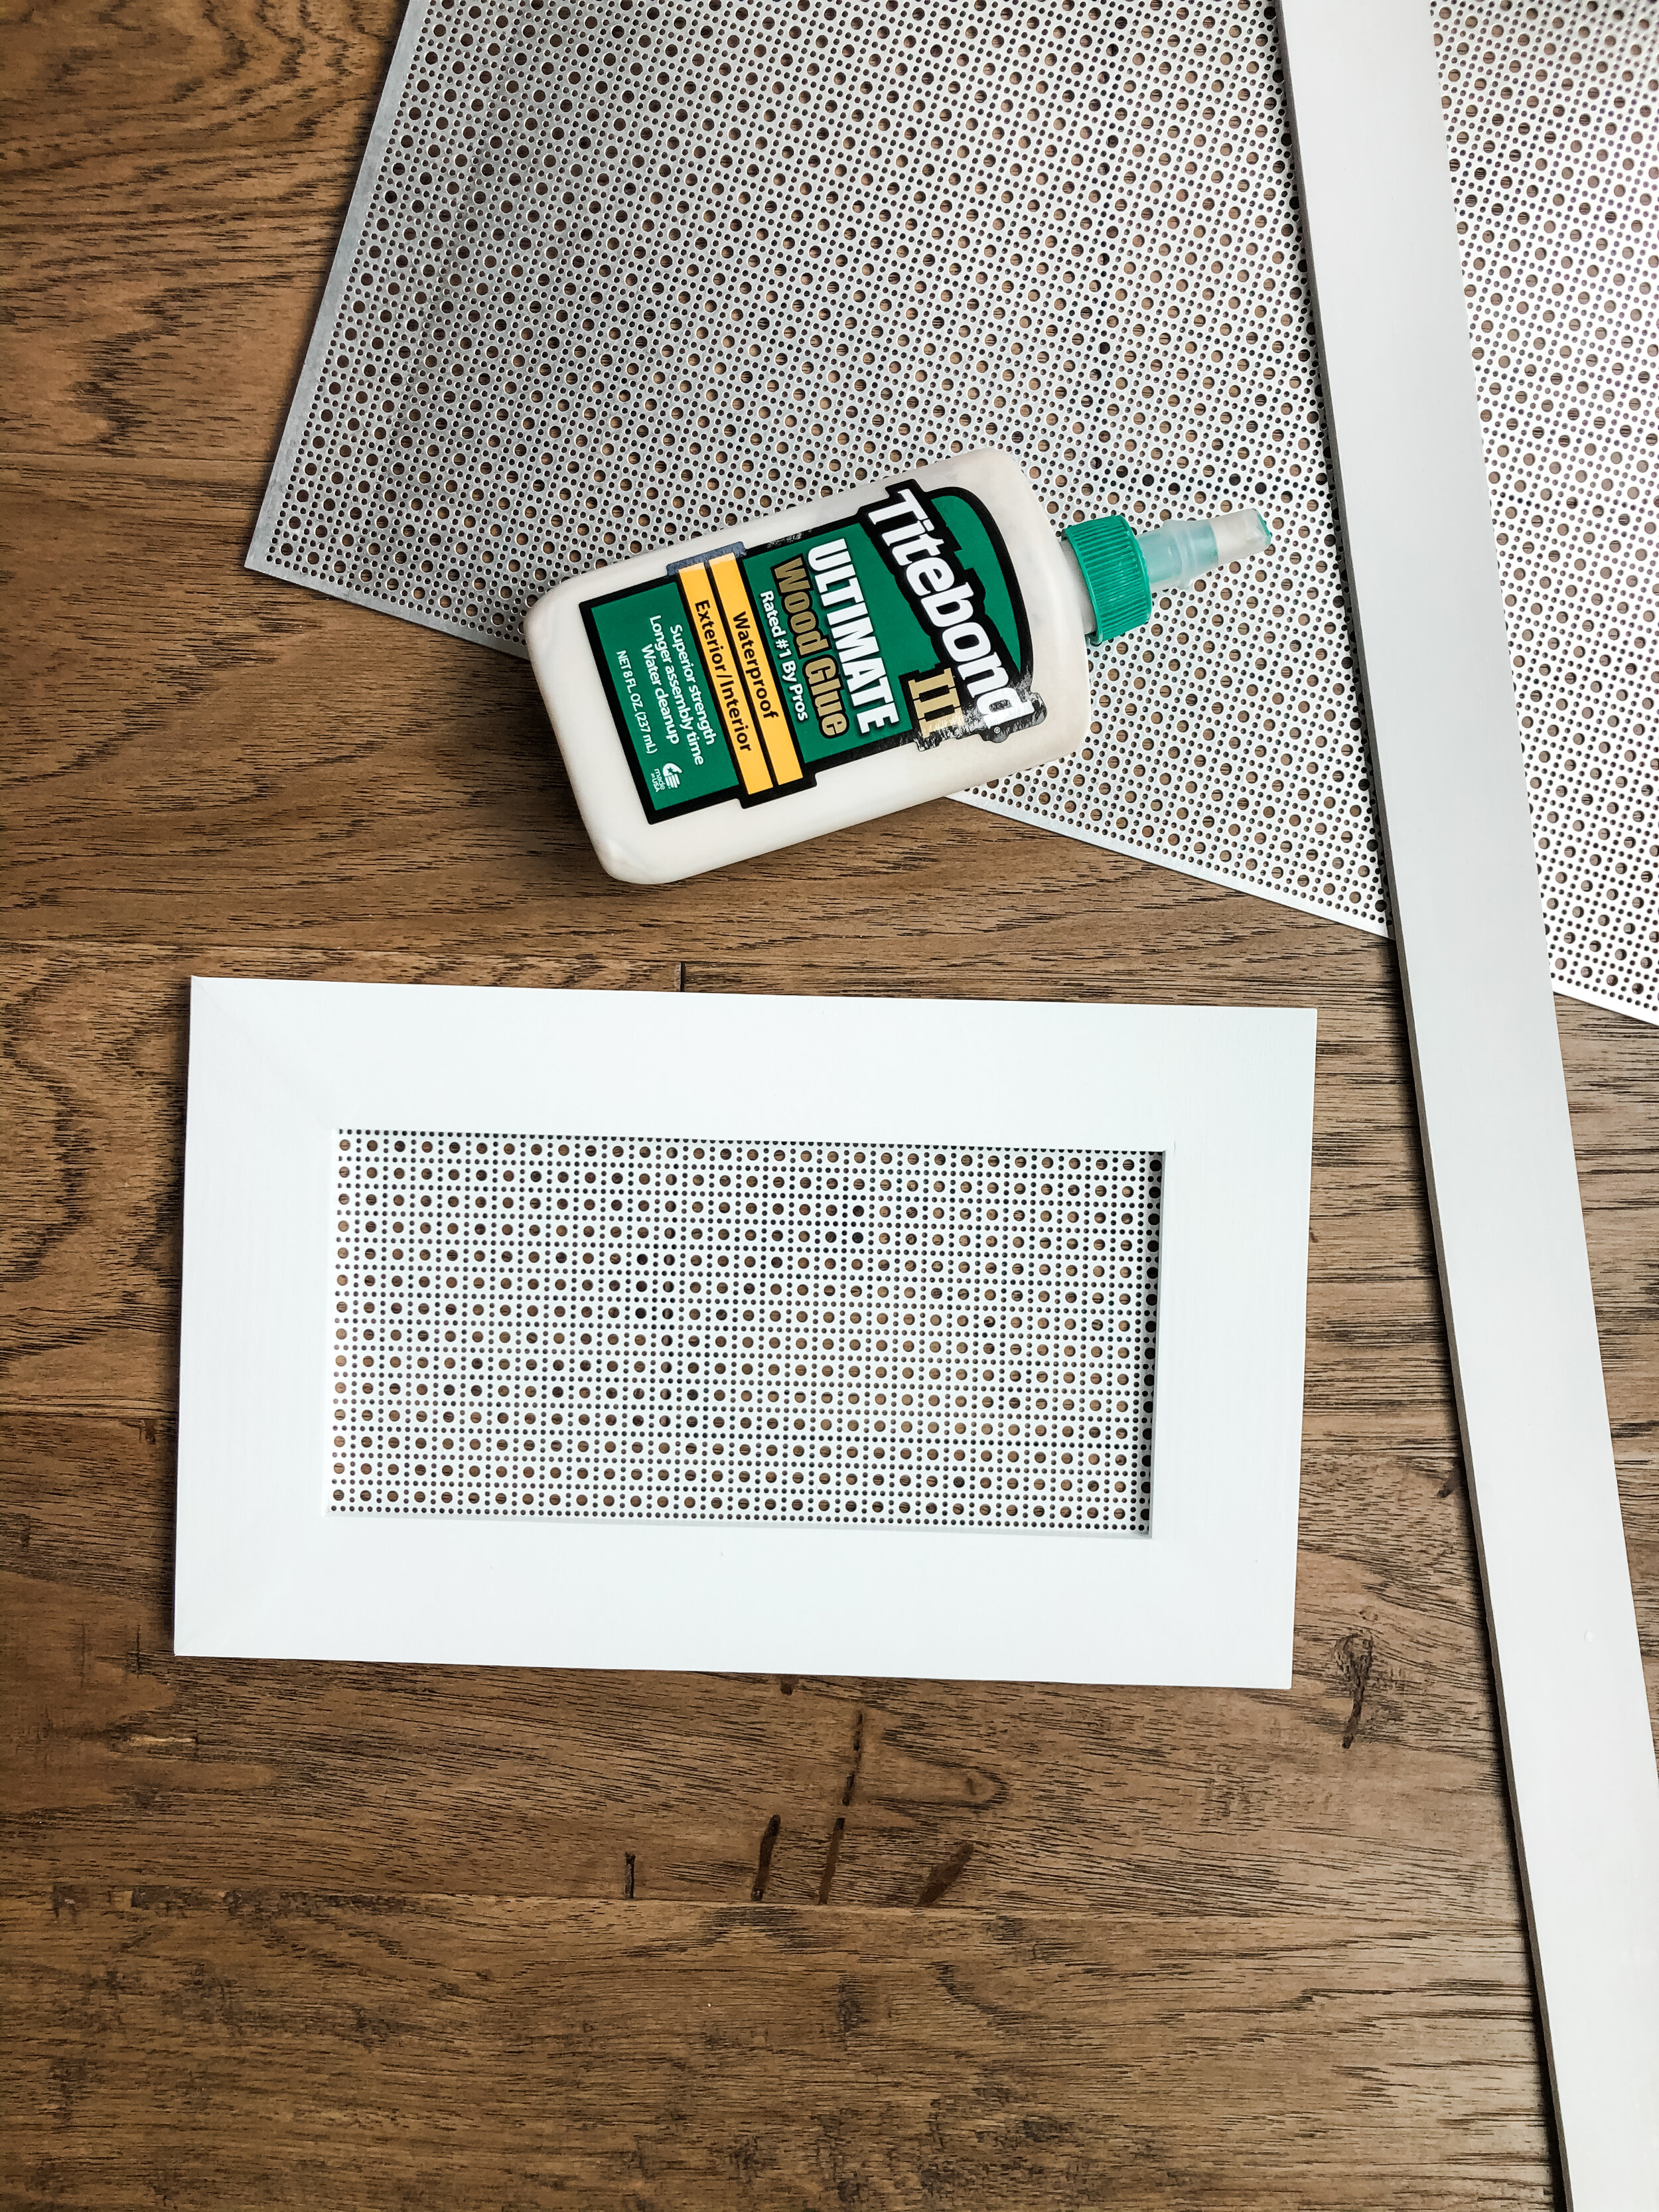
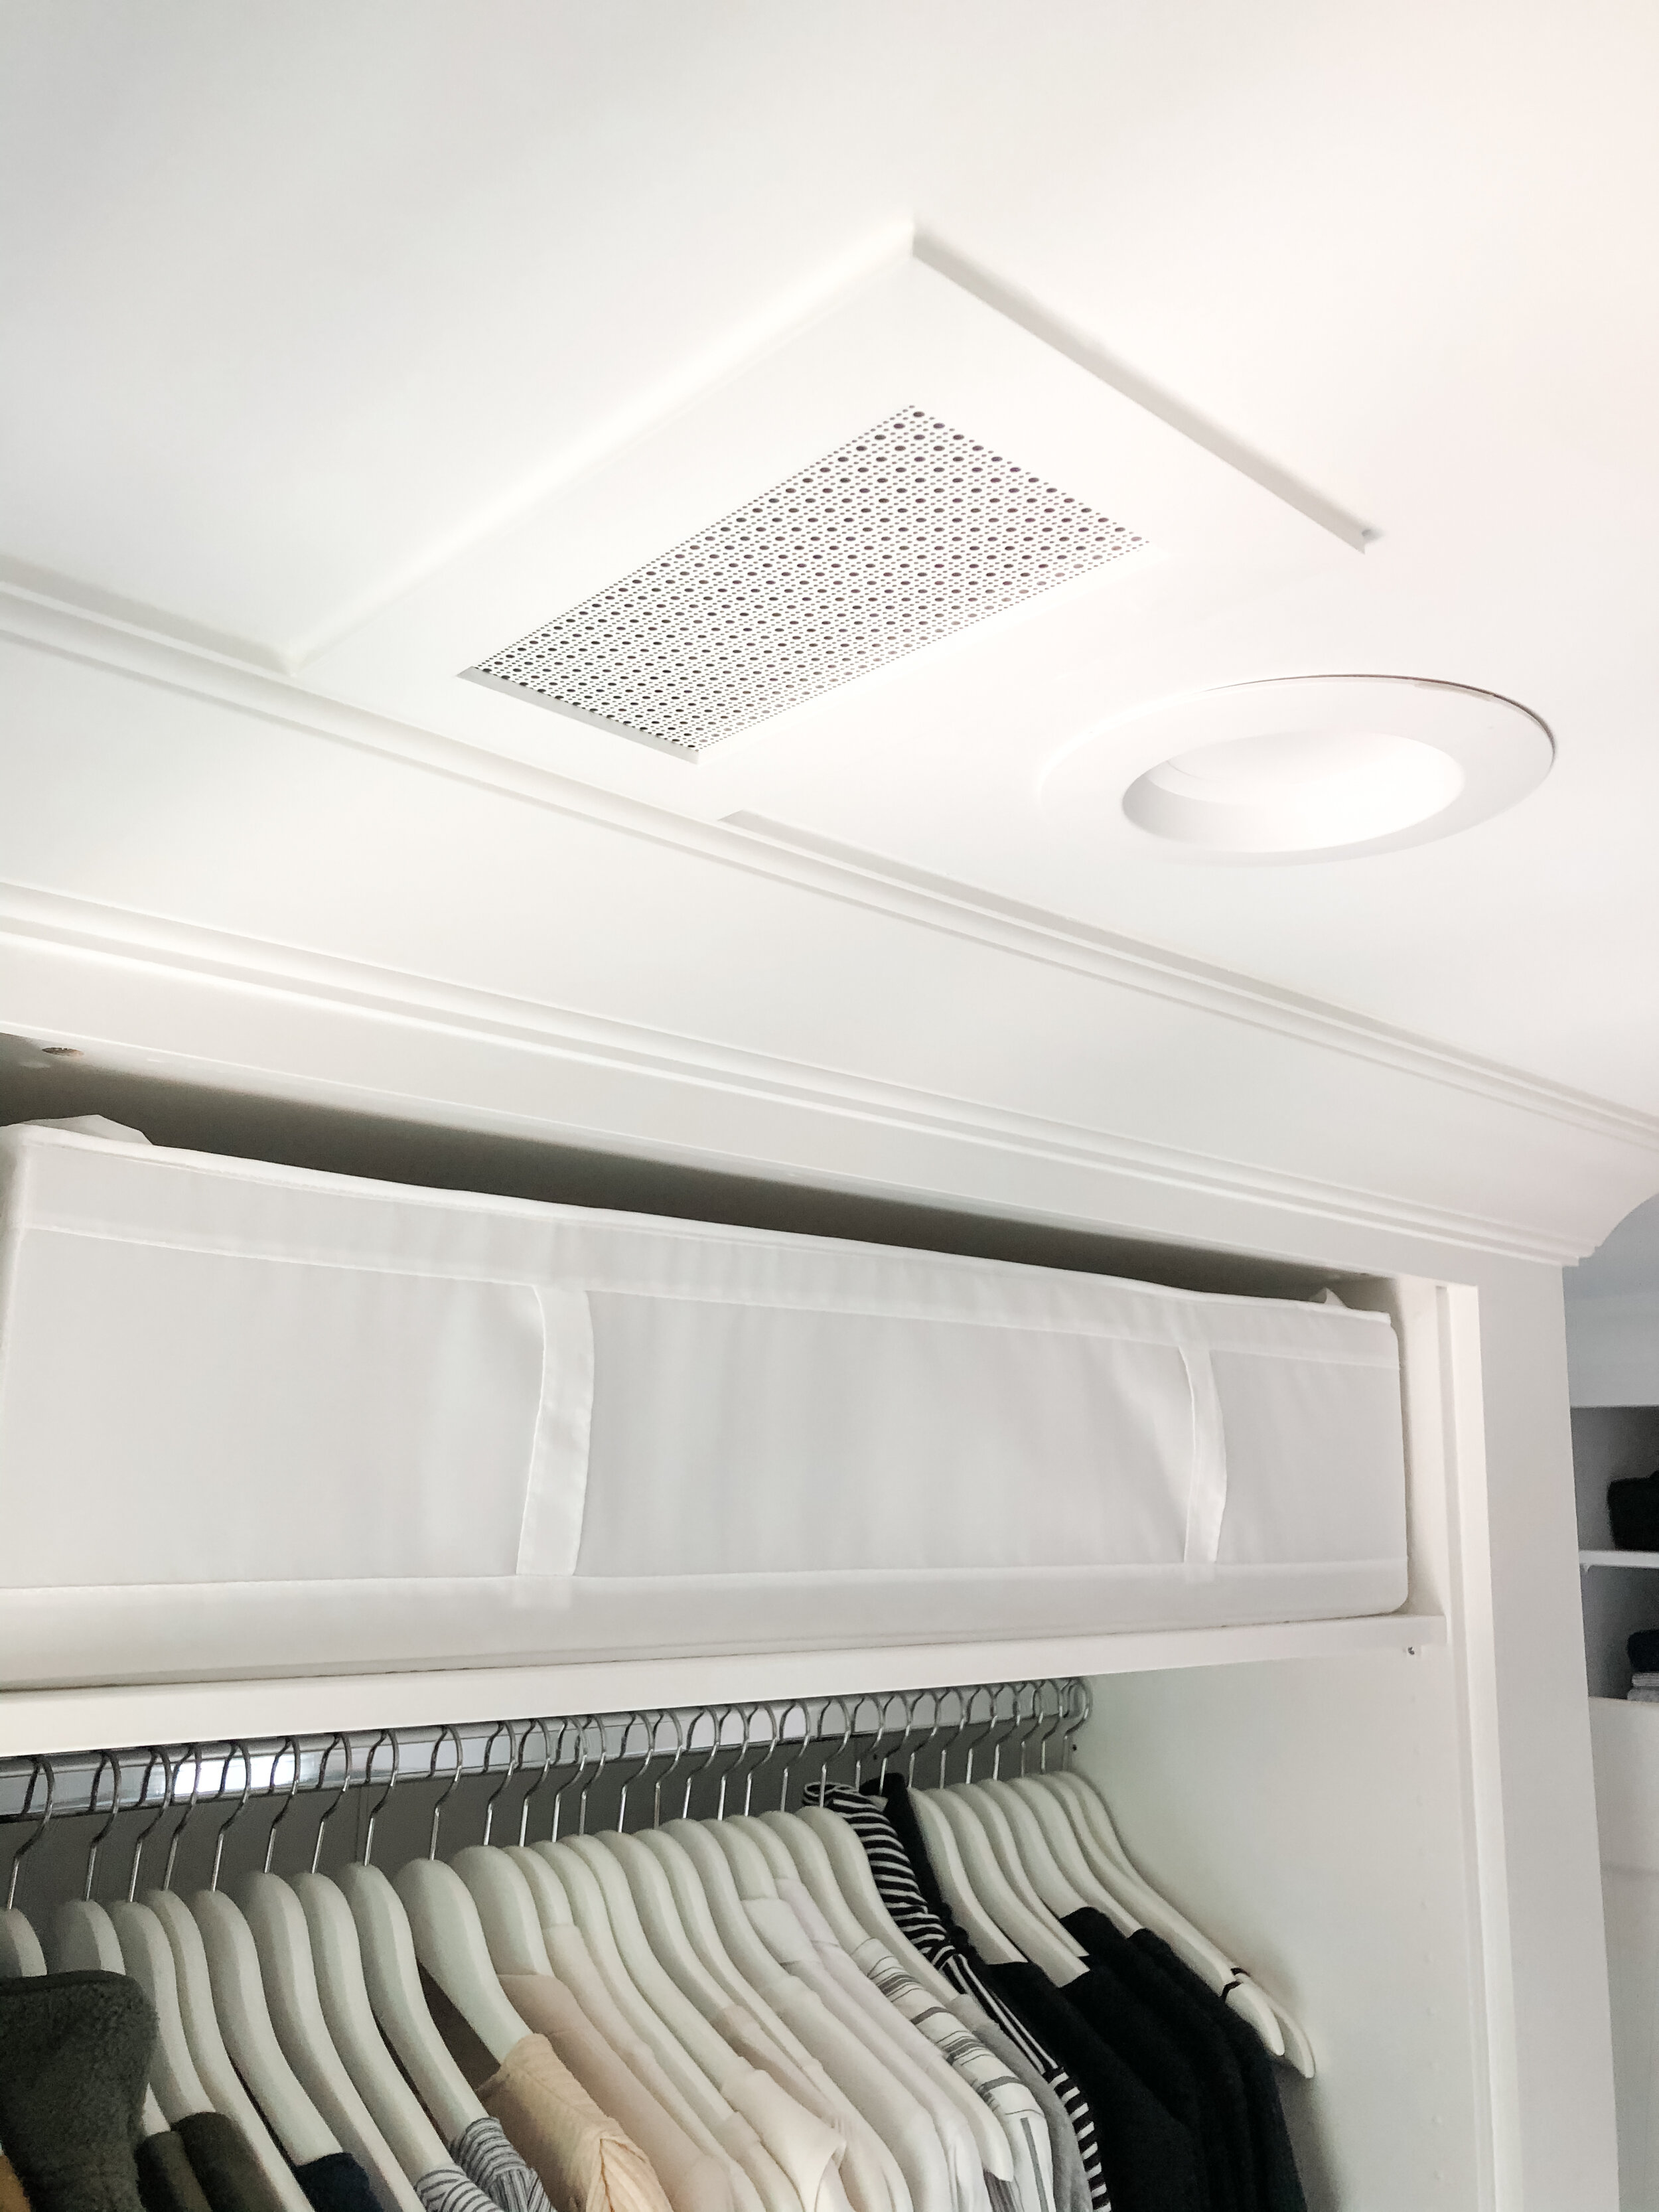
After we installed the crown, there was an air vent in the closet that no longer fit so Andrew cut leftover lattice into a frame and I lightly sanded and painted a decorative metal sheet white to match the ceiling. Andrew secured it into place with brad nails.
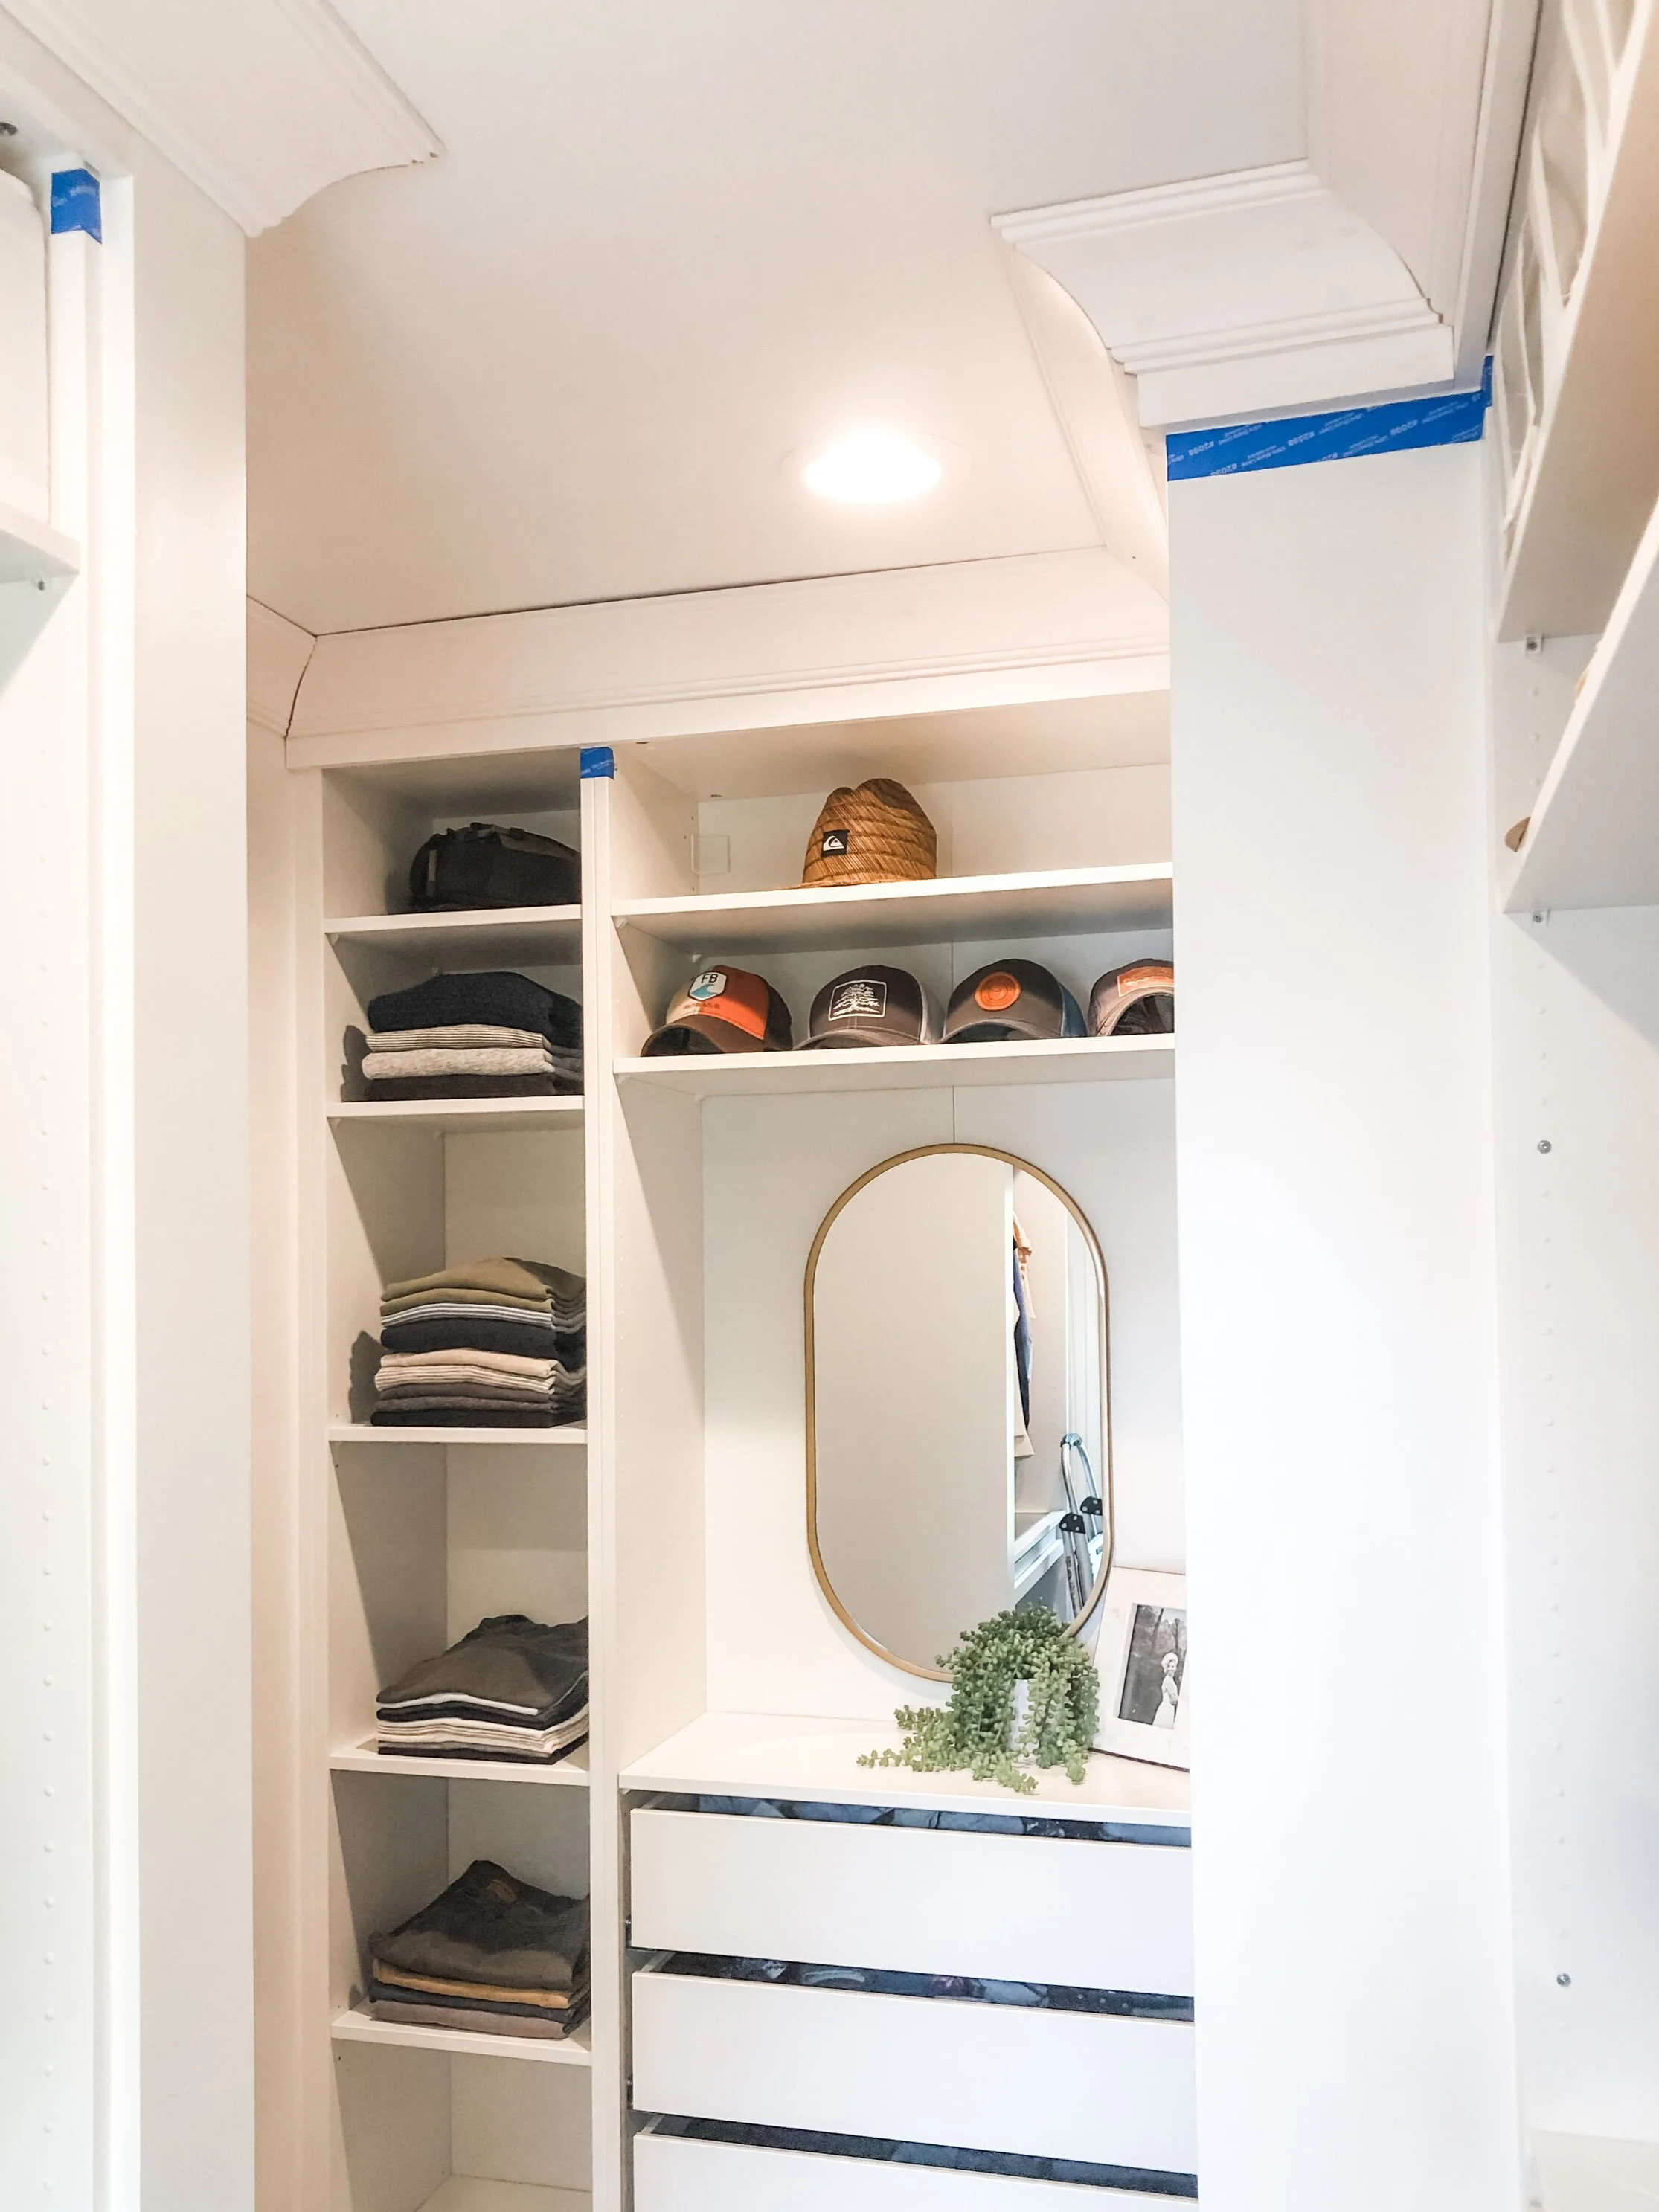
I highly recommend Variera plugs to fill the unused drill holes in the frames—they completely elevated the look of the closet. See the difference below!?
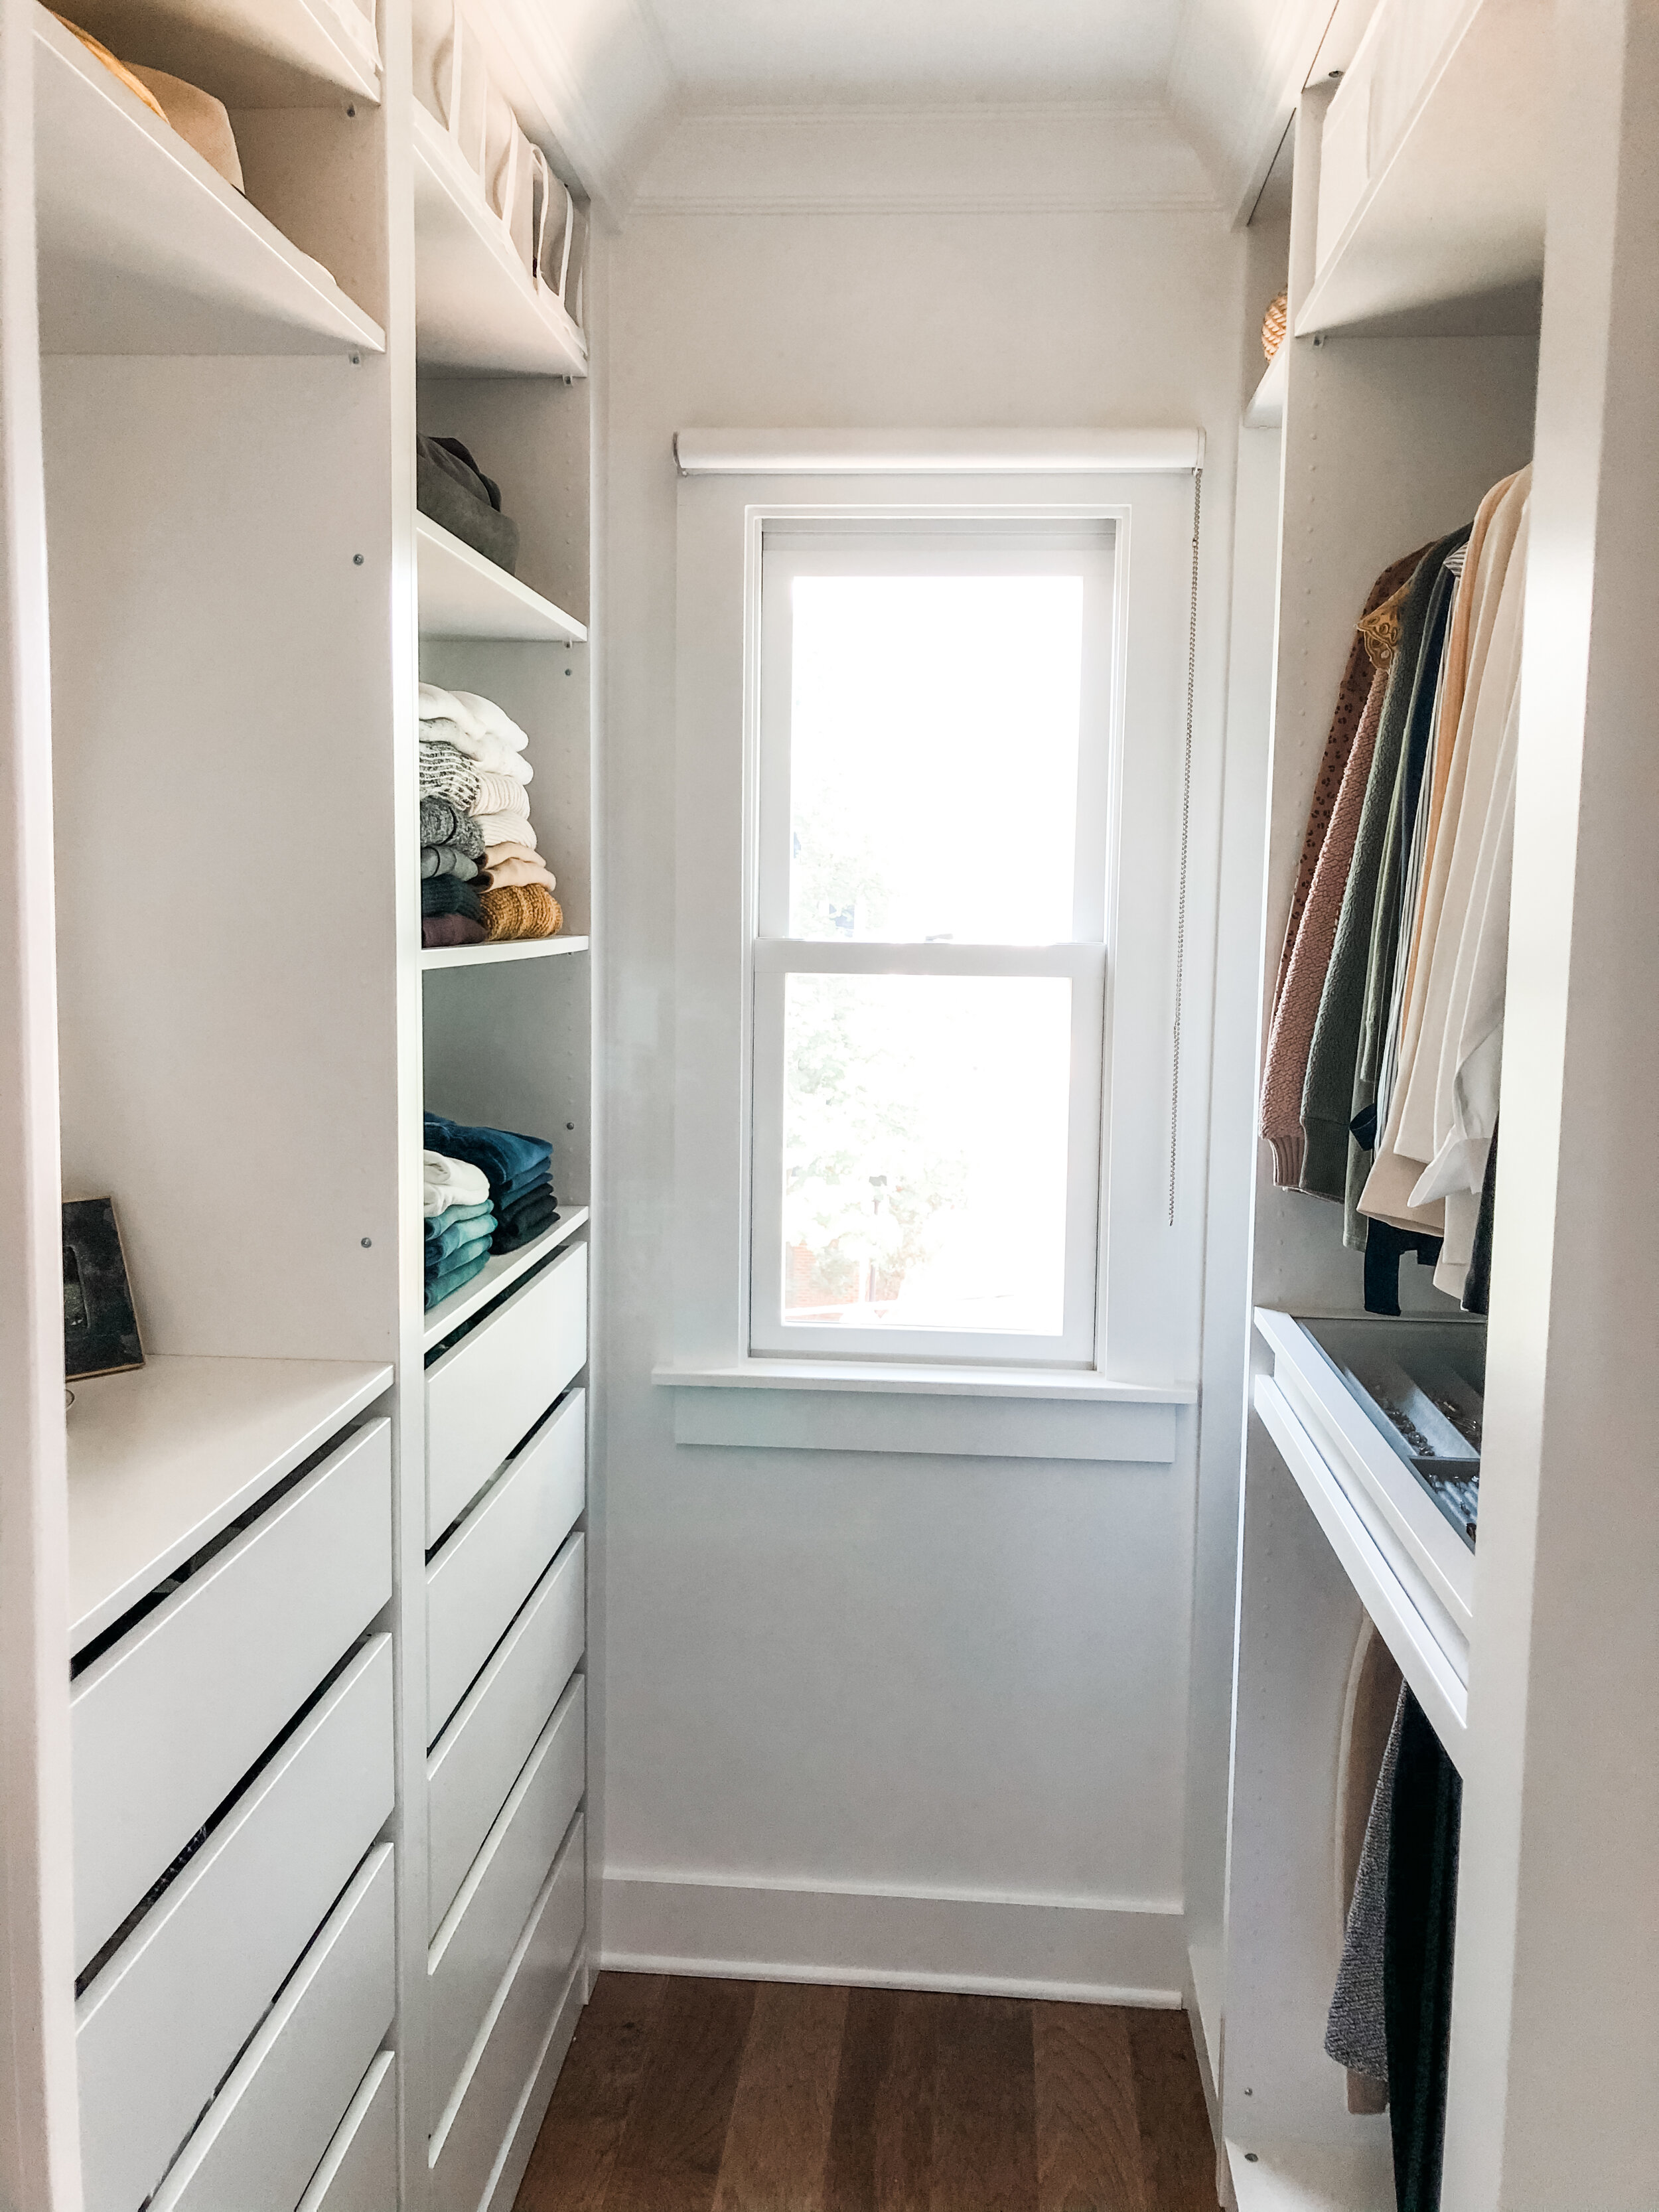
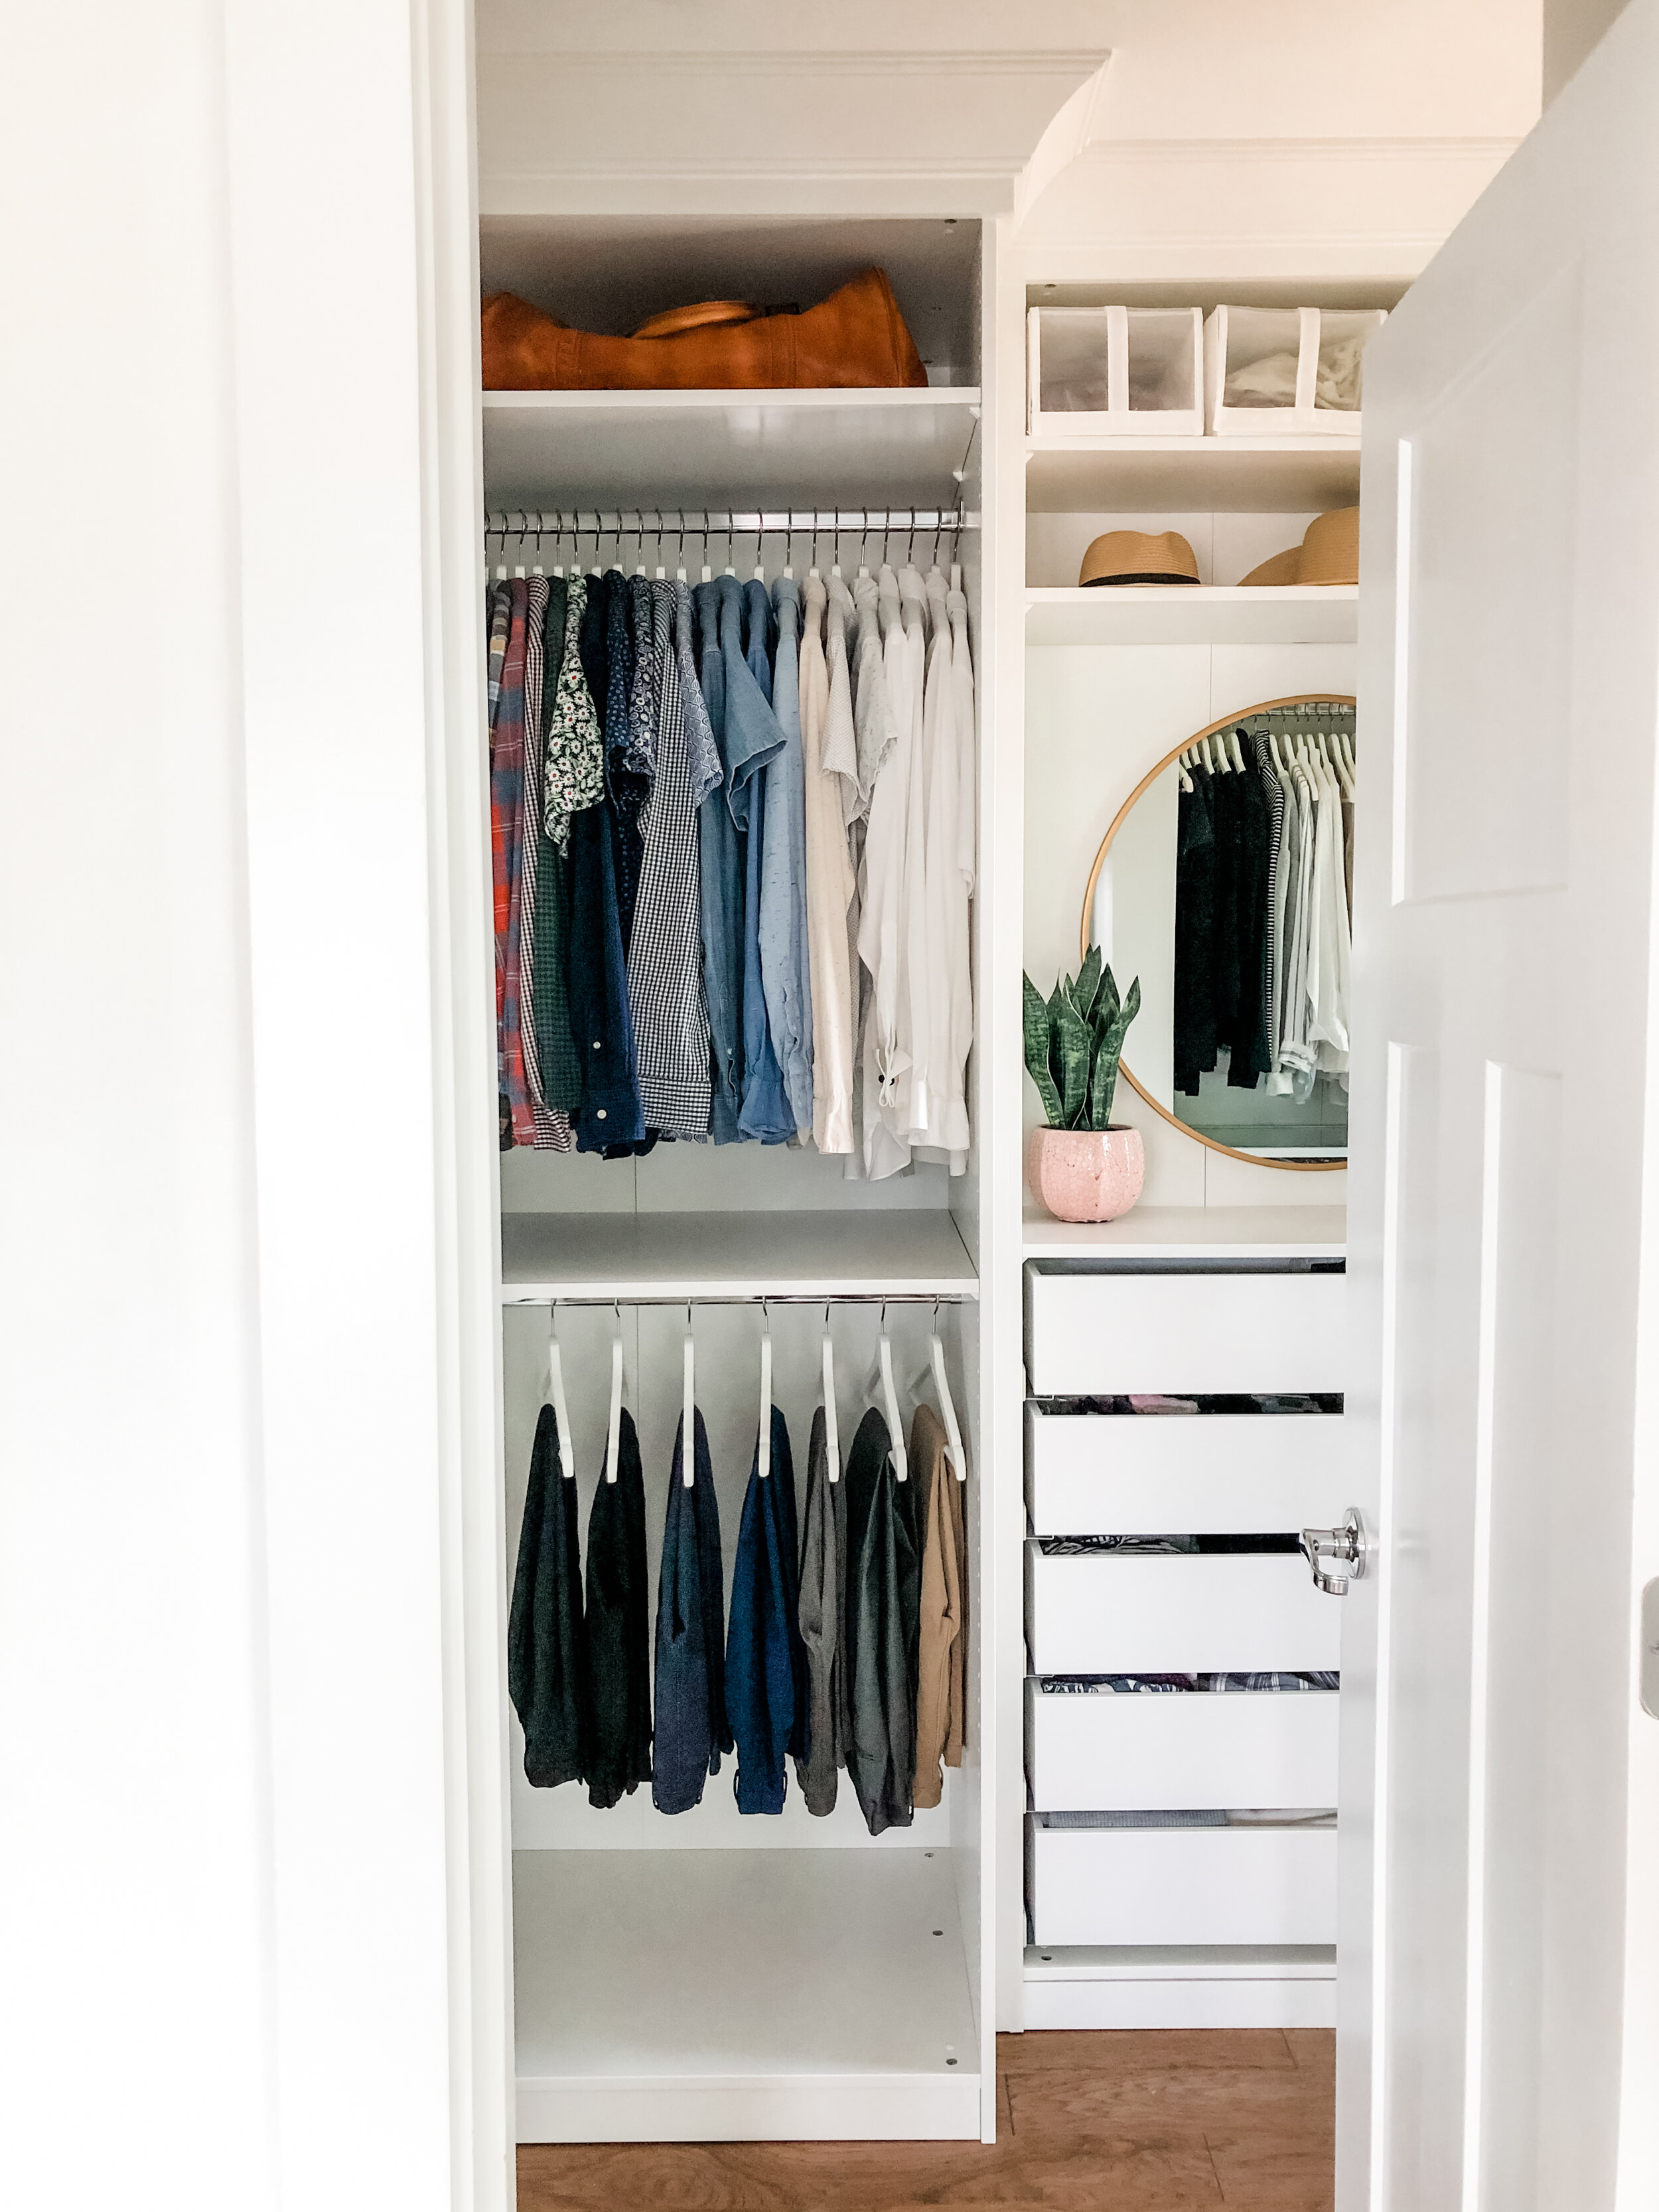
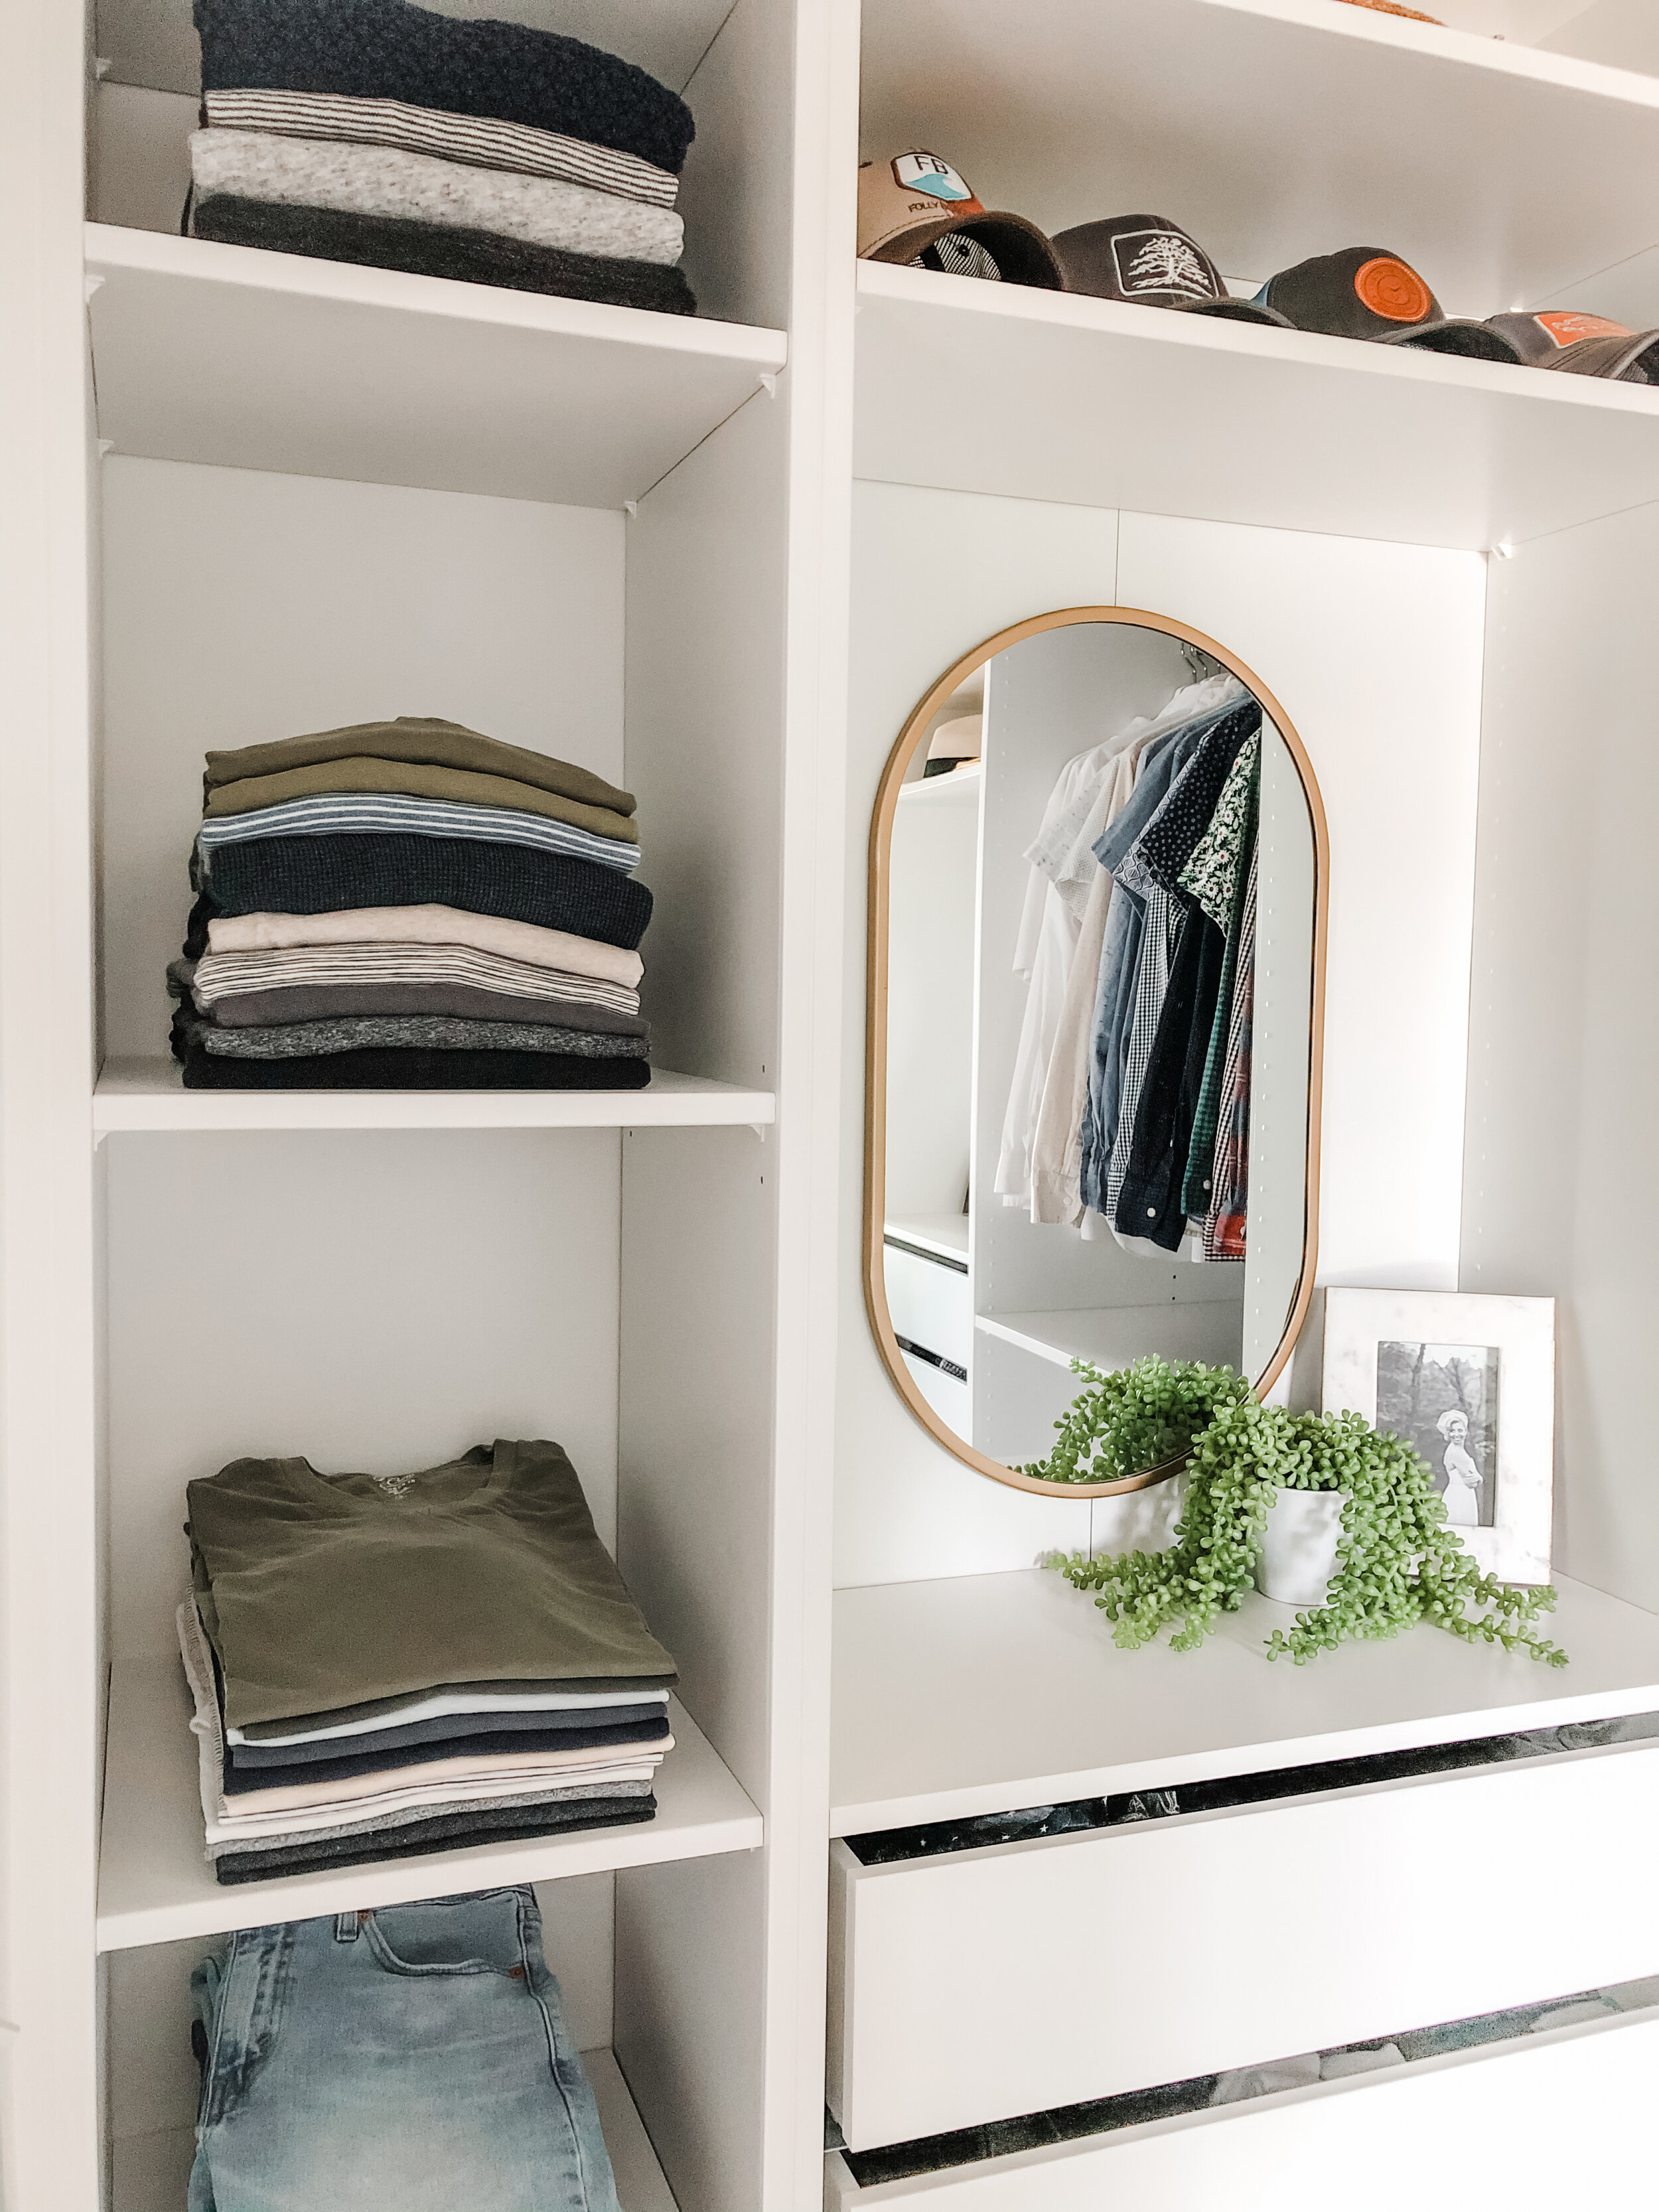
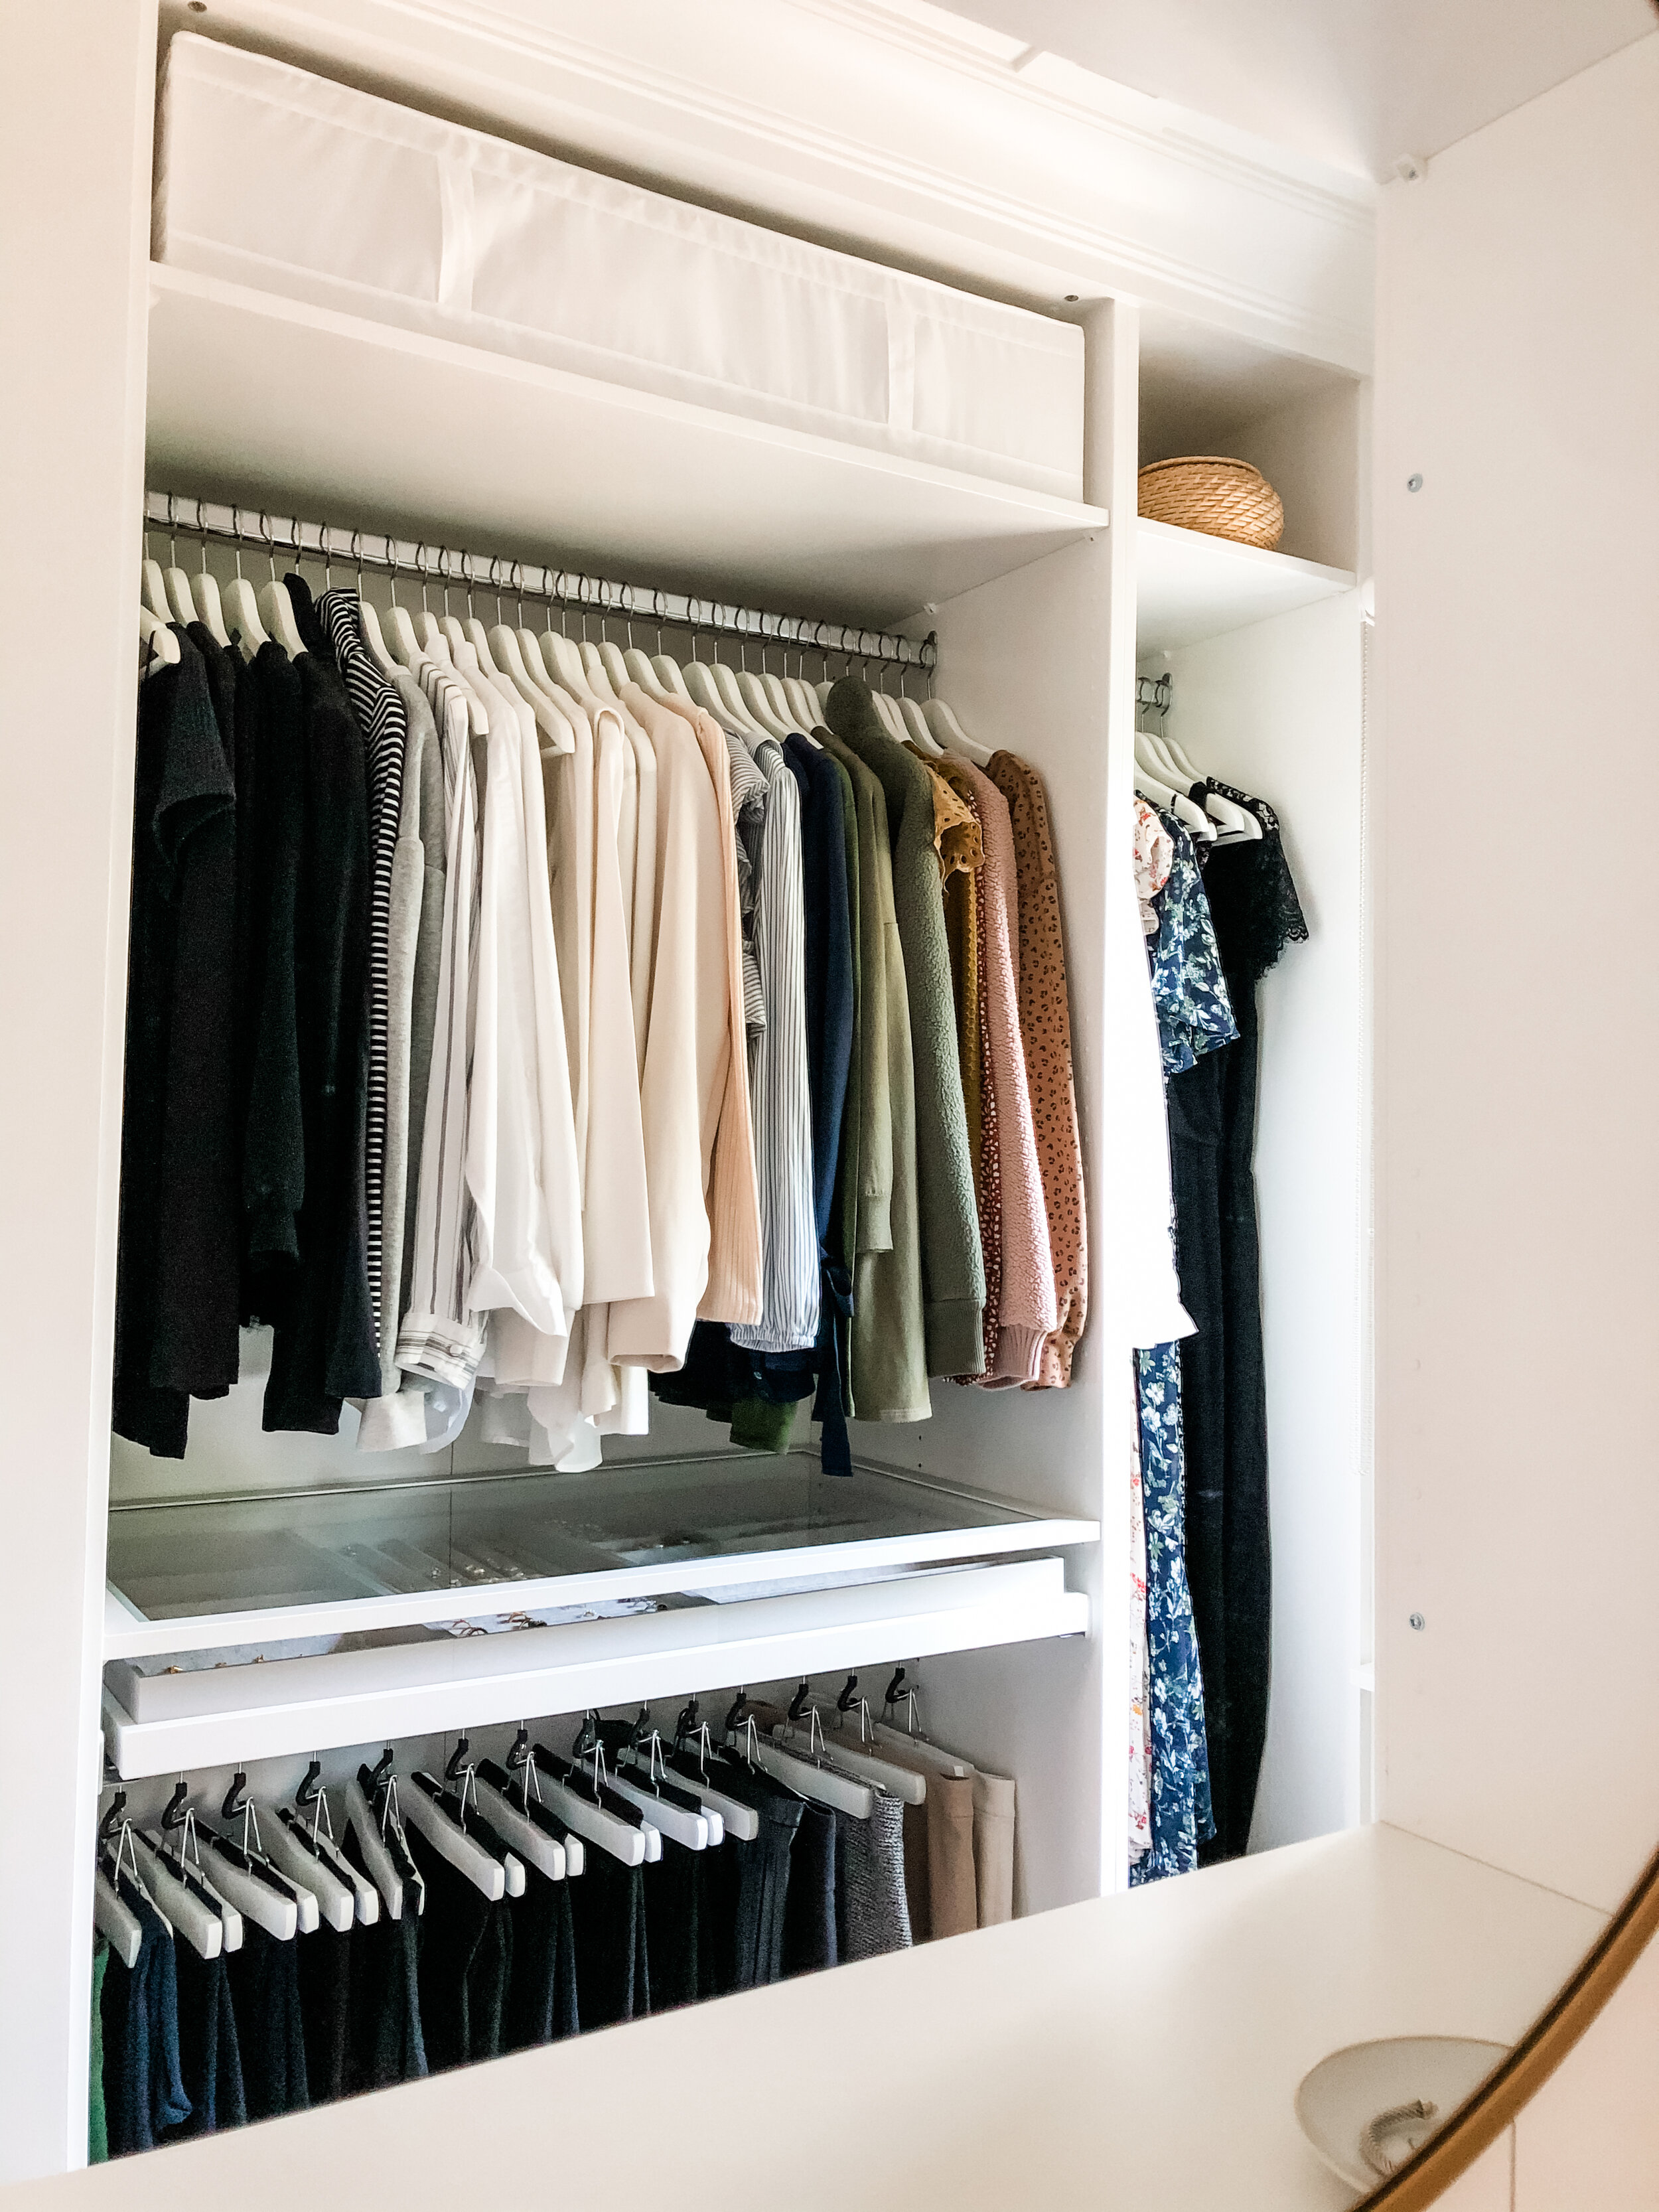
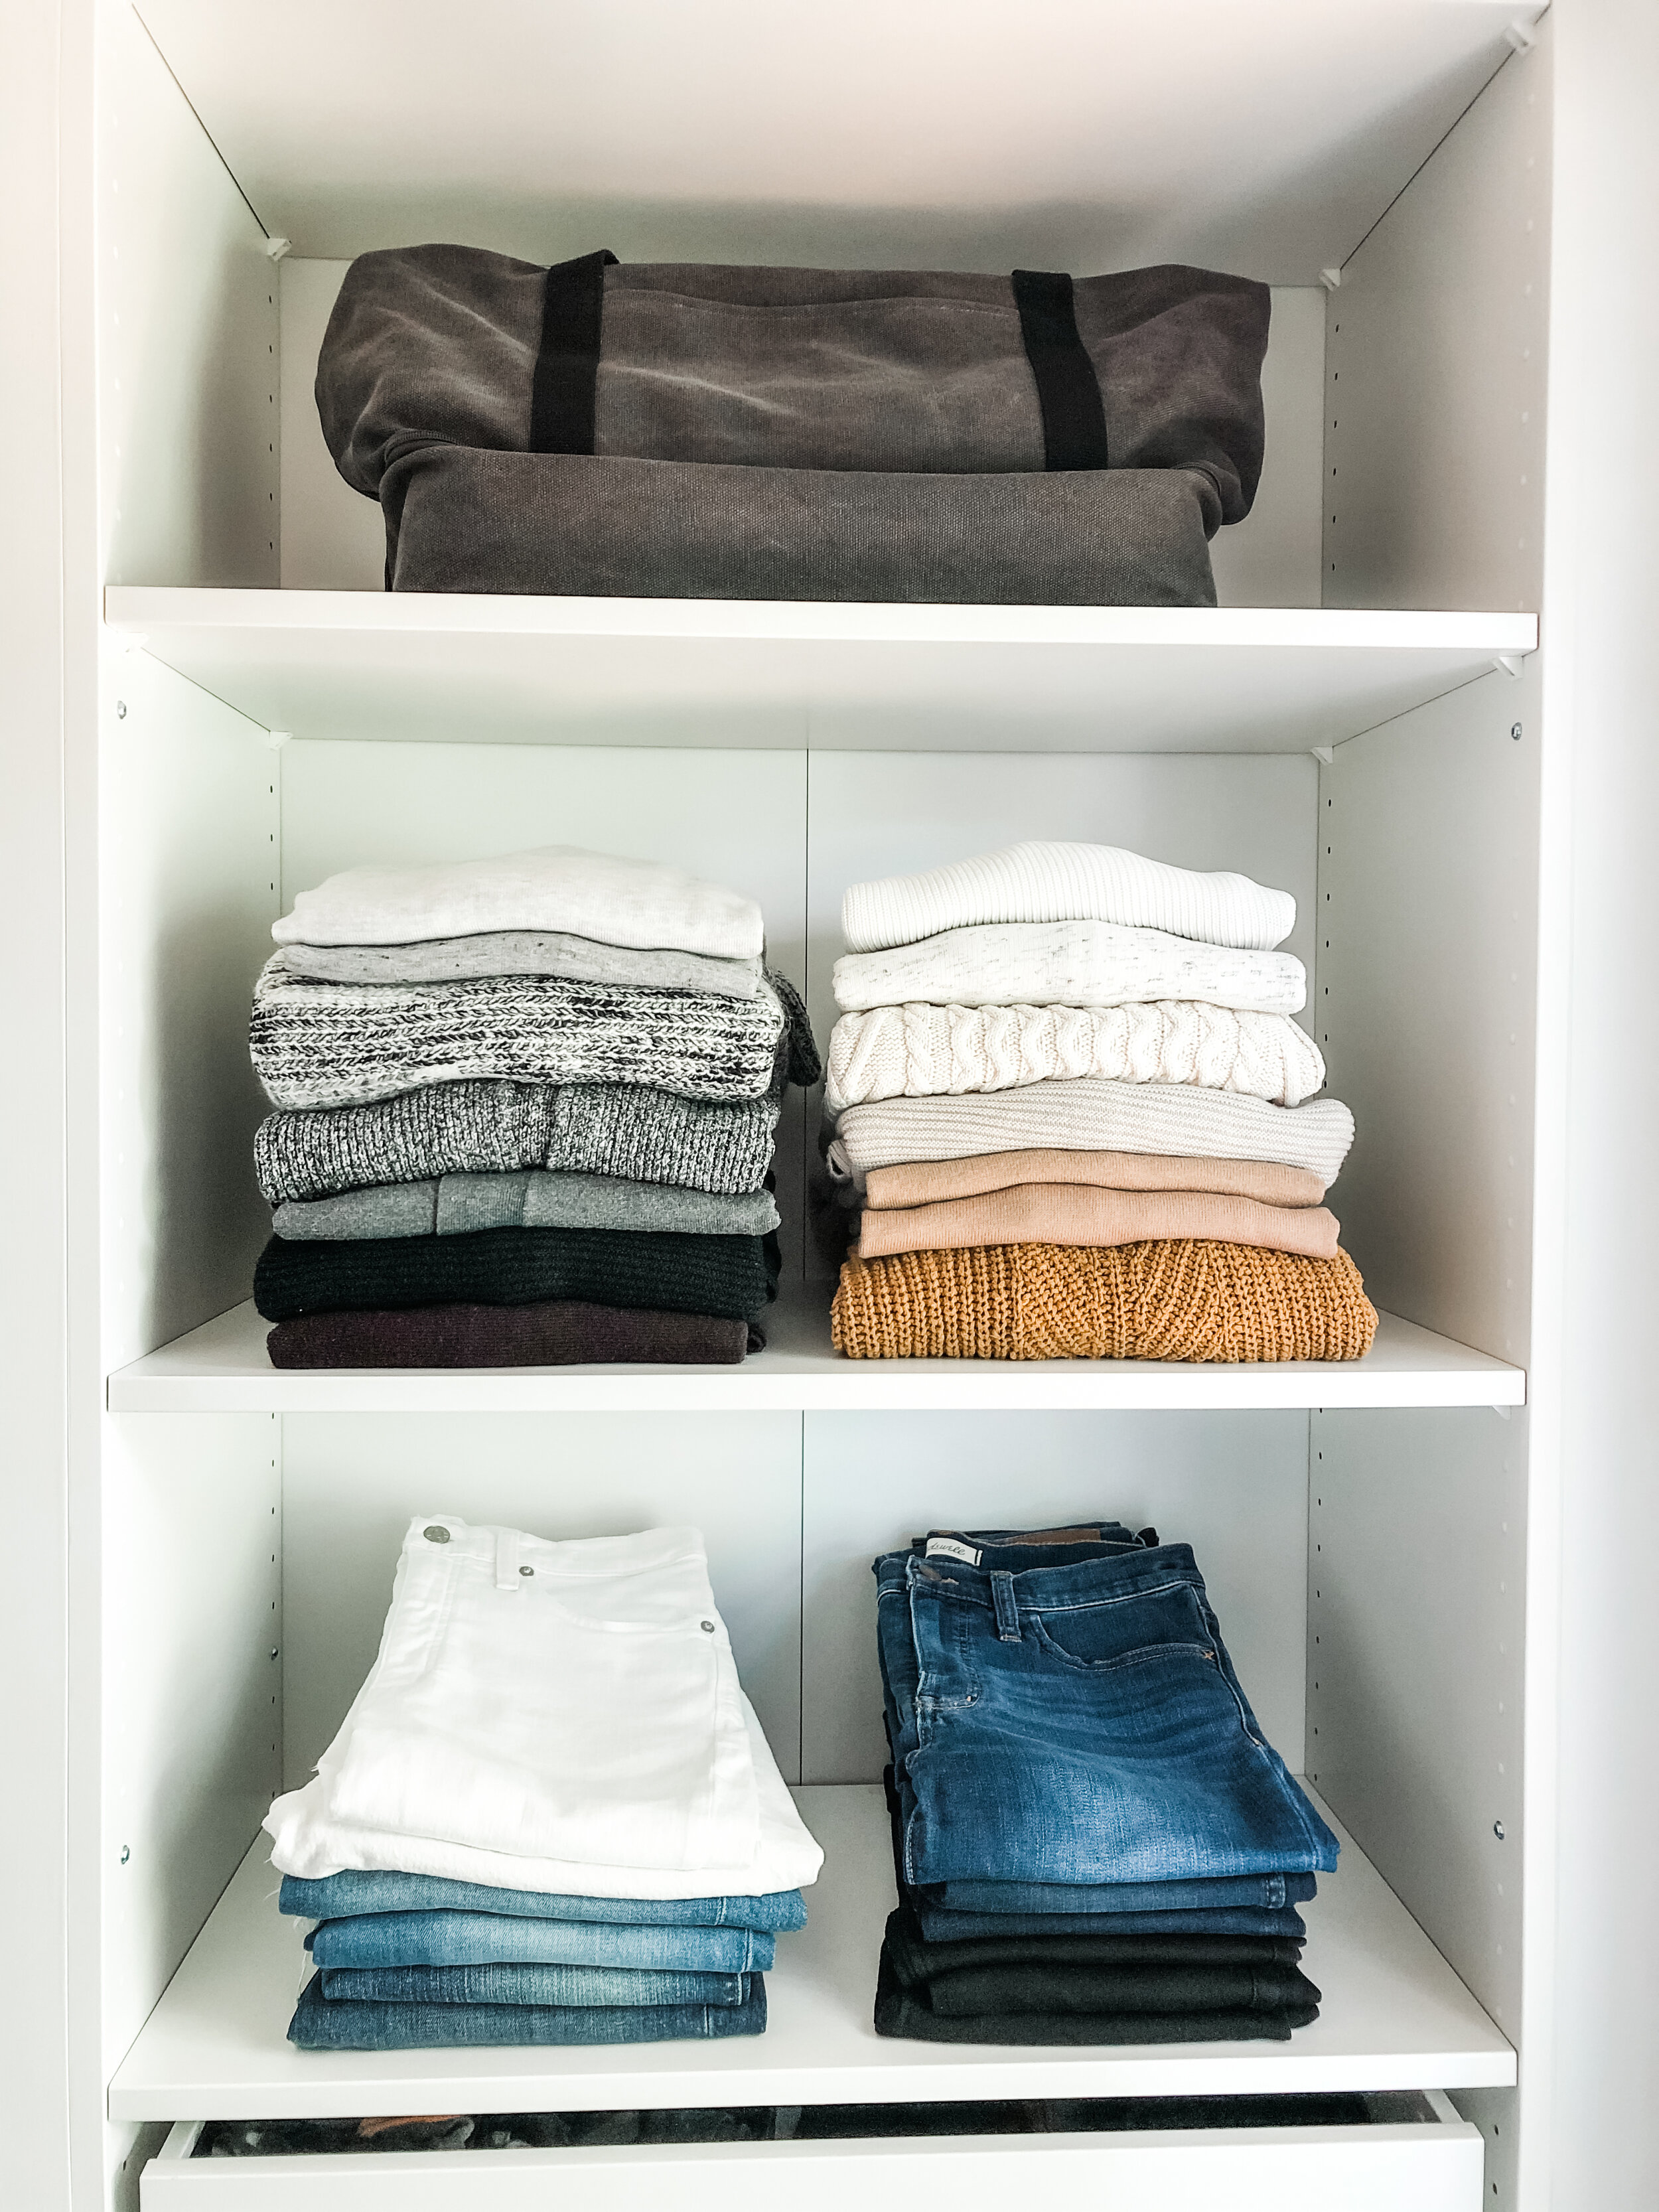
And just like that, the closet is done! Well... almost. I am still on the hunt for two small semi-matching vintage rugs and (maybe!!) a pink ottoman. I am loving all the hidden storage and the jewelry tray is the real show stopper. As for Andrew, he's just glad it's over.

Sources: Frames, shelves, drawers: Ikea; custom units and shelf supplies: Lowes & Home Depot; crown moulding: Queen City Lumber; shoe storage boxes; faux string of pearls, faux snake plant; marble frames; closet rods; hangers, pant clamps; round mirror, pill mirror; wall, trim, moulding and custom frame + shelf paint: Benjamin Moore Advance | Satin; ceiling and custom vent paint: Sherwin Williams Extra White | Matte.